

Embark on an exhilarating journey, where every stride leads you deeper into a post-apocalyptic Oregon – welcome to our guide on conquering all Marauder Camp Quests in the riveting Days Gone! Beware: your task is not for the faint of heart.
You’ll traverse through perilous landscapes, inhabited by ravenous freakers and cunning marauders. The world is teeming with danger and only the tenacious survive.
Ah, but wait! Every journey is incomplete without a roadmap. In this guide, you’ll find meticulously chronicled locations of all the Marauder Camps that lay scattered in this harrowing world.
You’ll be armed with more than just knowledge – we’ve got survival tactics, hard-earned from countless encounters, to give you the upper hand against the cunning marauders.
And remember, survival in Days Gone is not merely a matter of firepower – it’s a dance of strategy and resilience. You will need to outwit the marauders, lure them into your traps, and strike when they least expect.
It’s time to dive into the world of Days Gone, where every day brings a new challenge, every encounter a test of your mettle. Brace yourself for the ride of your life, as you conquer the marauder camps and claim the wasteland as your own.
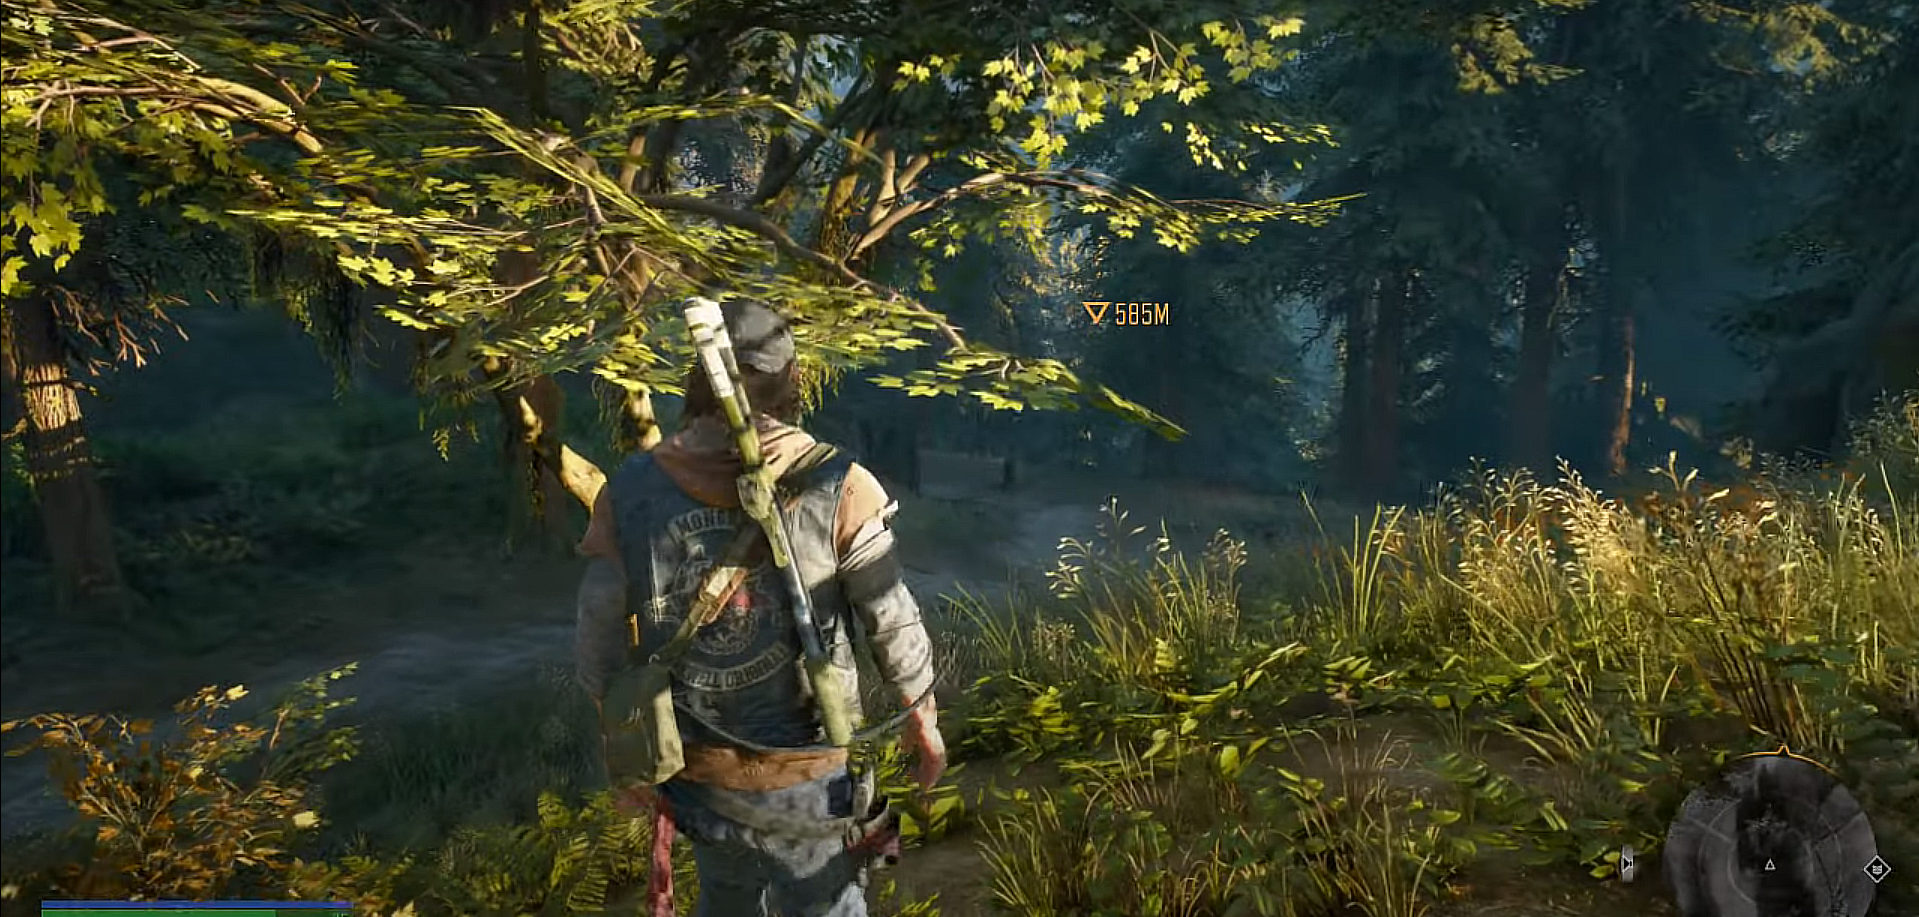
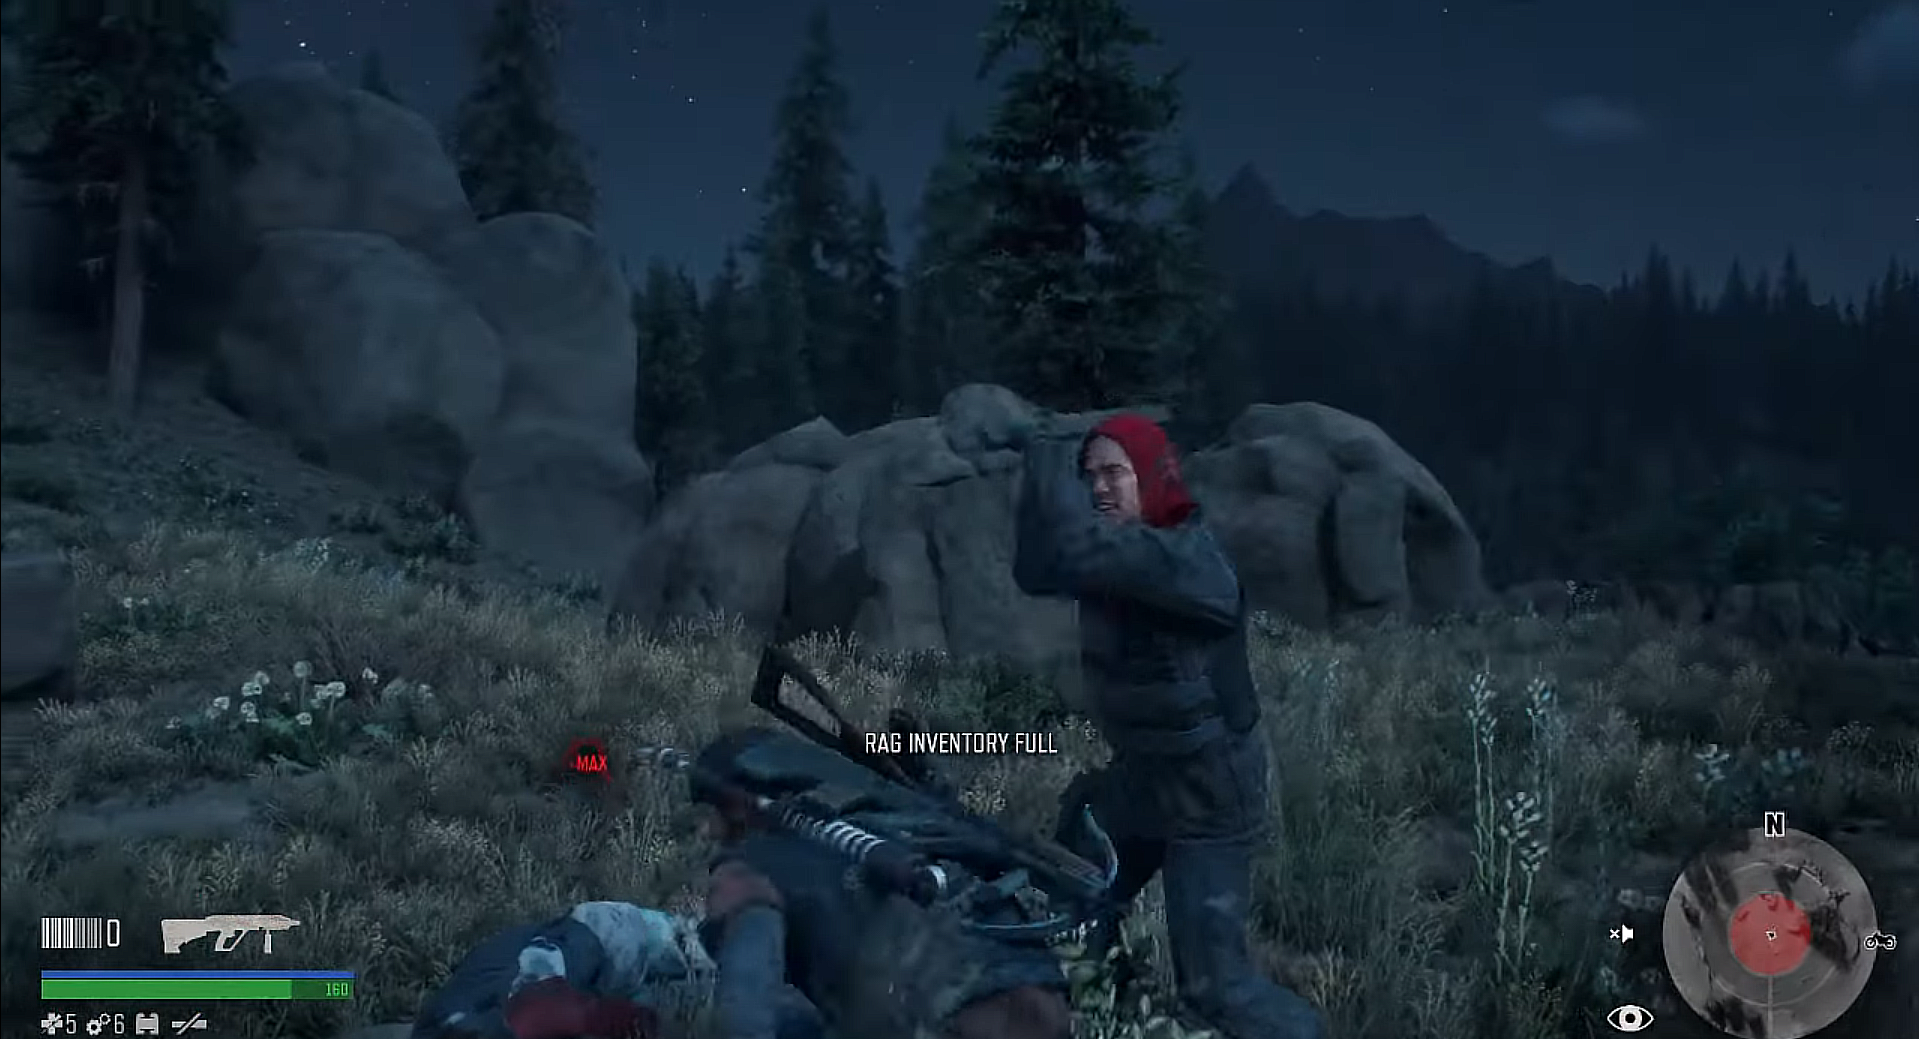
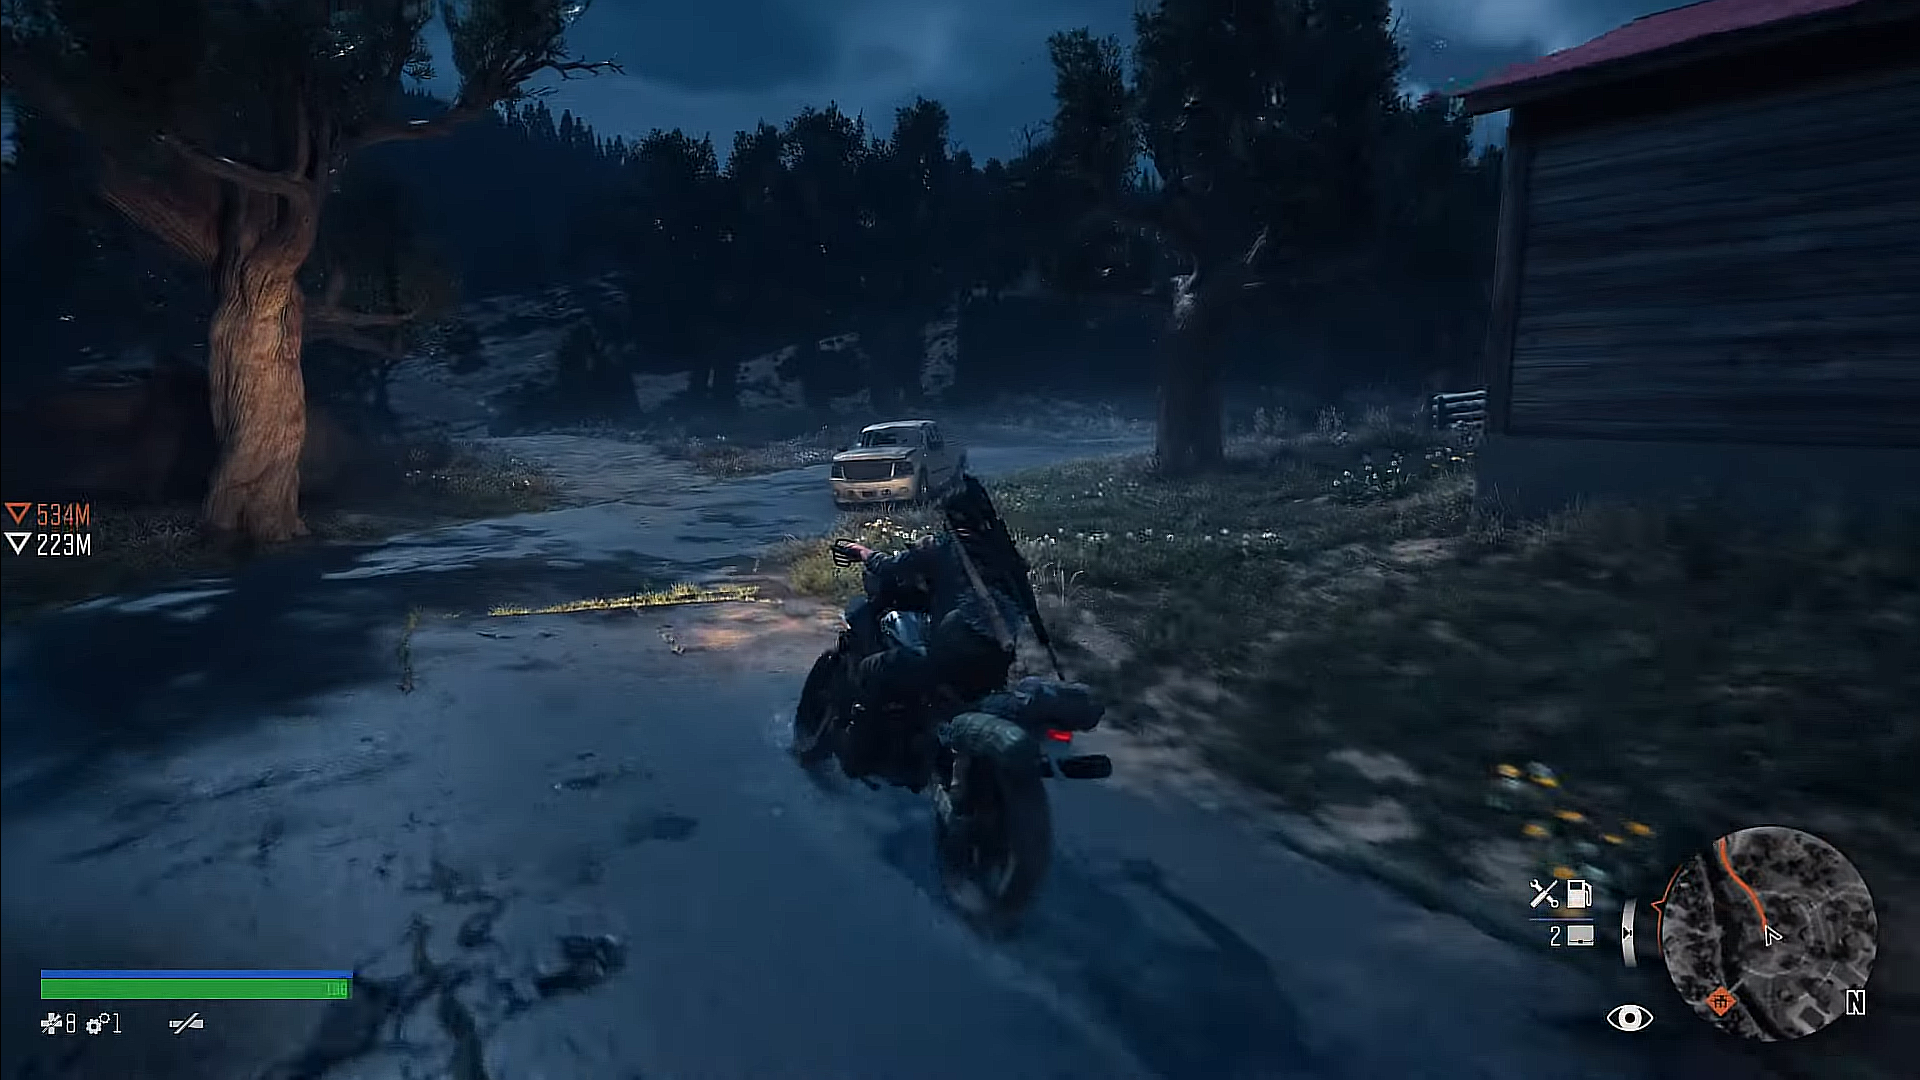
1. Story Mission | Drifters on the Mountain | Cascade Region
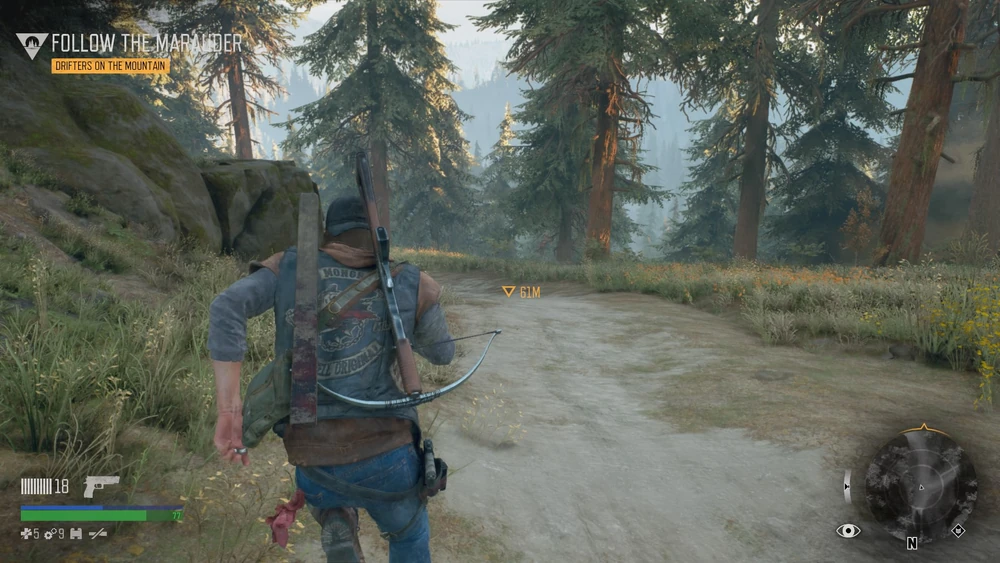
Drifters on the Mountain | via Fandom
In the previous mission, Boozer got burnt by the Freakers, so now it’s your job to retrieve the bike. While moving out, check inside the gun locker, and equip the crossbow, it’ll come in handy later. Similarly, as Boozer mentioned, grab the ammo from the loot box before leaving.
St.John knows that Boozer’s arm is as good as gone, in the best case scenario. But nothing can be done, so we move on. While descending, grab any medical supplies possible. There are a couple of bandages and Lilys in the area. Store them in your inventory, and make your way to the point mentioned on the map.
via Trophygamers
Since you’re walking there, be sure to constantly check your surroundings. The last thing you’d want is to get ambushed by some random Freaker.
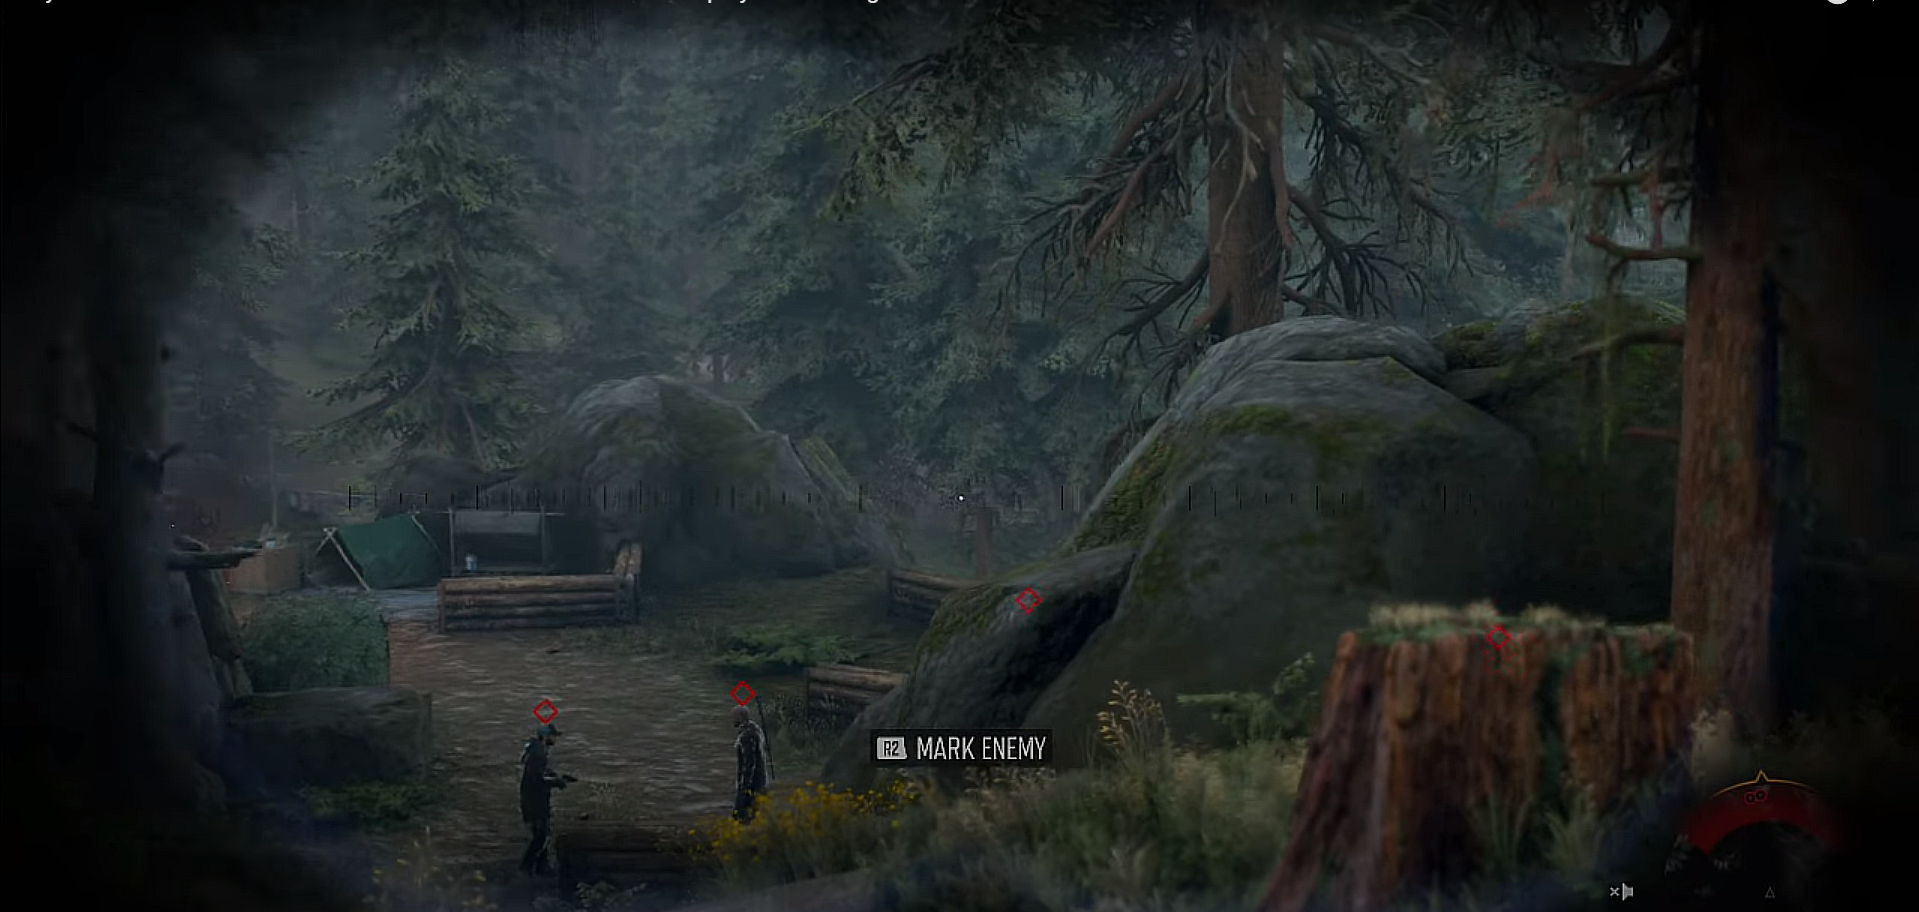
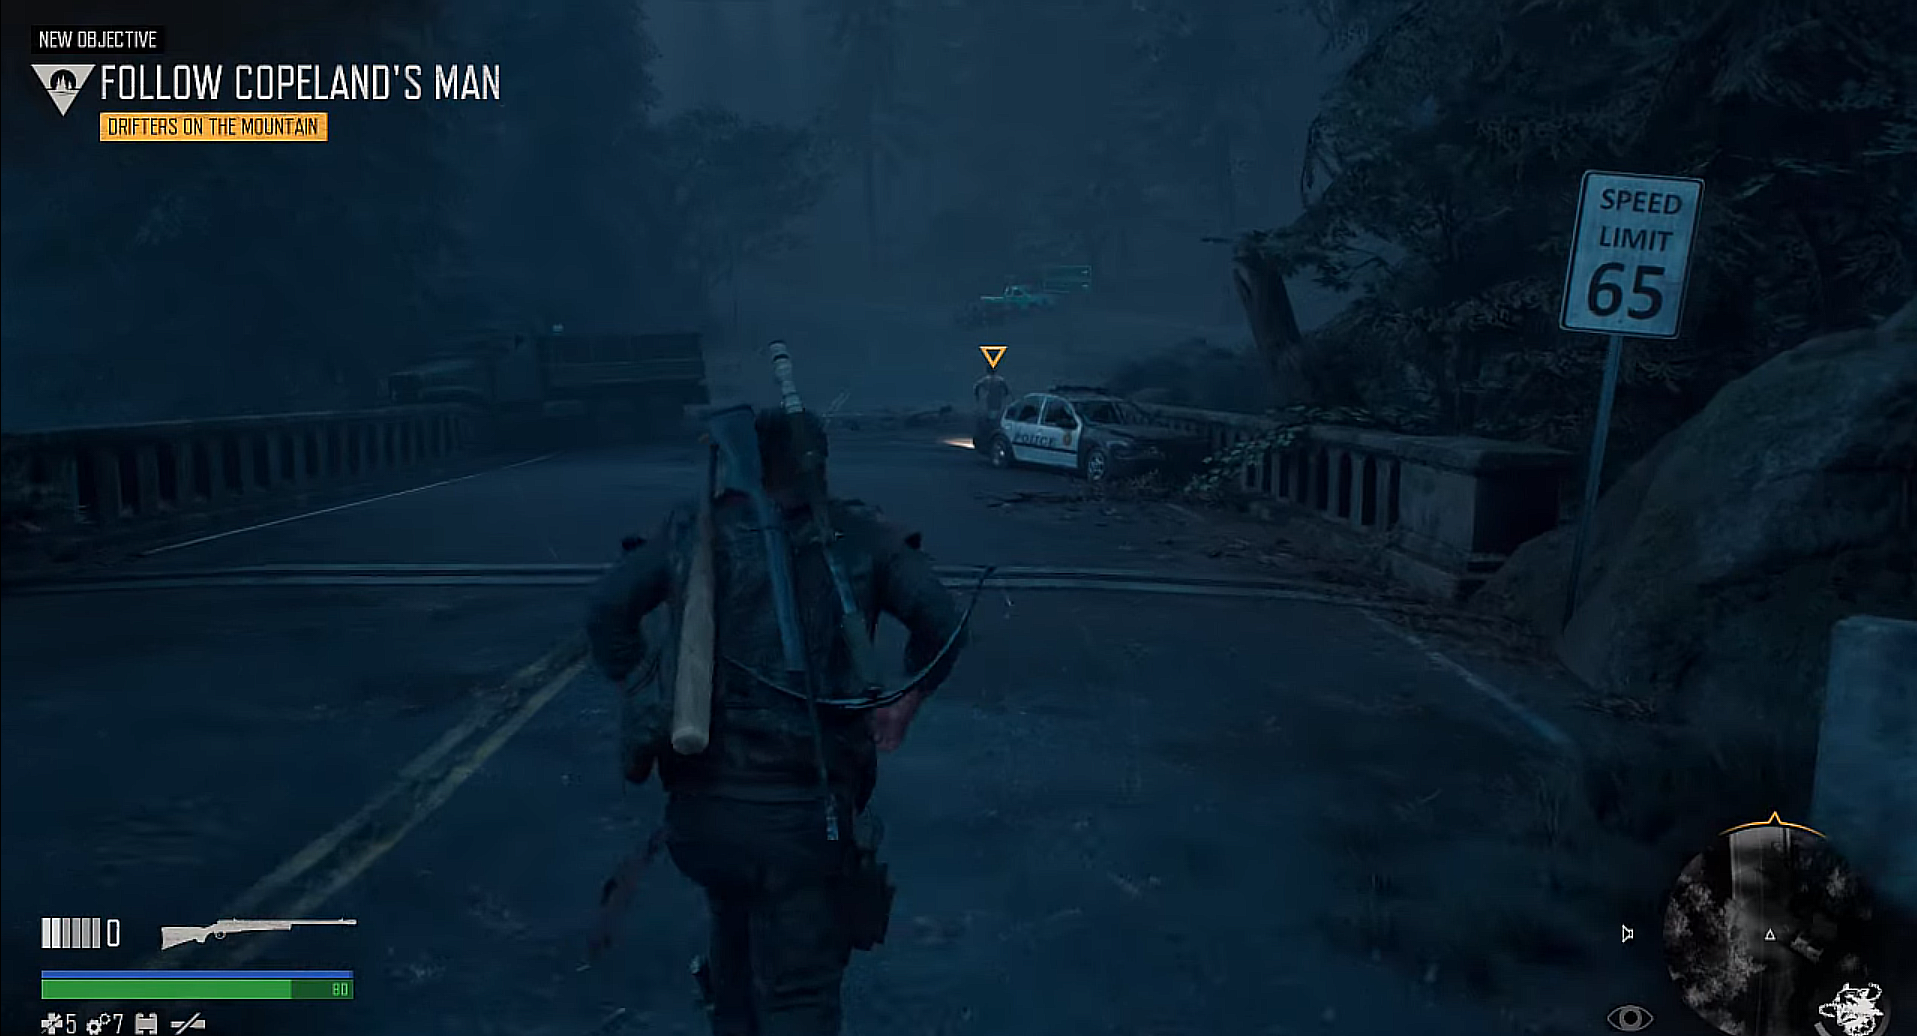
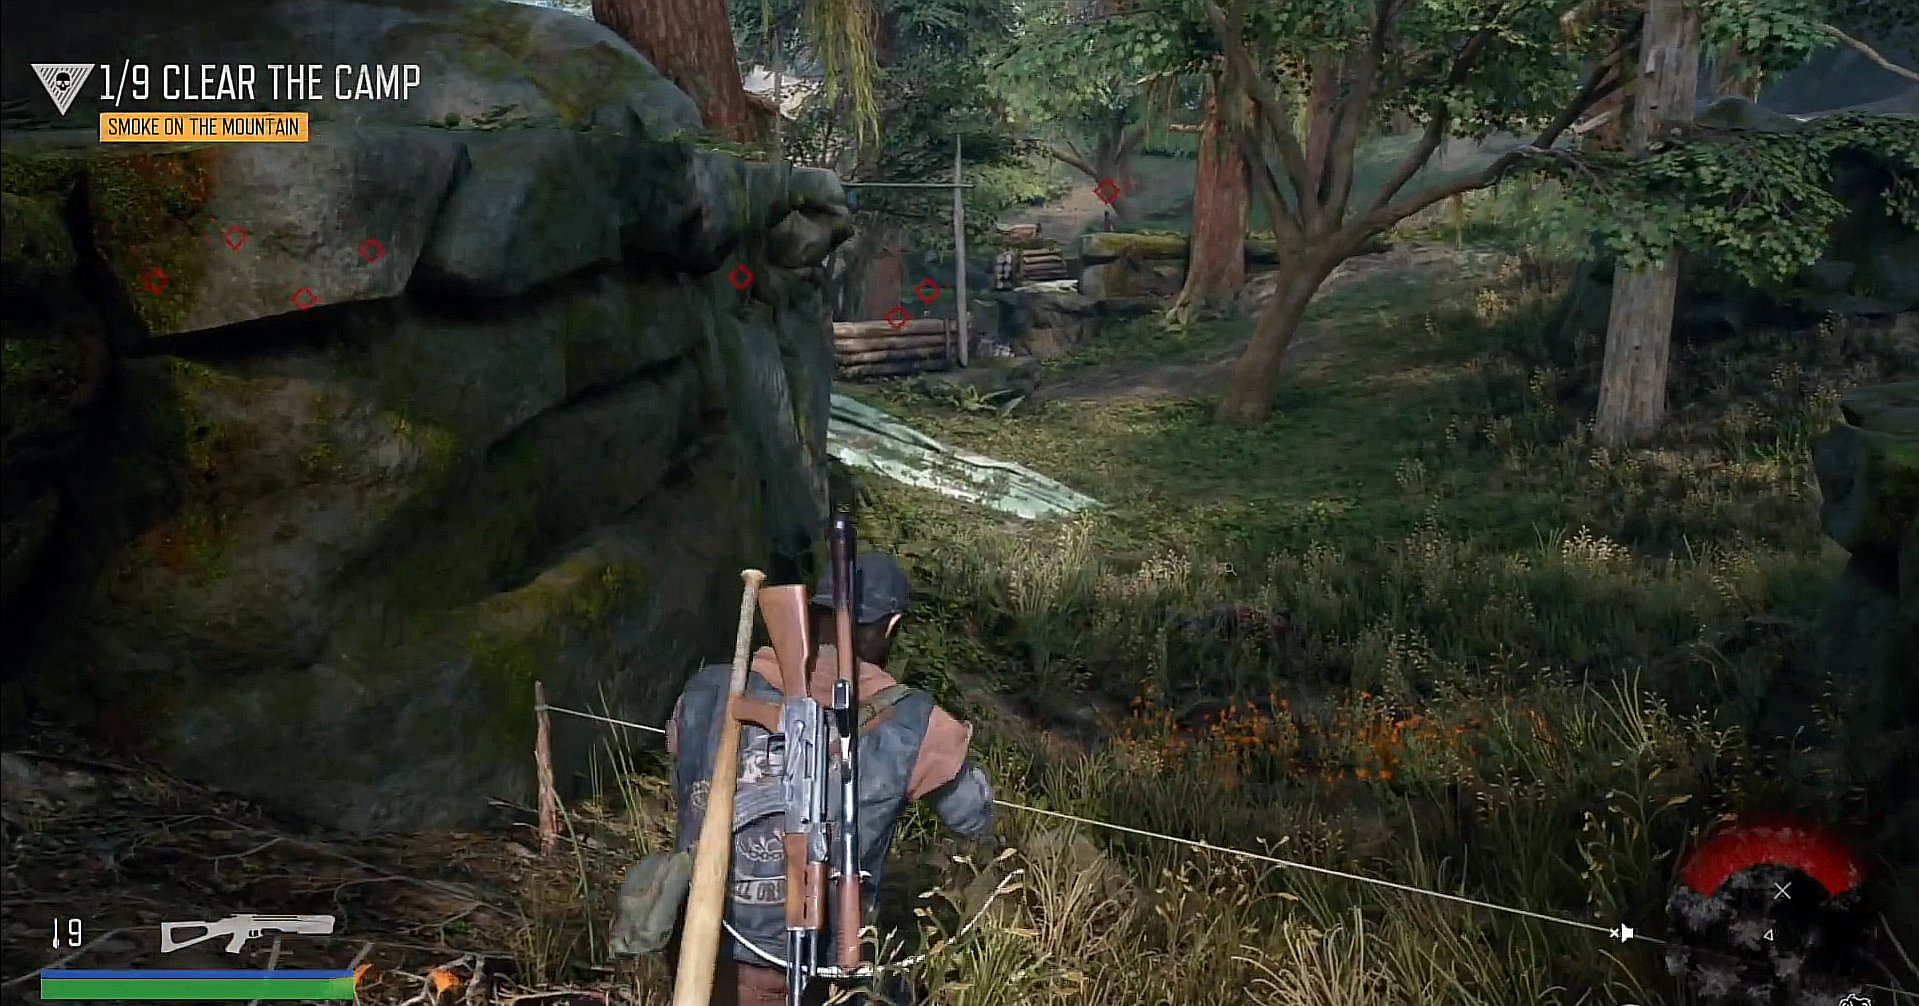
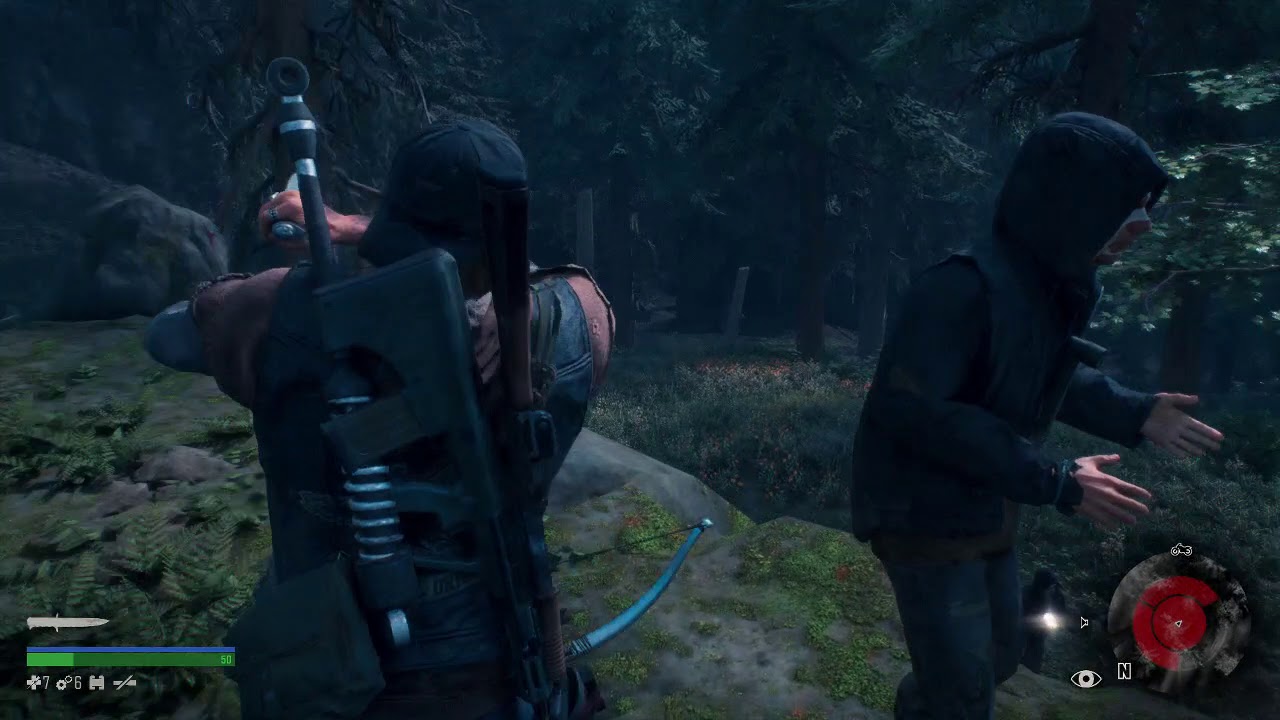
Leaving the area, you’ll spot someone lurking around the camp. Follow them, and use stealth until you get close enough to see what they’re doing. Use your binoculars to mark the enemy, so it’s easier for you to deal with them.
via Trophygamers
Now, let’s try to hear what they’re talking about. Oh no, it seems like they know about Boozer’s location, and are planning to ambush you. Luckily, you can pull off the same with them. Let’s begin the infiltration mission!
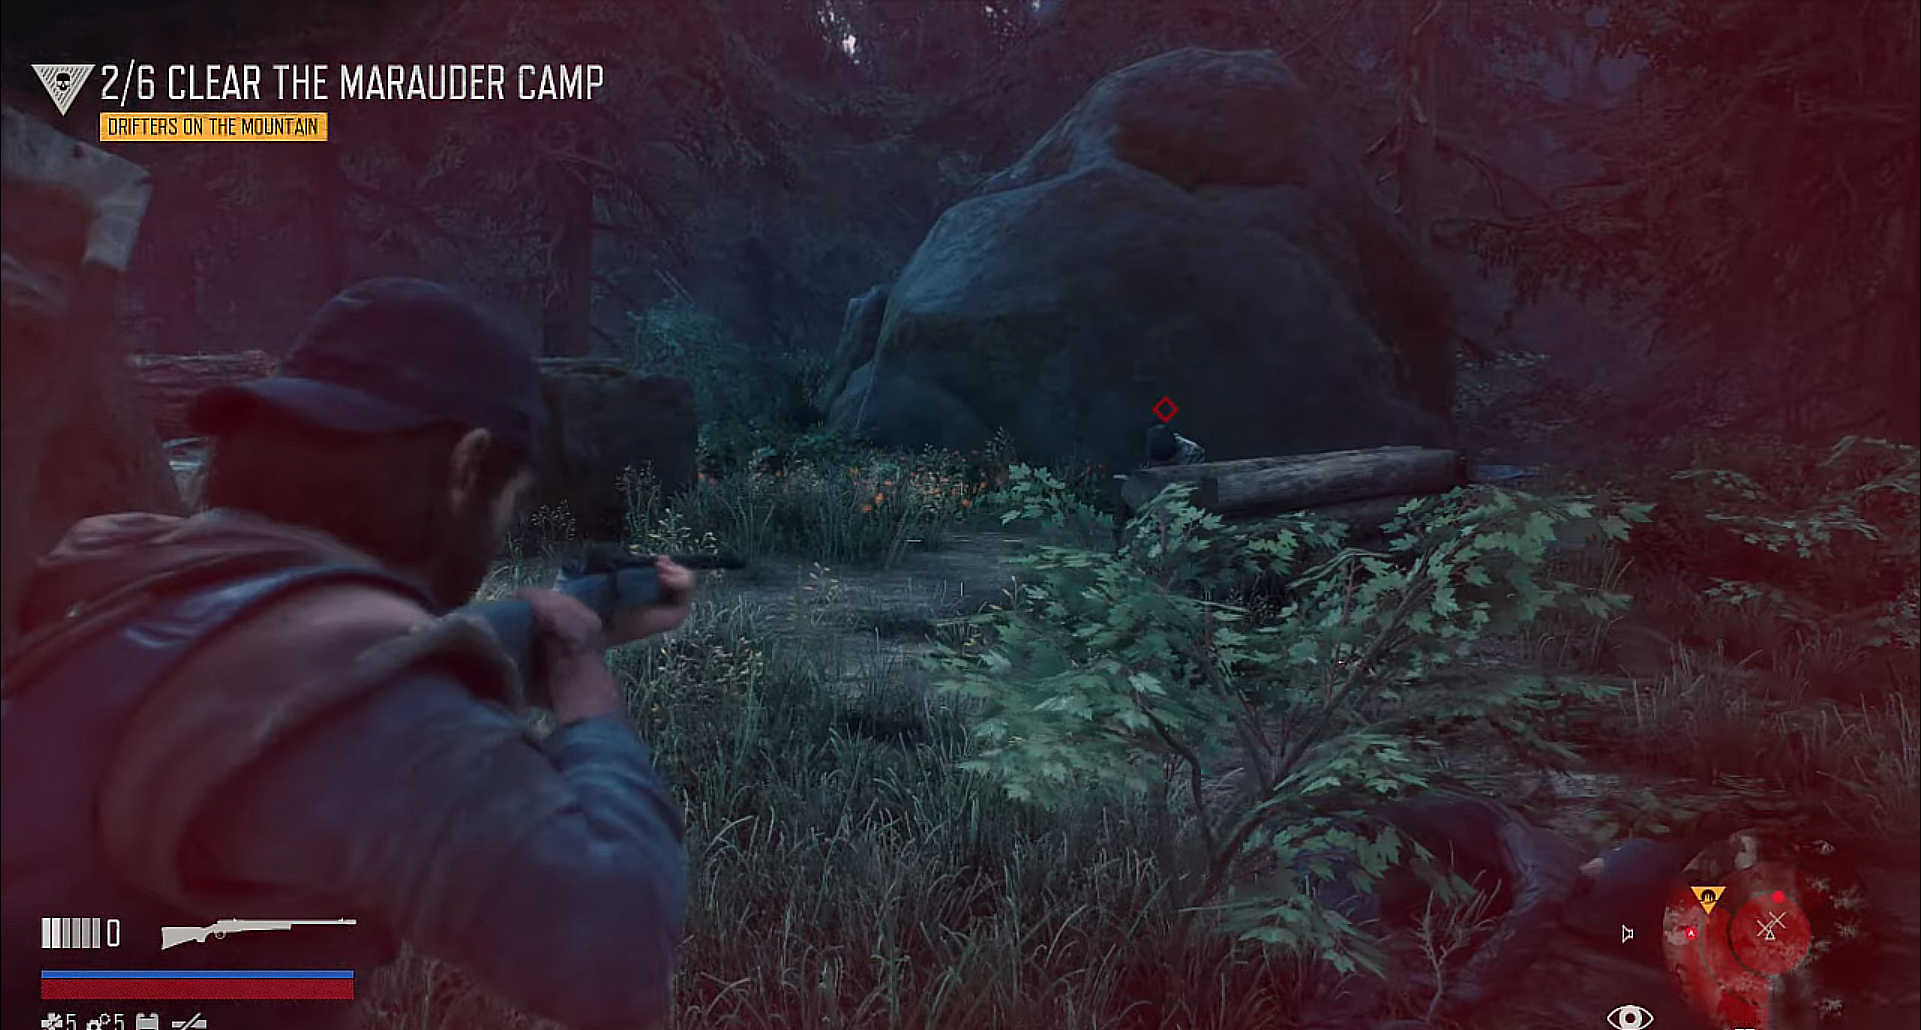
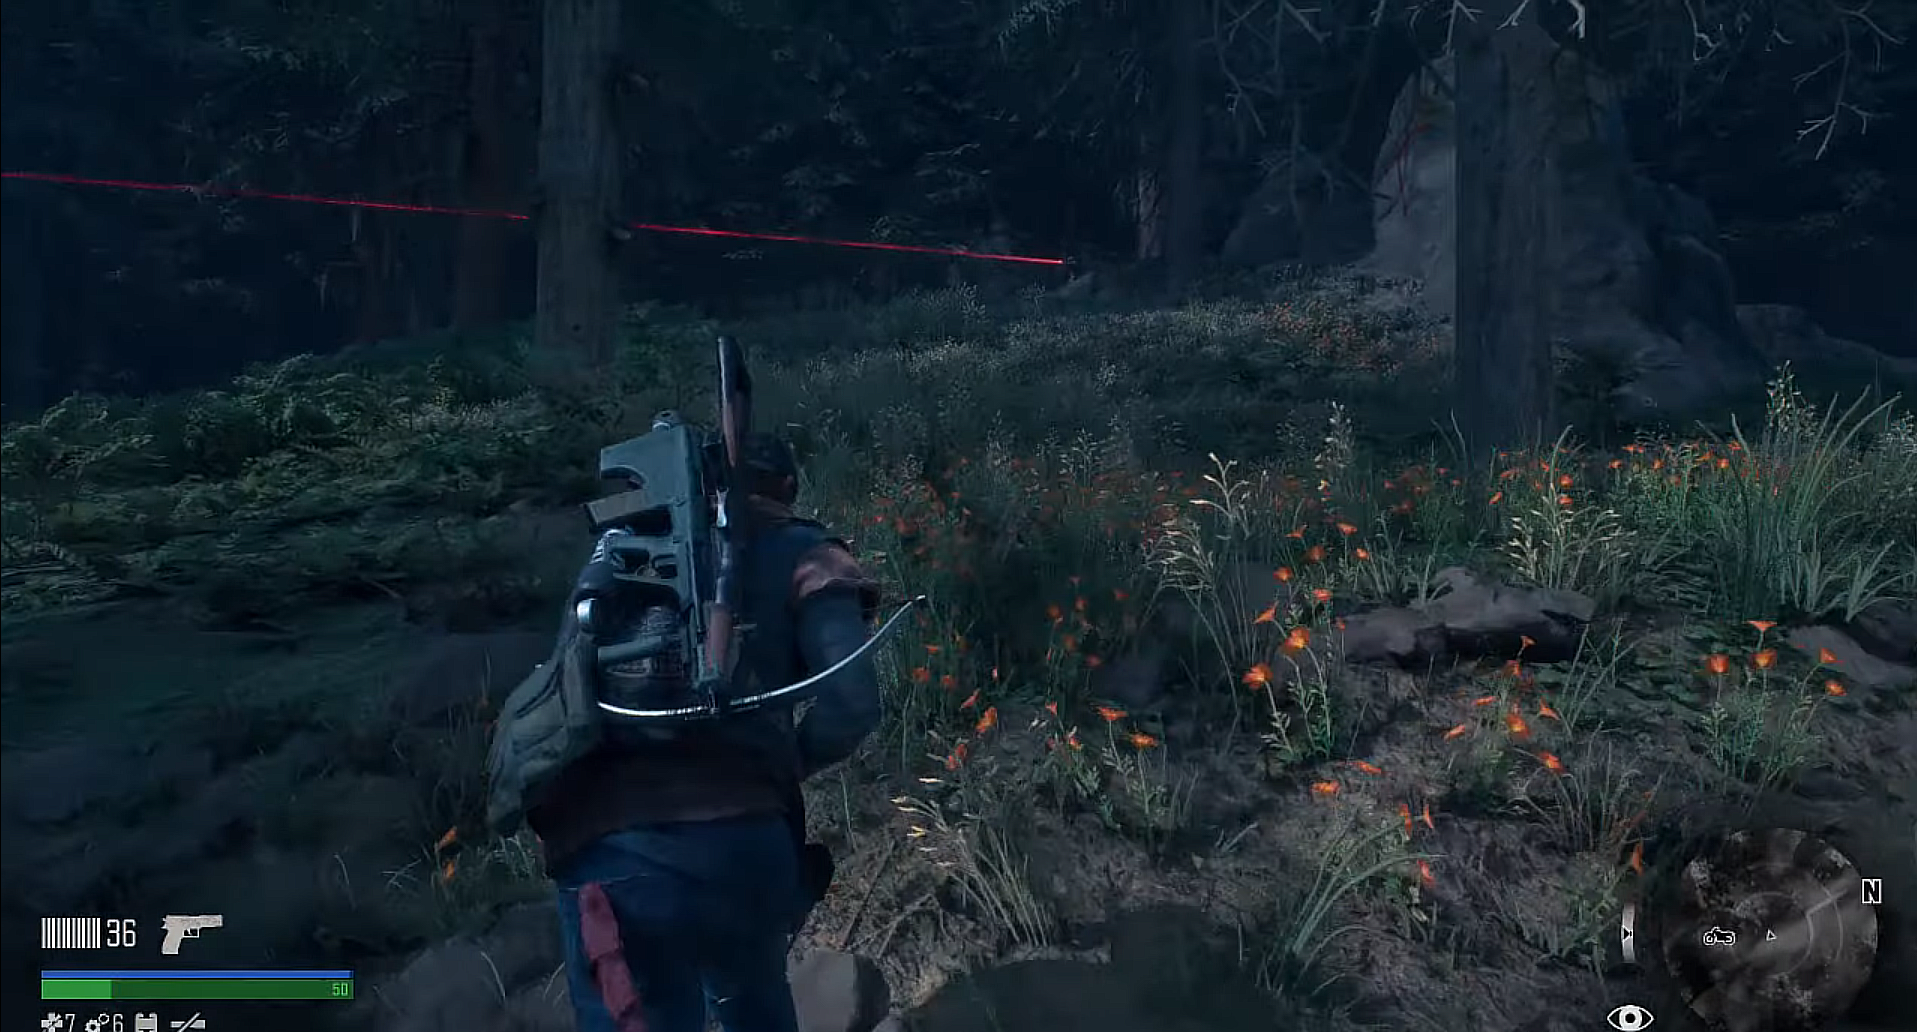
Use your crossbow to silently execute each and everyone in the camp. Ideally, you’d want to keep using your crossbow for as long as possible, but if the stealth cover is blows, don’t hesitate to send it!
via Trophygamers
There is a total of six people in this camp. Clear them, and continue moving towards your bike – after looting of course.
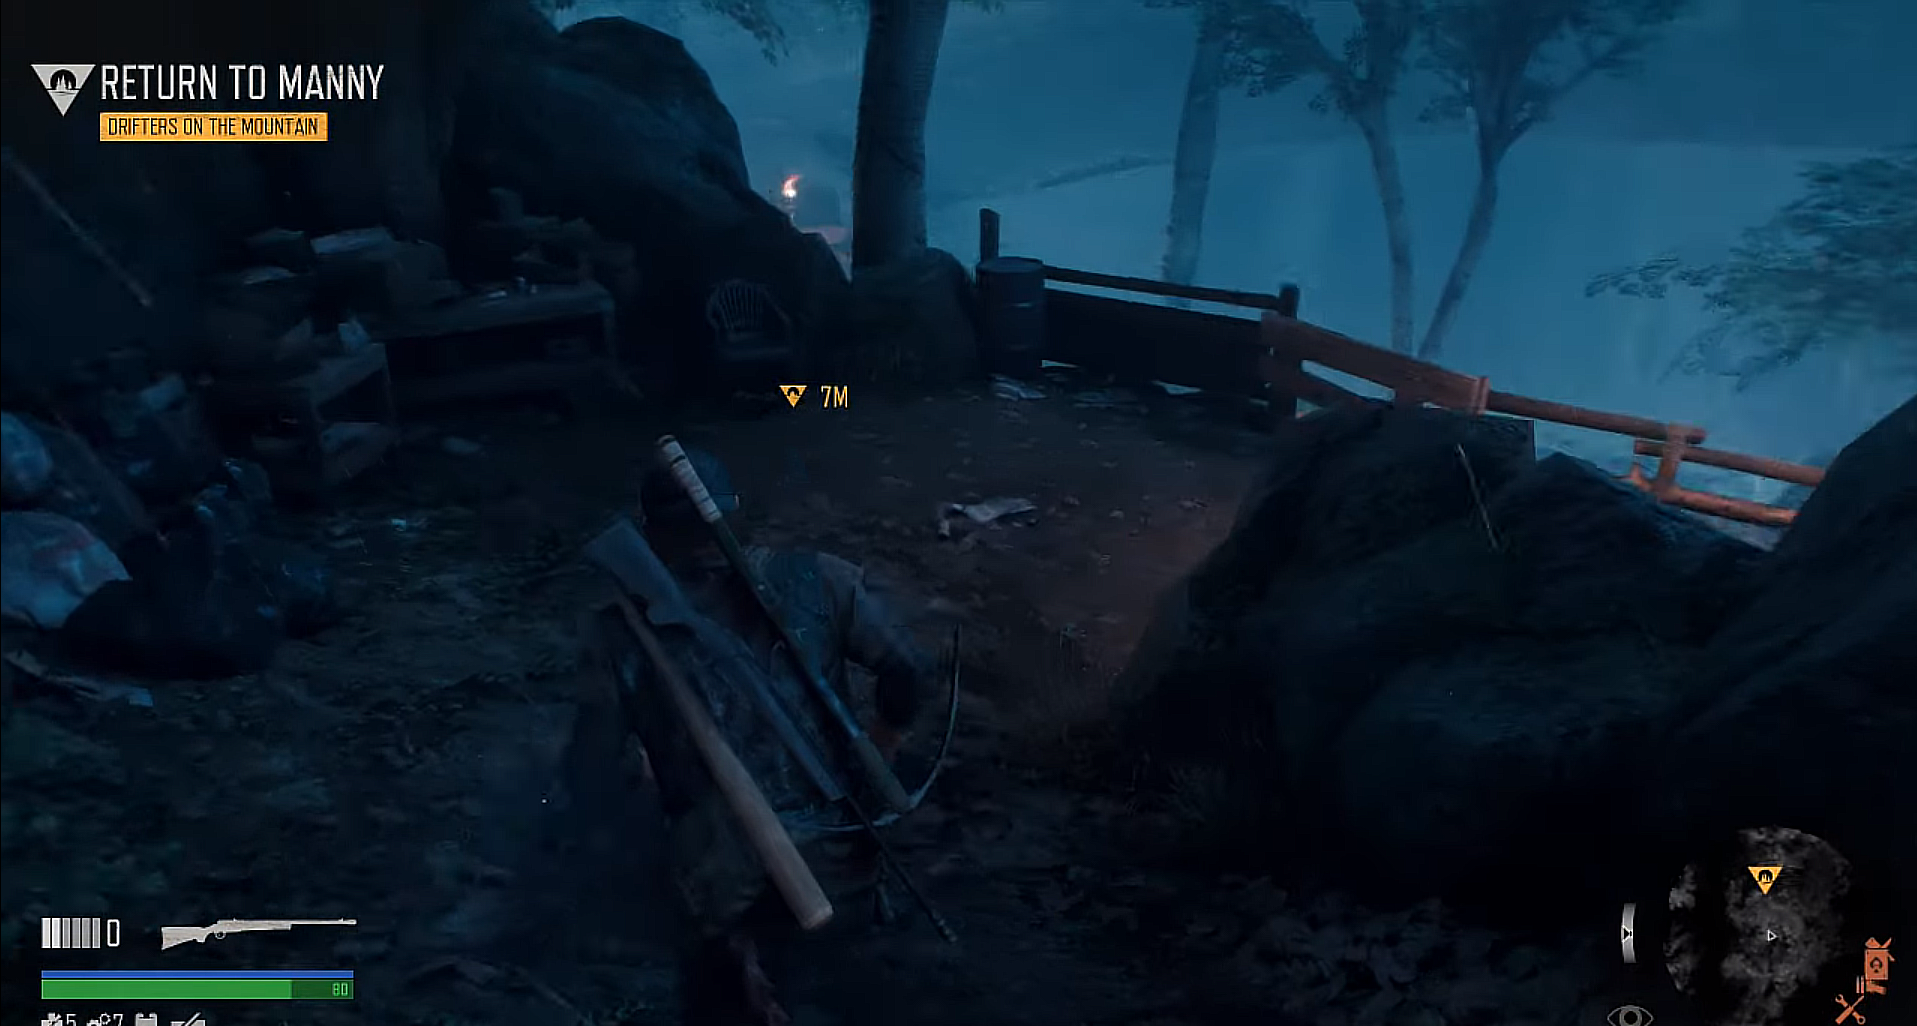
It’s probably getting dark and rainy since it takes a while to clear the camp. Regardless, just keep advancing in order to grab your bike. When you reach the area where your bike was supposed to be at you’ll be met with nothing but emptiness.
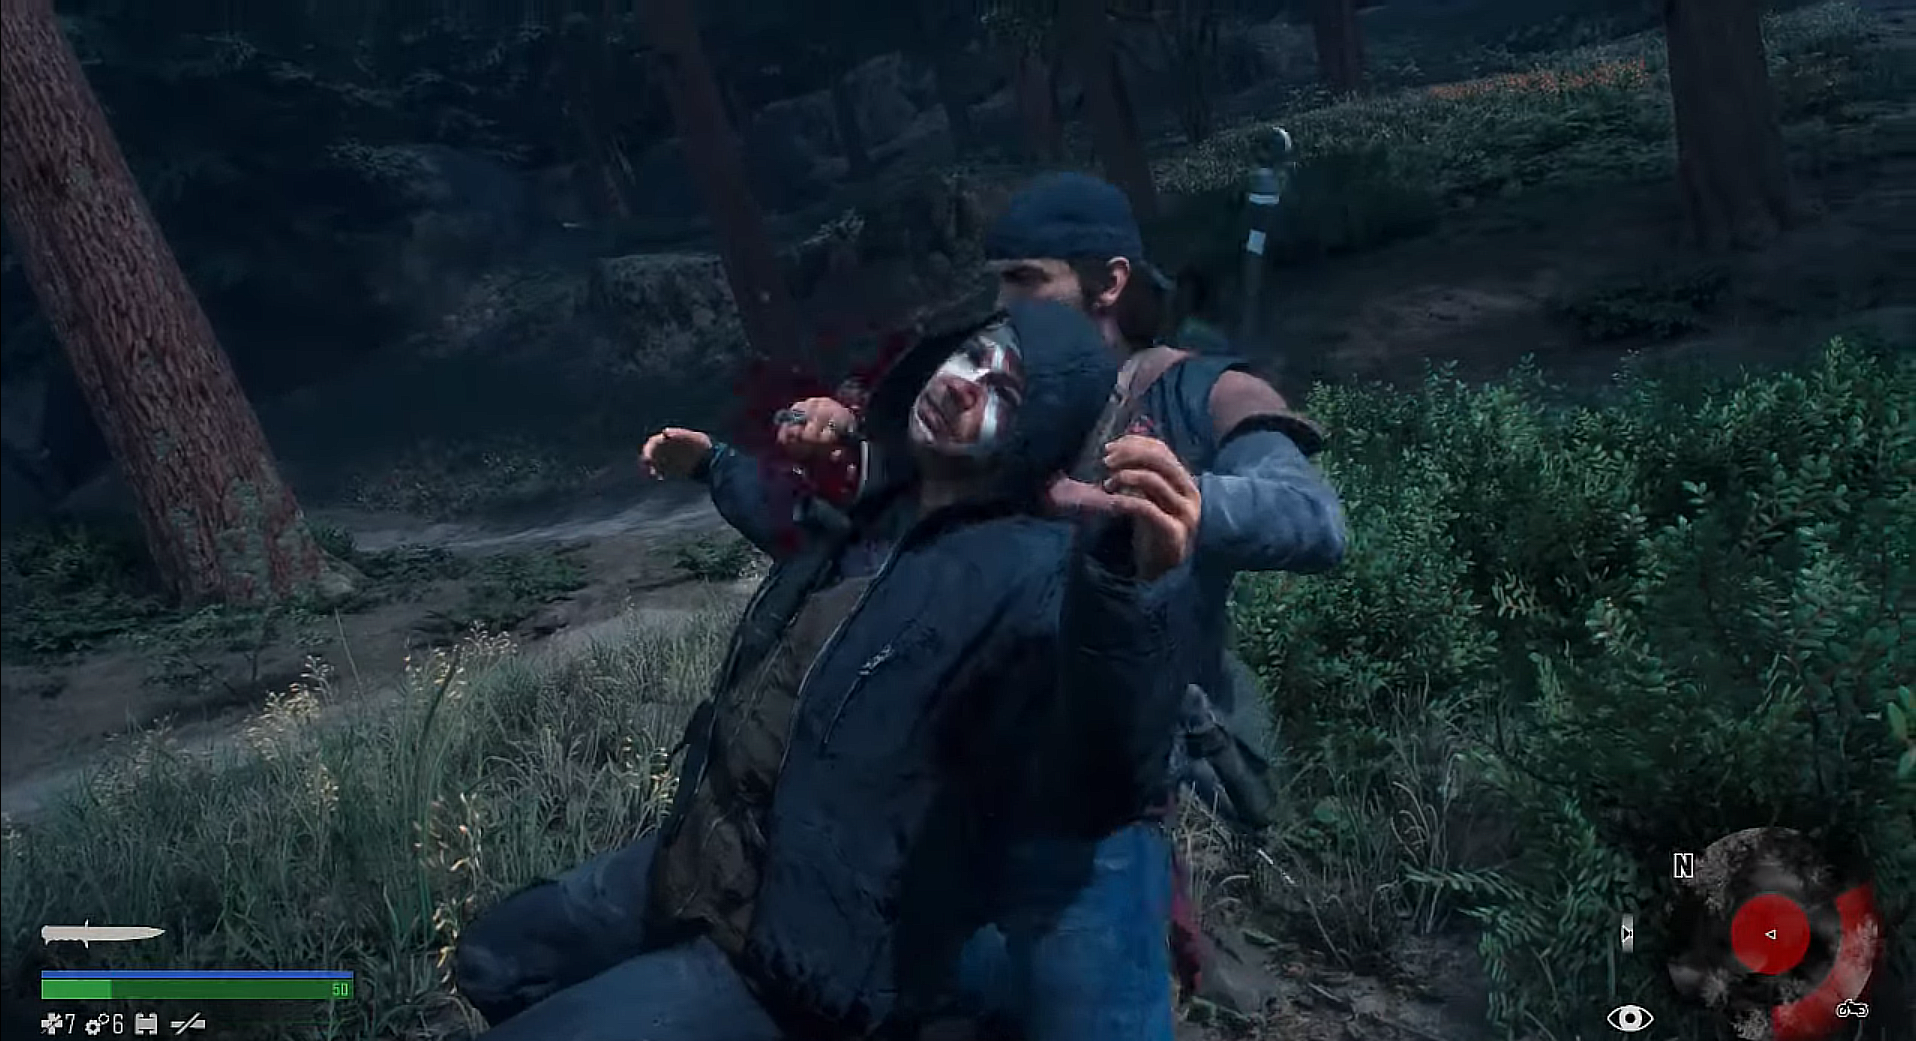
Thankfully, there’s a guy close by, let’s catch and interrogate him!
via Trophygamers
Do know that you won’t be able to catch him at your current pace. Luckily though, he seems to be running to a camp. Let’s follow him for a smooth infiltration to Copeland’s Camp. Talk to Manny to start the cutscene.

via Trophygamers
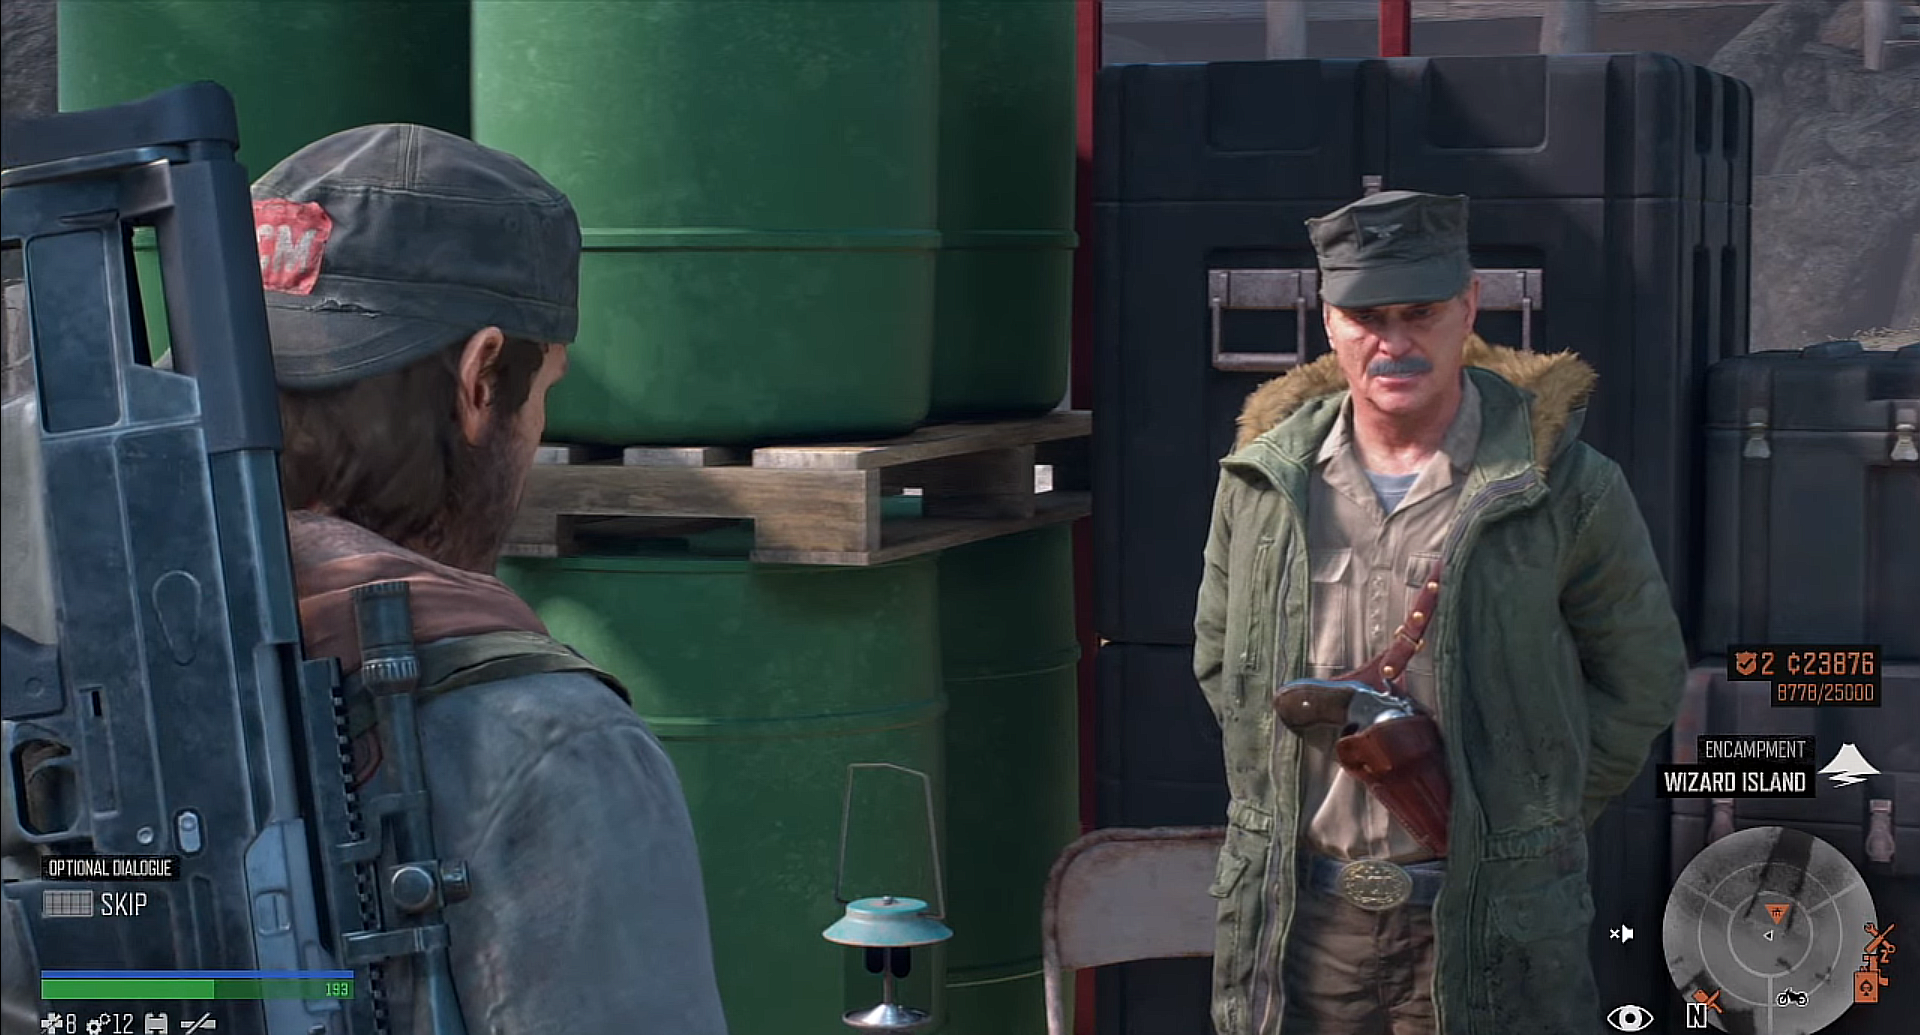
Surprise surprise, seems like Manny was the one that got the bike hauled – albeit unknowingly. Fortunately, there are some intellectuals in this camp. Walk with Copeland, and make small talk. At the end, Copeland will give you a mission to take care of some thugs in exchange for the bike.
via Trophygamers
Follow the marker till you reach Manny. Initiate another conversation, and finish the mission. There’s not much to do in this mission considering it’s not combat-related. However, it’s best to stockpile on loot during it considering your ongoing journey will be more dangerous now that you’ve lost your bike.
2. Story Mission | Smoke on the Mountain | Cascade Region
Smoke on the Mountain | via IGN
You’ve completed Copeland’s mission. Now, it’s time to head to the camp your friend spotted to the north of the mountain. Considering he heard gunshots, it’s probably not a safe place. For now, just follow the markers, grab everything you find along the way, and shift to a stealthy approach up close.
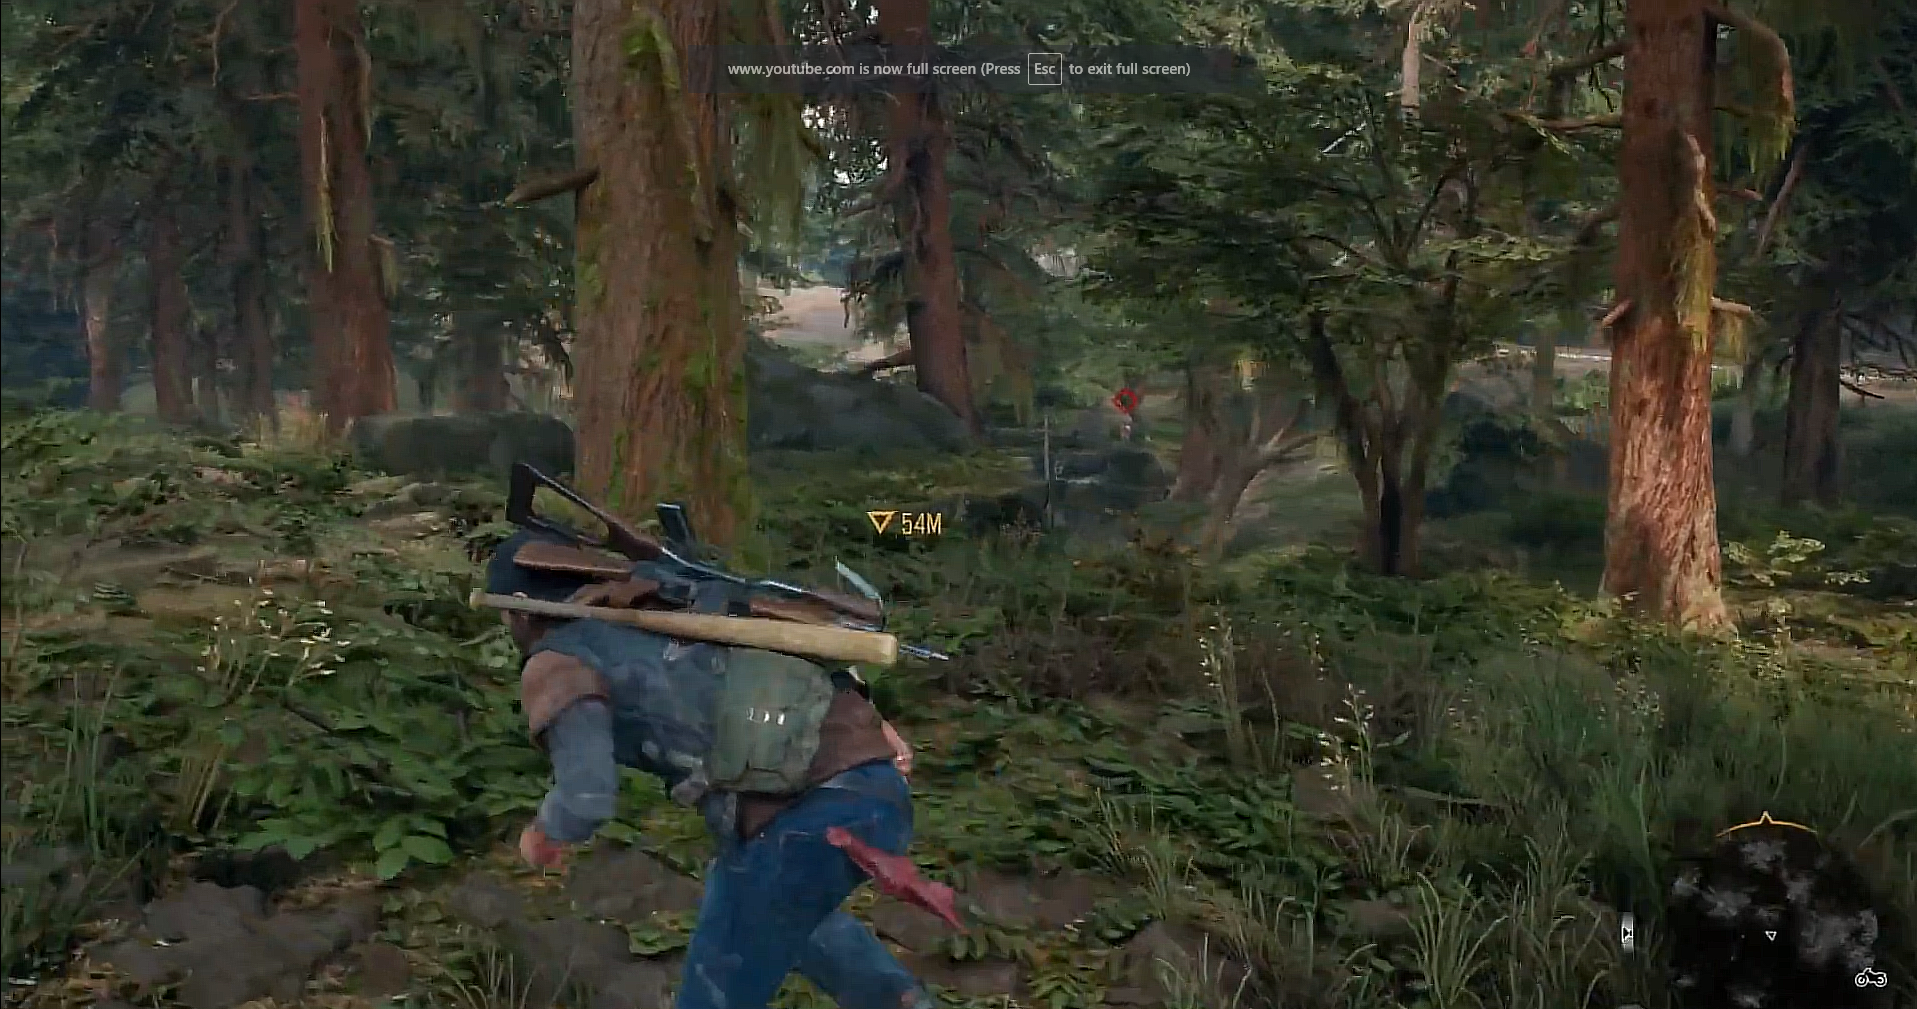
Once again, mark each enemy with your binoculars from afar. Helps with tracking them down during the mayhem. With that done, let’s wait until you find some isolated targets. Use your crossbow to complete the deed, and continue weakening the camp.
Beware though, you will find string contraptions and traps in your way. Make sure to disable them in order to keep the enemy from being alerted.
Use the nearby bushes to your advantage, and try to crouch as much as possible. However, don’t hesitate to go rambo if the situation at hands calls for it. Since there are a lot of enemies, it’s much better to slowly circle around the map, killing any isolated targets one by one.
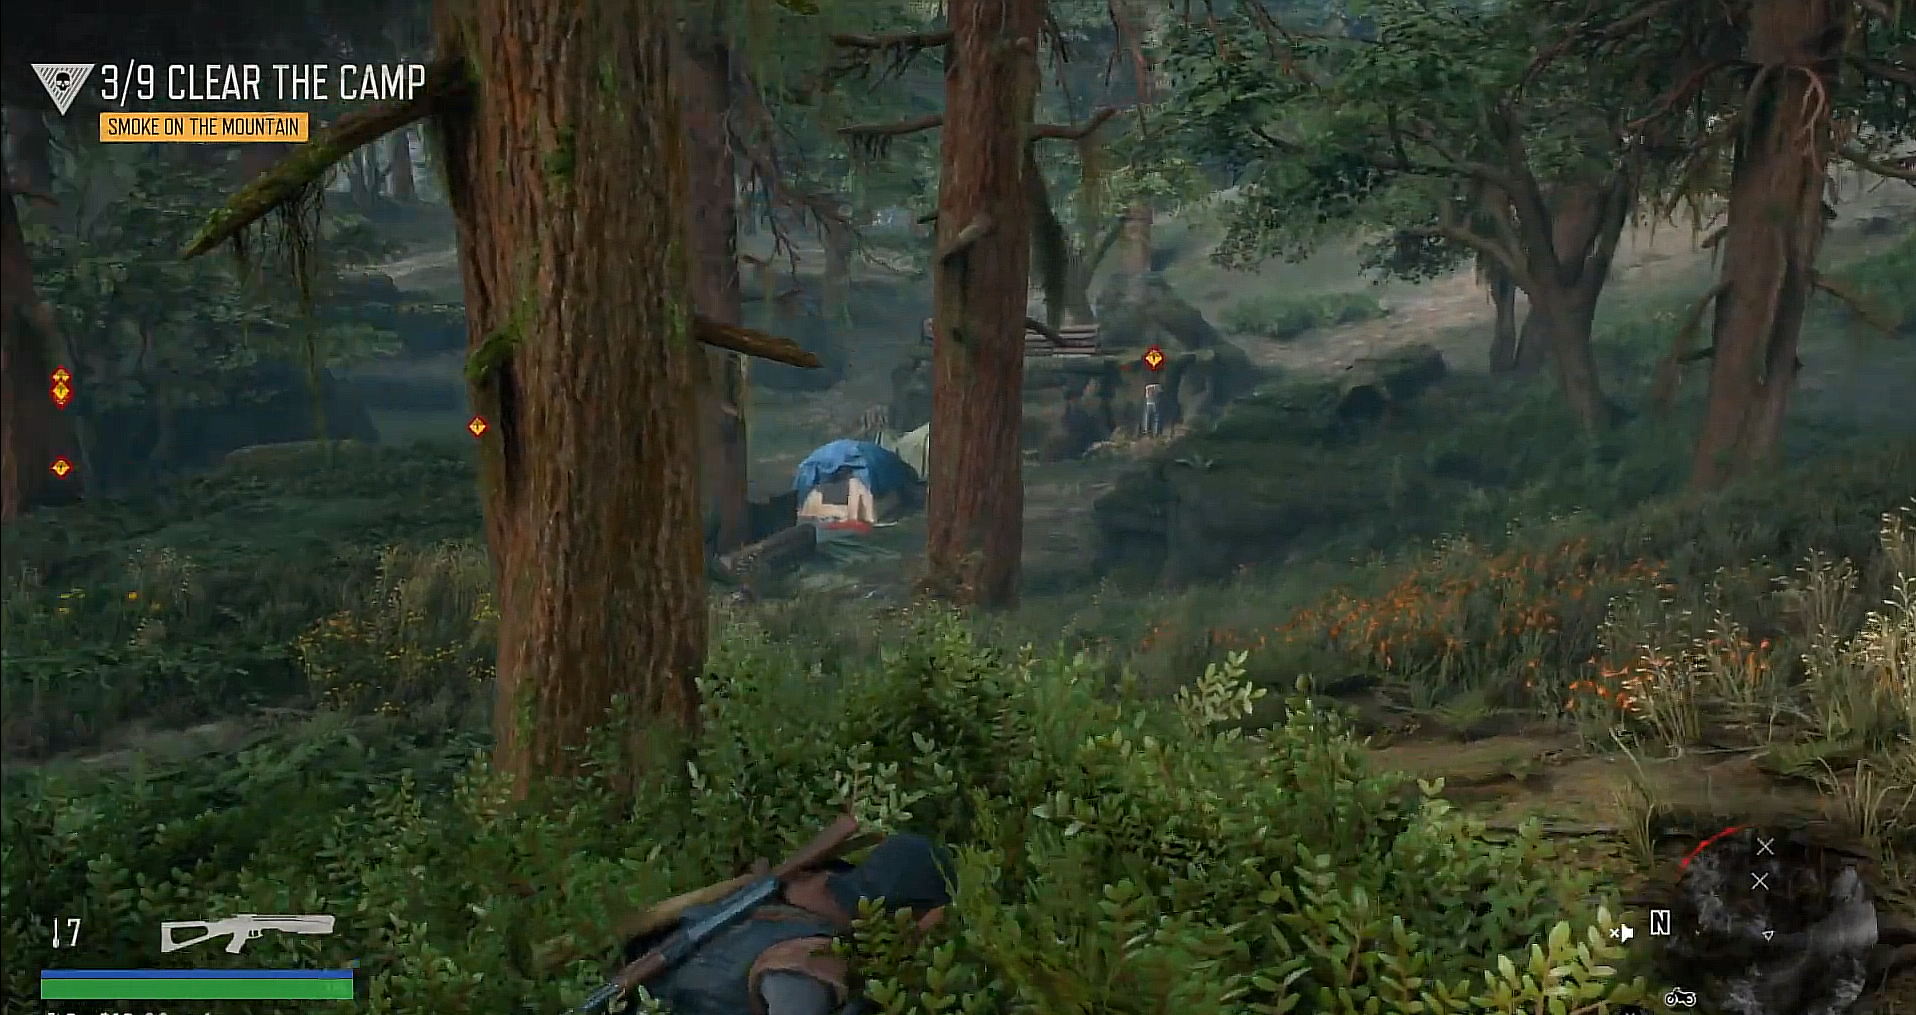
Due to the nature of the camp, there’s no real reason to reveal yourself. Everything is achievable with a little bit of patience and crossbow bolts. While making your way to the center, don’t forget to loot the dead bodies.
Ammo is scarce in Days Gone, so the more you have, the better!
With only a few members of the camp left, you can now make your way inside to clear out the remaining ones. Once it’s done, St. John will call boozer, to confirm the mission.
He seems to be a little guilt-ridden that he’s not there to help. Deacon gives him a little positive affirmation, and relays that they’re heading north as soon as he can ride.
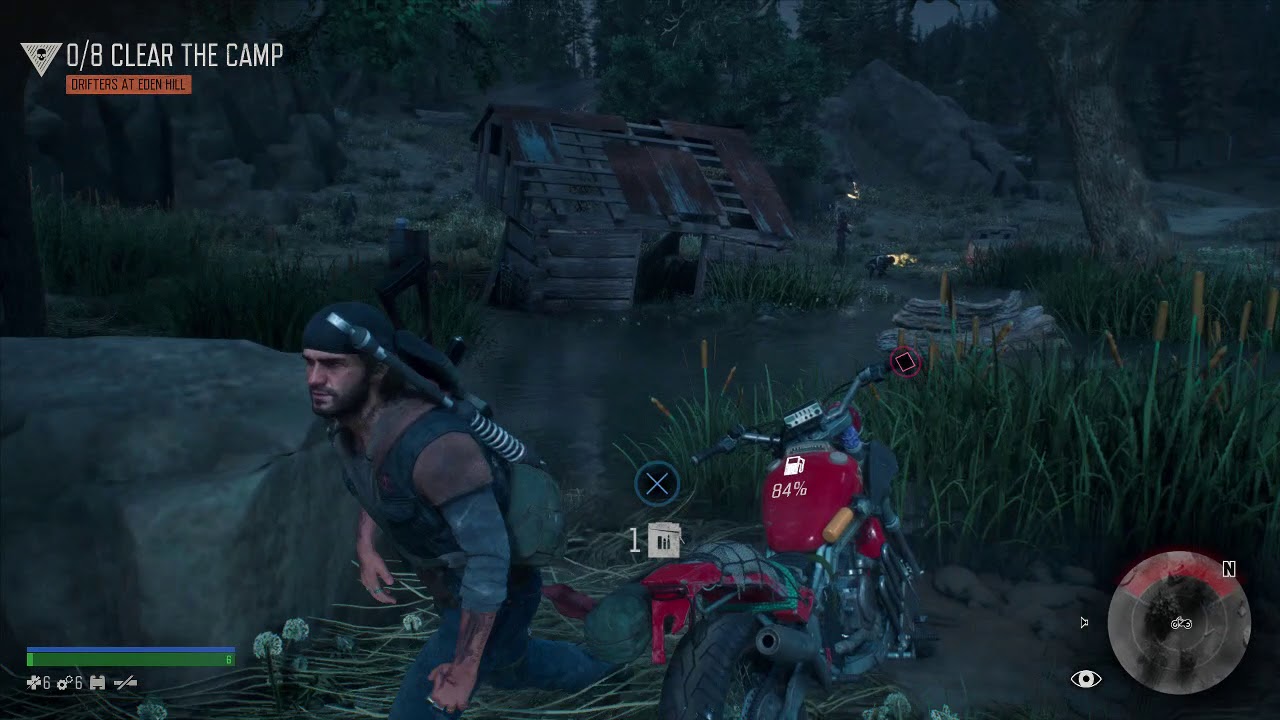
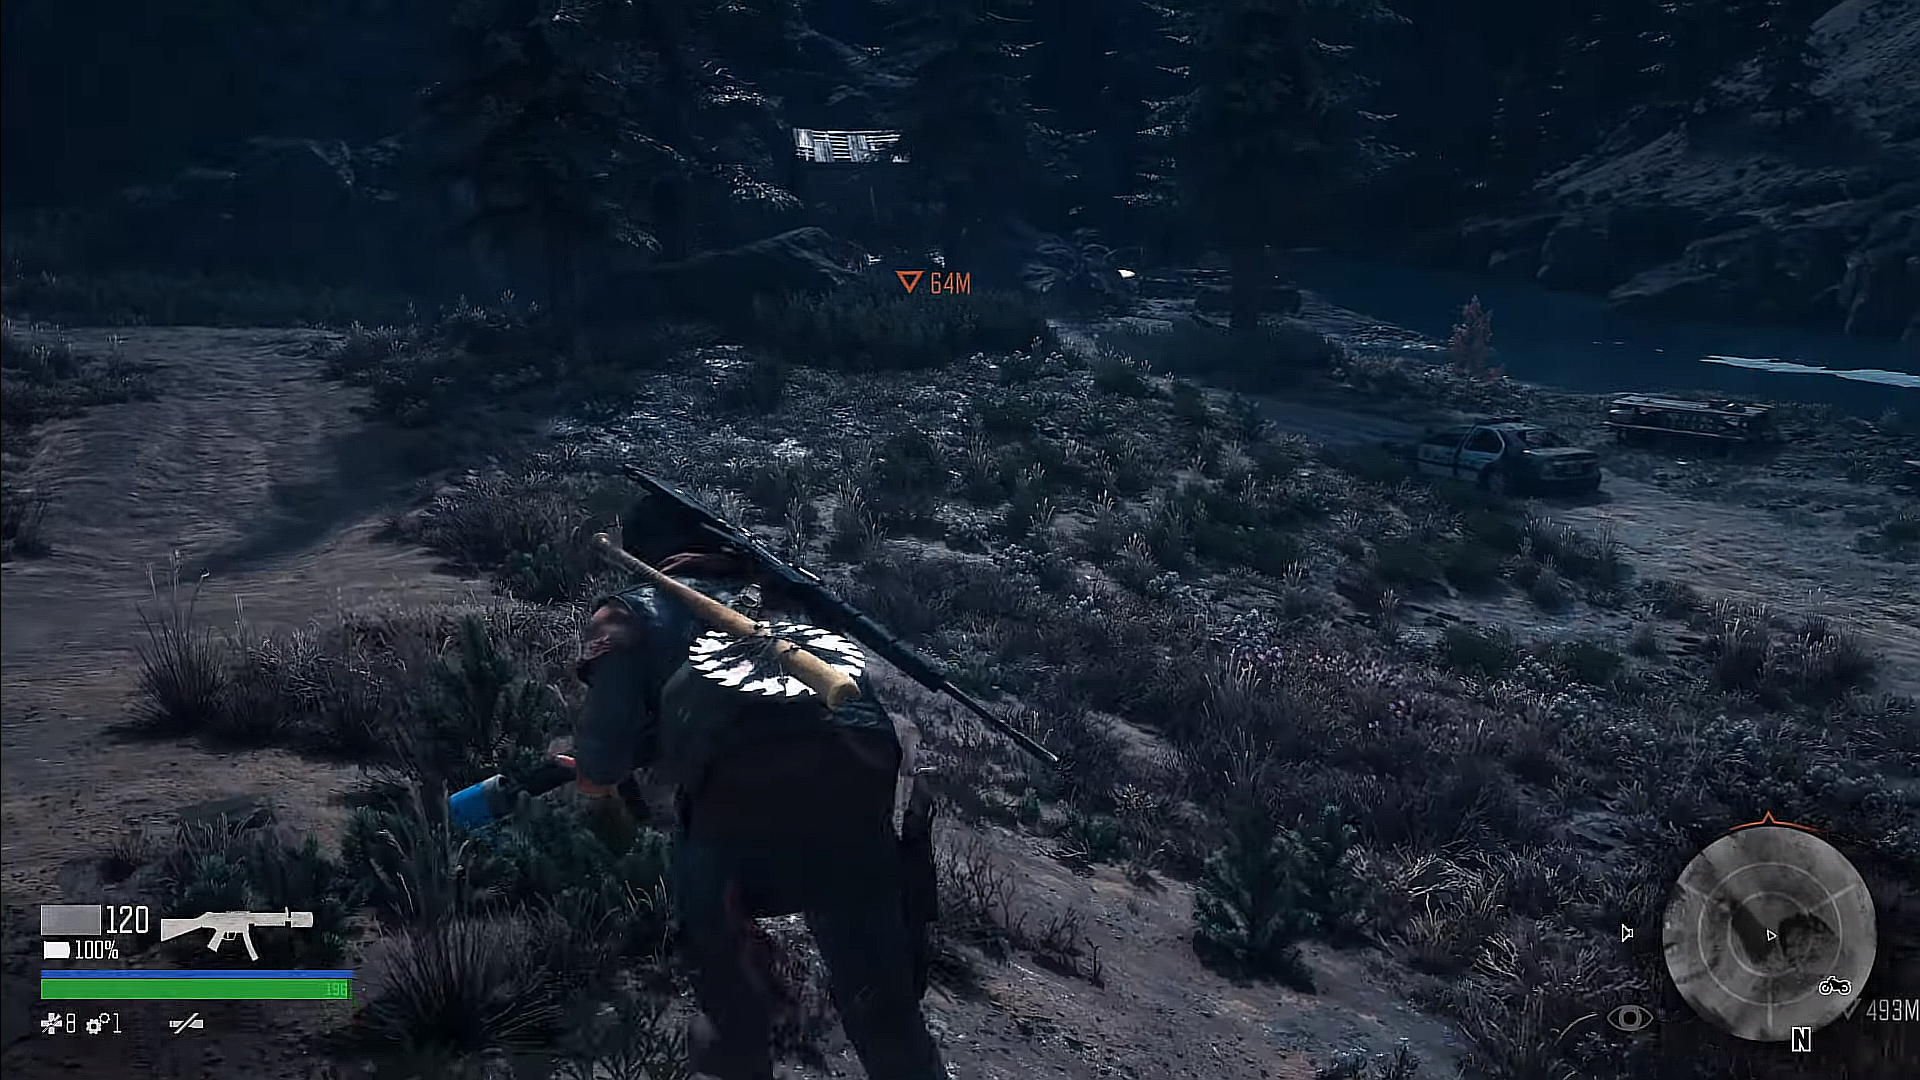
3. Encampment Job 2/7 | Drifters at Eden Hill | Lost Lake
Drifters at Eden Hill | via Trophy Gamers
Let’s start by talking to Rikki, it seems something major has happened to the camp area. According to Rikki, a group of men raided the camp, and rode west. They might be planning another attack. Let’s head west on our trusty bike to find out more!
via Trophy Gamers
The drifters seem to be still here. Be careful though, there are traps all over the area. You wouldn’t want to break your stealth considering you’re dealing with 8 enemies in an open area. For now, it’ll be great if you have a crossbow. But if you don’t, then it’s time to put those shooting skills to the test!
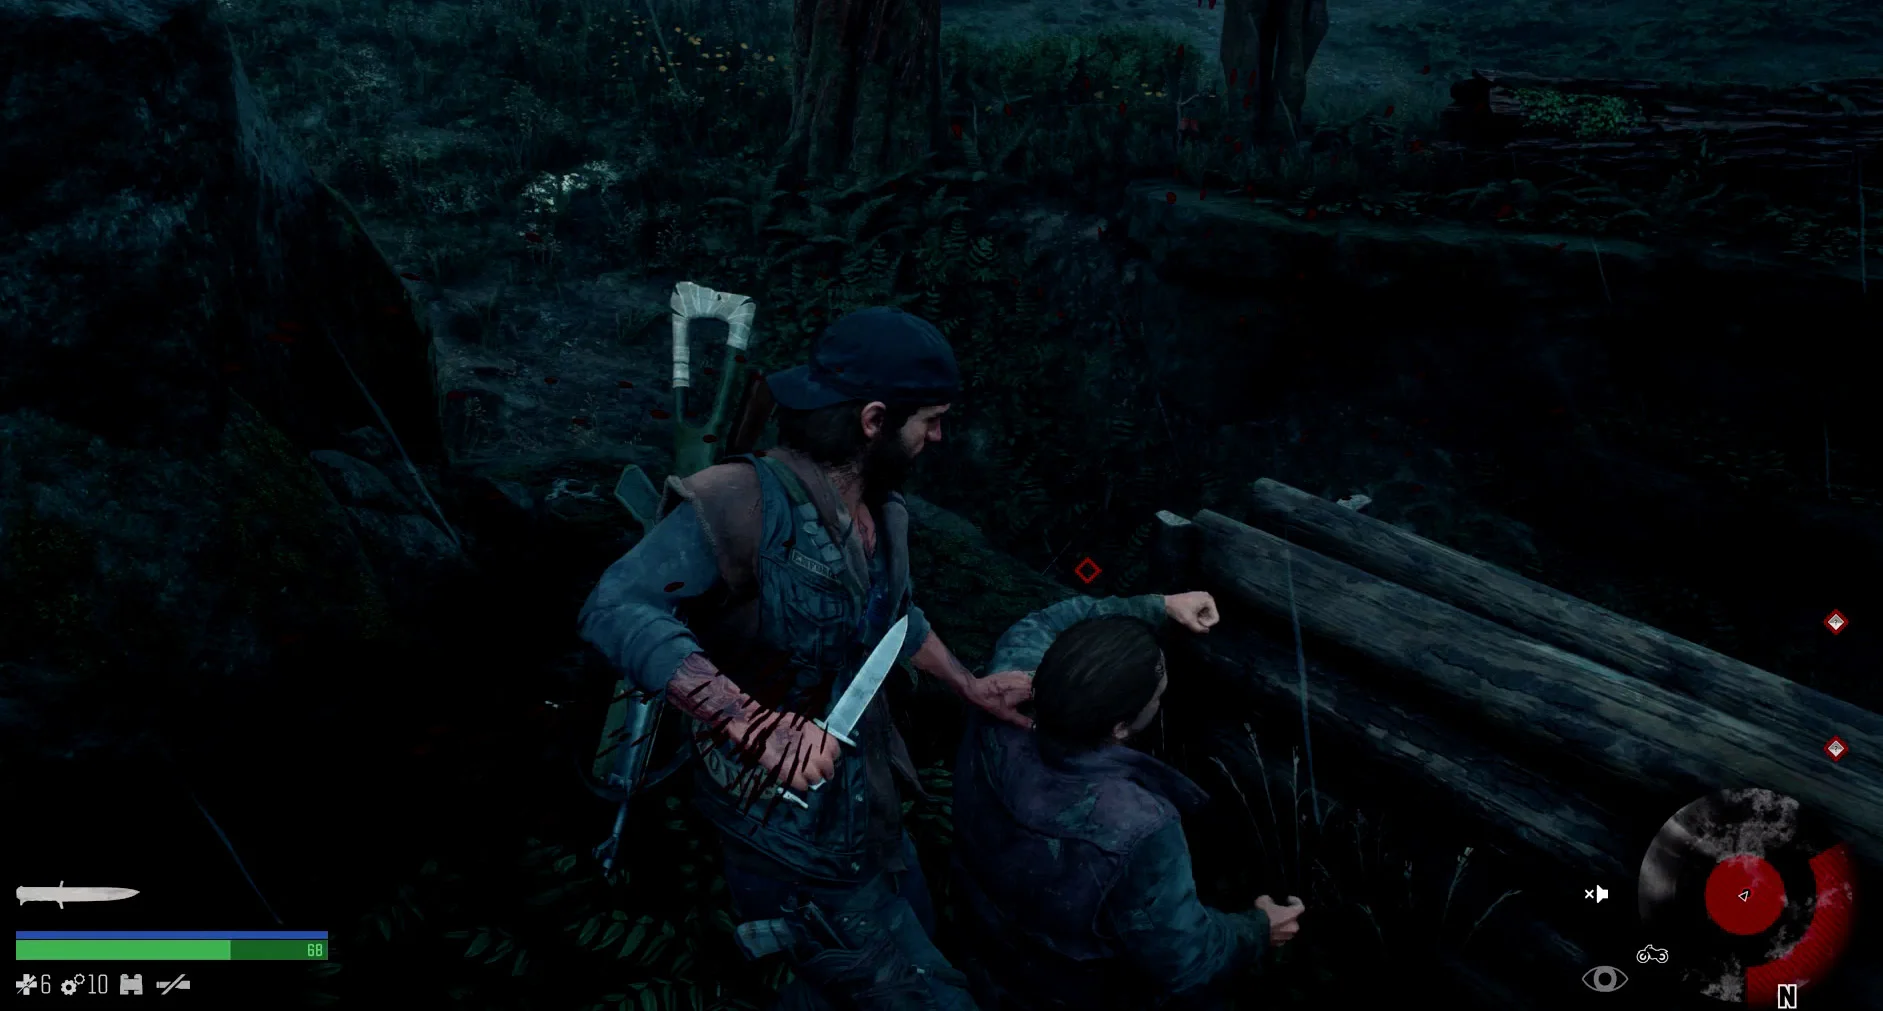
Once again, loot the bodies, but try to do it in stealth. The last thing you’d want it for some random drifter to attack you in the face with a machete while you’re busy scavenging goods.
via Trophy Gamers
Be careful, it’s night time so you will be battling Freakers too. Conveniently for your enemies, they only seem to be interested in you, so keep moving, keep scavenging goods, but also keep an eye out for anything strange.
All in all, this encampment mission is fairly simple, and should be a breeze to clear as long as you employ strong basics.
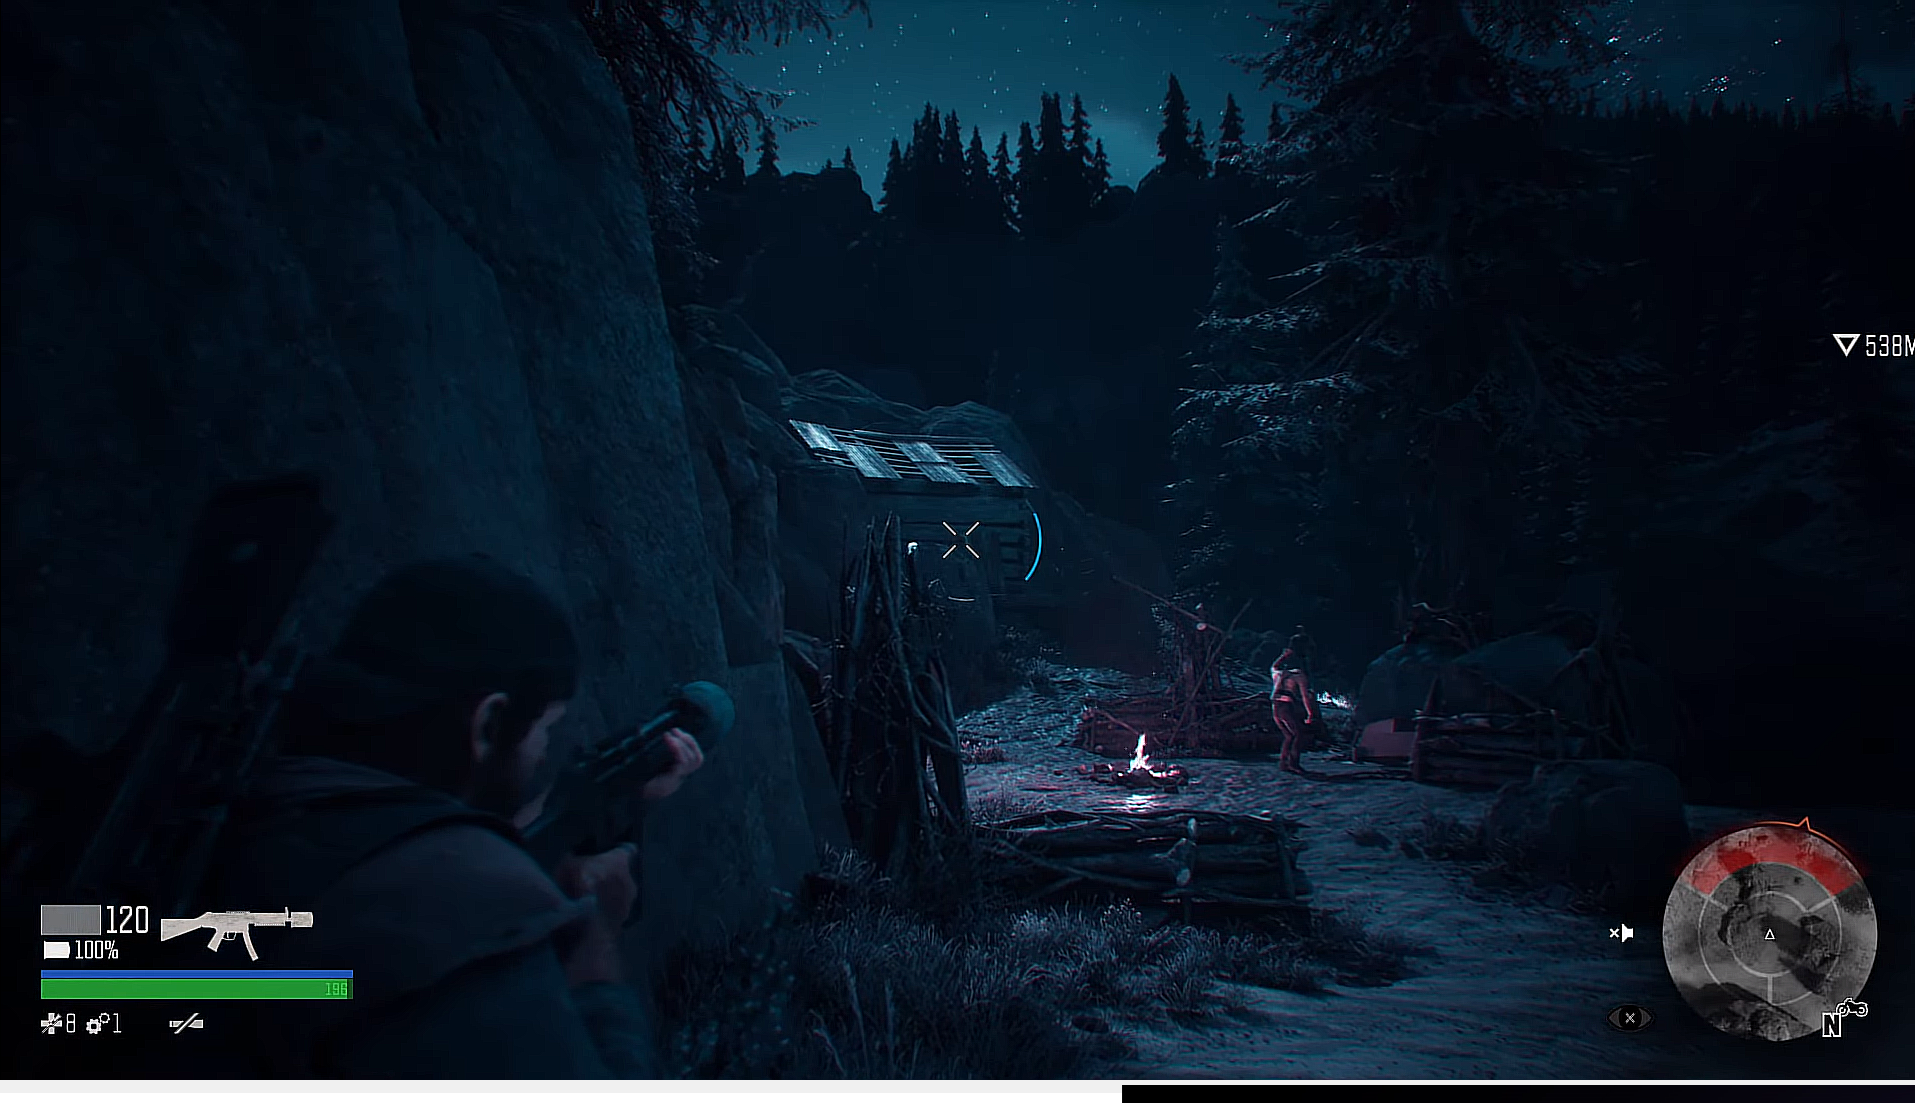
4. Encampment Job 5/6 | Here’s a Little Chaos | Cascade Region
Here’s a Little Chaos | via Trophy Gamers
Let’s talk to Copeland, and see what’s he’s up to. Your interaction with him will reveal that anarchists are back, and your job is to find those baddies, and deal with them!
Ride on your bike, and head straight to the mark mentioned on the map. Since this quest is also usually obtained during nighttime, make sure to keep a look out for Freakers.
Remember, you can kill them by ramming your bike in, but it will break your pace, and if there are any surrounding enemies, you’re as good as dead, if not seriously injured.
Now that we’re here, let’s do some crouch trekking until we can get a good angle on the anarchists:
via Trophy Gamers
They seem to be well-armed, having a laser sight and all. Fortunately, we have a crossbow, so our stealth will be hard to break. Just like other camps, you will be finding your fair share of traps.
Also, this is a big camp, so you will get plenty of opportunities to commit a knife assassination.
via Trophy Gamers
Conversely, it might also be better to purposely get stuck into a trap, hide in a nearby bush, and throw a frag in as soon as they show up. Then, simply use a silenced gun to finish any survivors. This is one of the bigger camps in the list, containing 12 enemies in total.
If you decide to face them head-on, the battle will become unnecessarily tough. Therefore, make use of the height advantage, and slowly weaken them until you’re able to get in for that kill.
In the end, don’t forget to loot their bodies for some goodies!
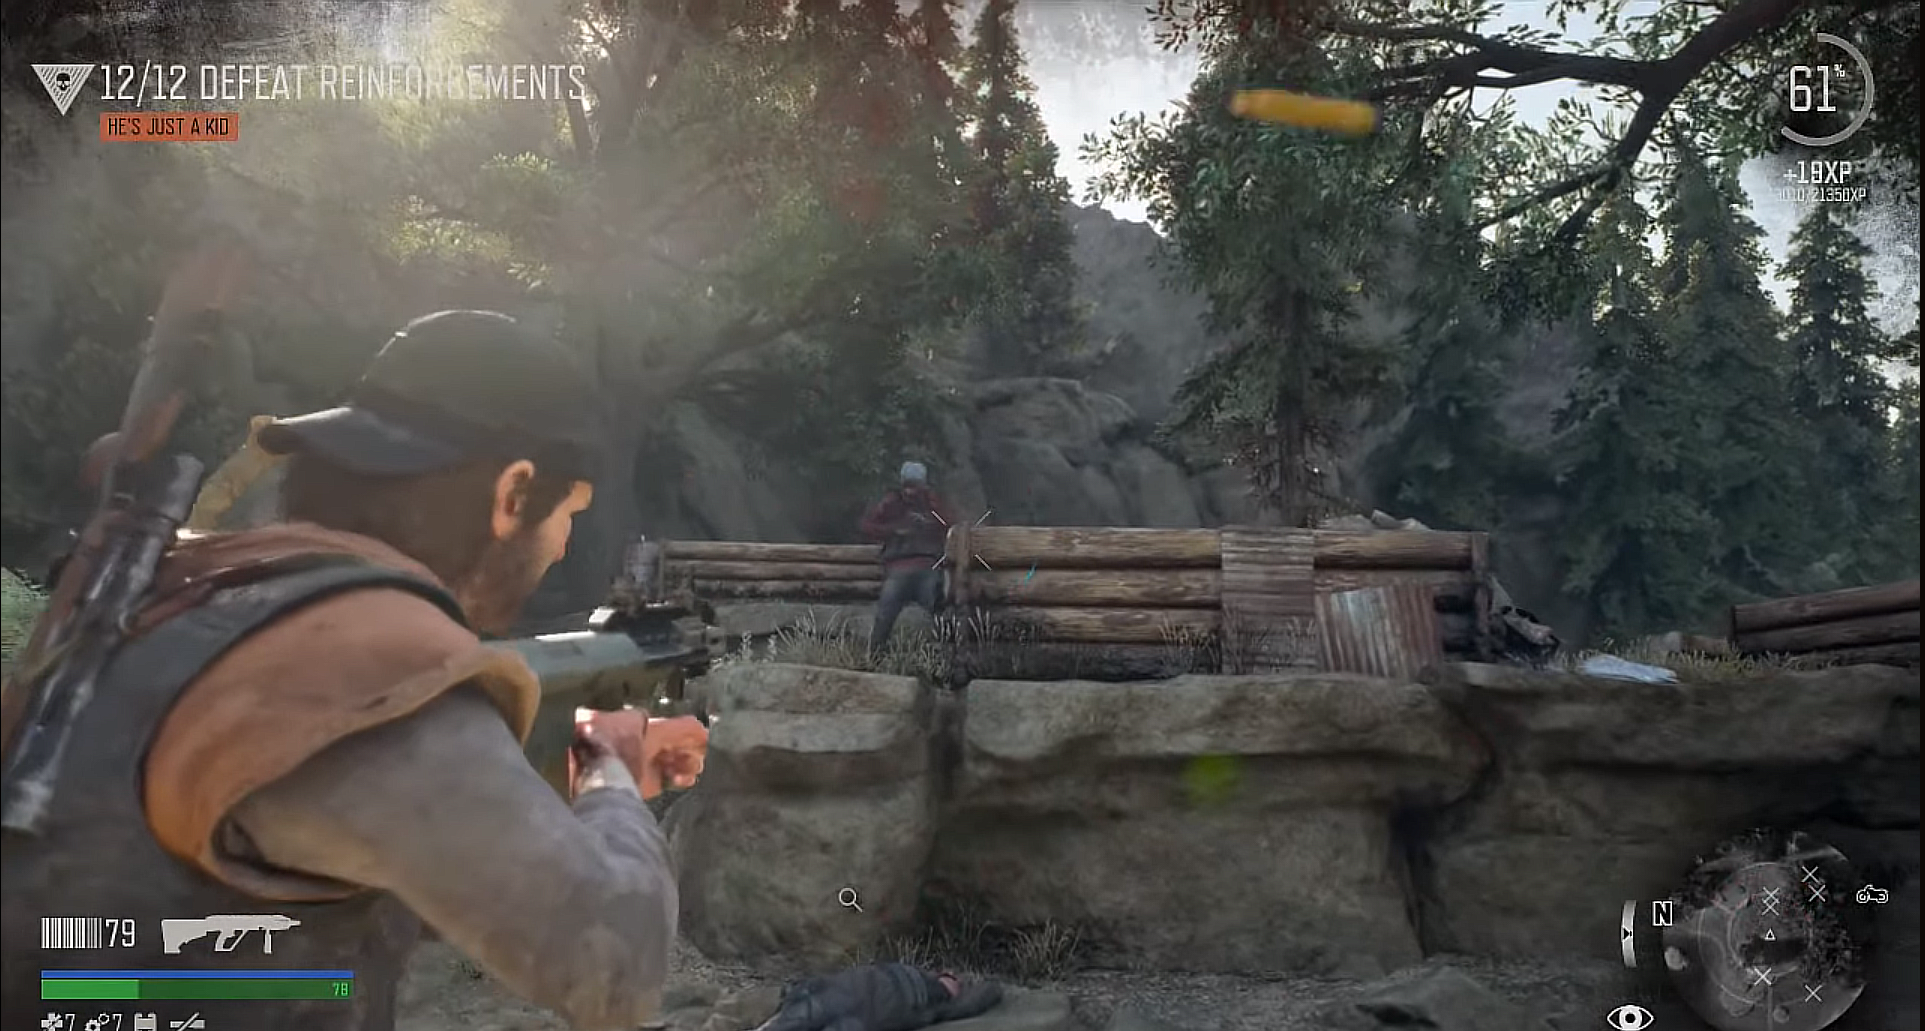
5. Encampment Job 6/7 | He’s Just a Kid | Lost Lake
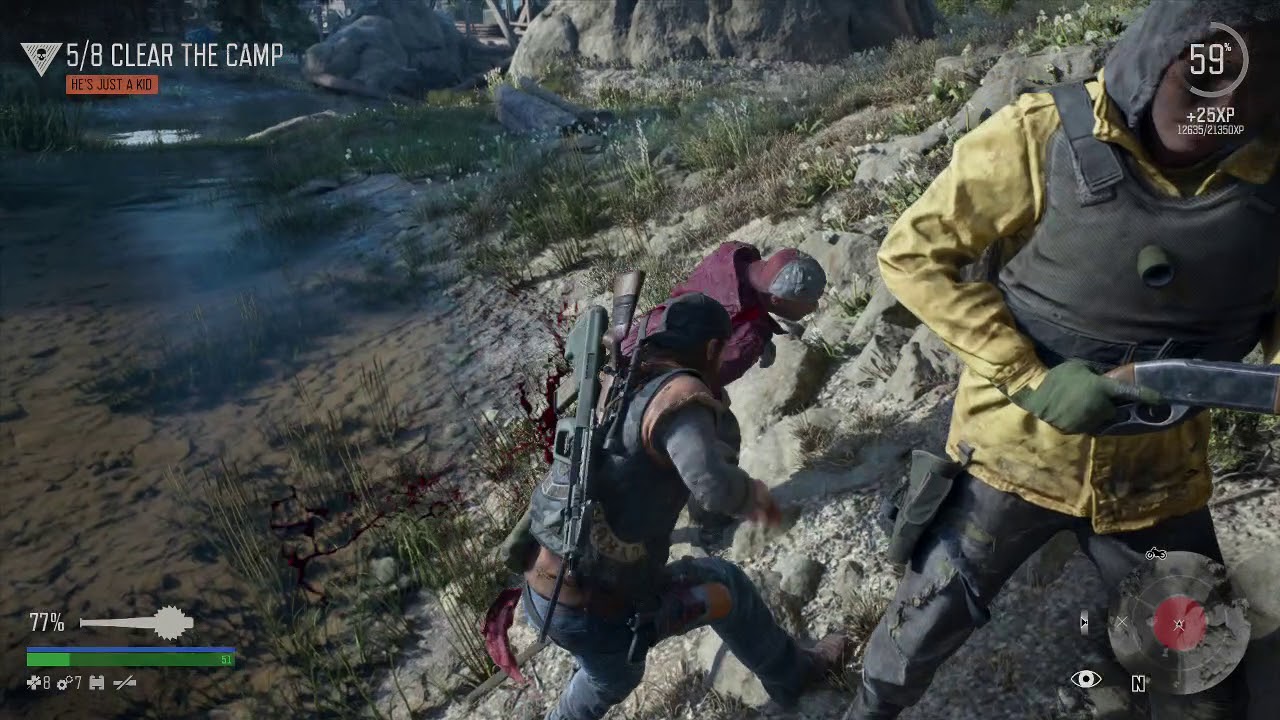
He’s Just a Kid | via Trophy Gamers
Let’s start by talking to Rikki in order to get the details for the mission. It seems Michell and the others encountered drifters, who have retreated to the Melakwa Late. Let’s take care of this one as quickly and efficiently as possible. Ride on your bike, and head to the marker shown on the map.
Ideally, you’d want to use the pathways drawn out on the roads considering they’re much safter to go through than than woods during the night. Plus, it’s another load of chores if you manage to slip – losing hold of your bike in no man’s land.
Once there, you’ll notice that the area is sprawling with drifters. It’s critical to approach the camp with caution. Using your binoculars, start by scouting the area and marking your enemies.
Stealth should be your best friend in this mission. There are around twelve drifters lurking in the camp and they’re spread out well. This situation provides ample opportunities for silent crossbow kills and stealth takedowns.
As you move closer to the camp, be mindful of any noise you make. If discovered, the drifters will not hesitate to swarm you. Use the terrain to your advantage – hide in the tall grass and behind objects for cover.
If you’re spotted and combat becomes inevitable, use whatever weapons you have at your disposal. Remember, Molotovs and pipe bombs can make quick work of clustered enemies, while melee weapons are great for one-on-one encounters.
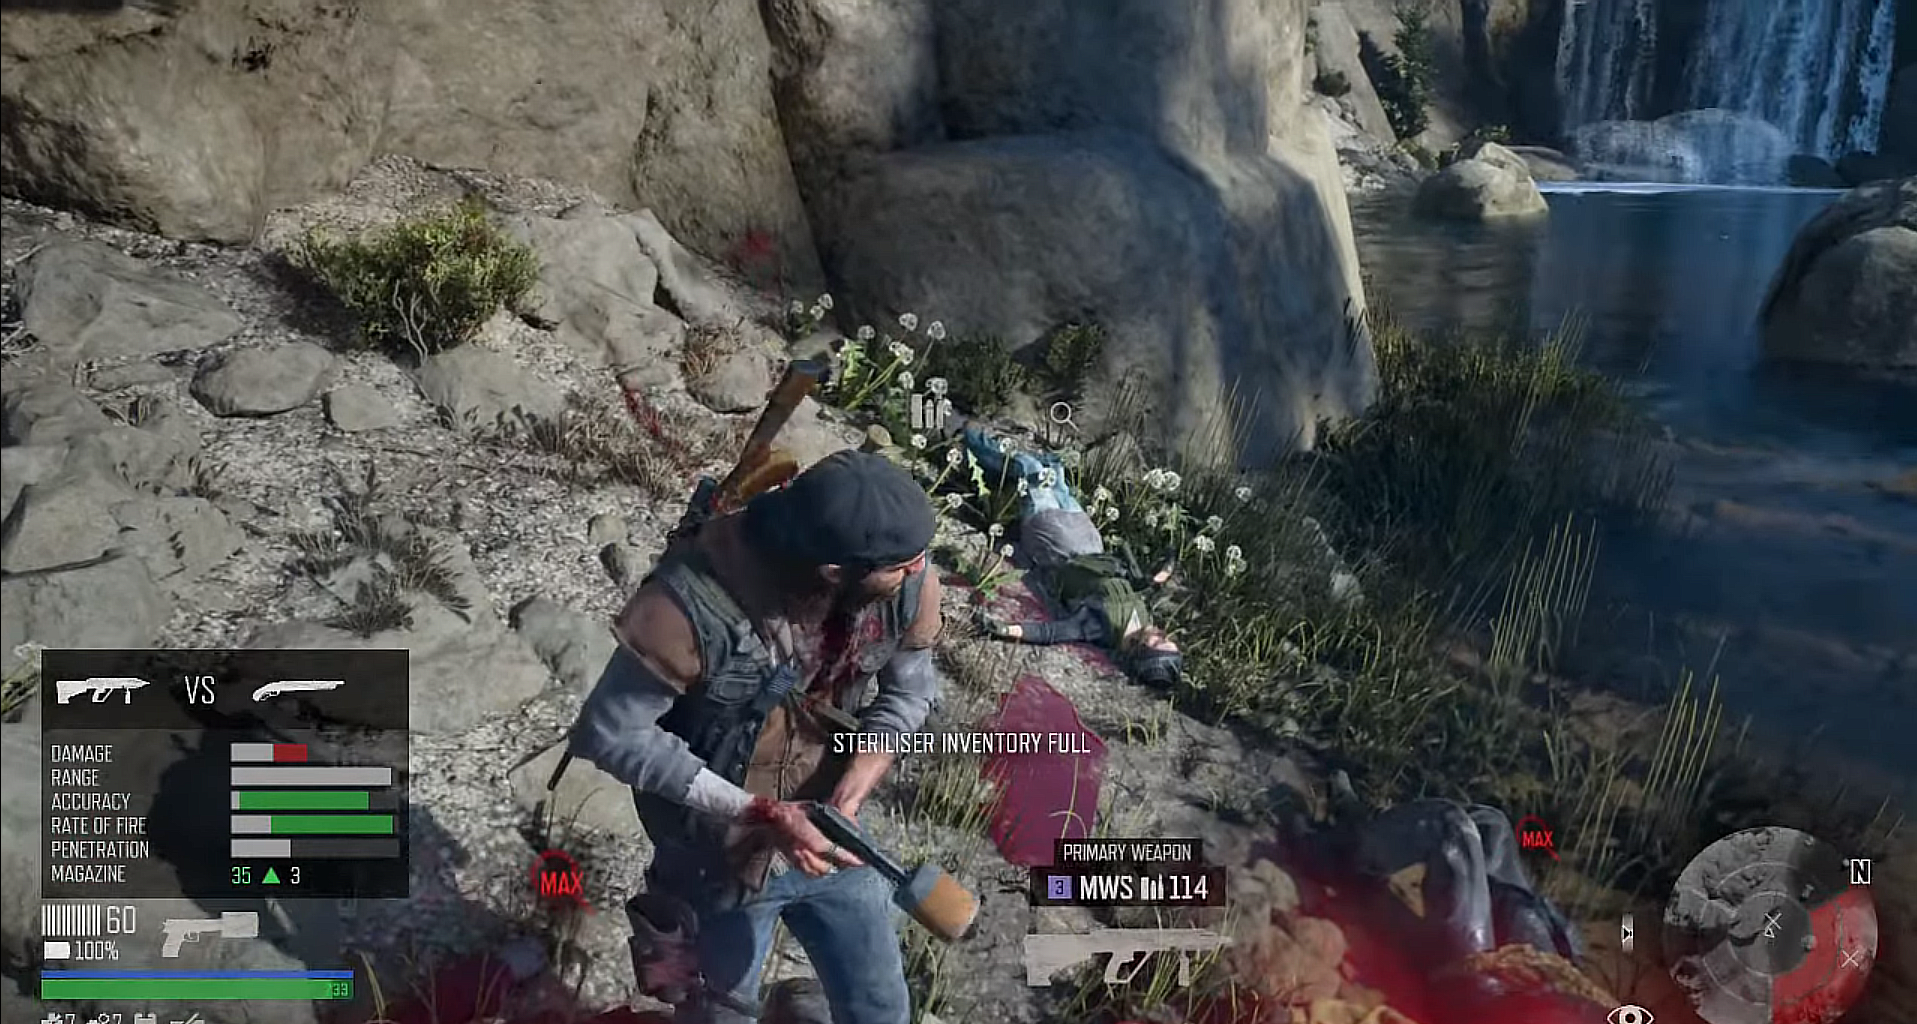
Don’t forget to loot the camp as you take down each drifter. Ammunition, crafting materials, and health supplies are crucial for your survival.
Once you’ve cleared the area, a cutscene will trigger where Deacon reflects on the reality of his situation. He reaches out to Rikki over the radio, confirming the mission is complete.
Before you return to the Lost Lake, ensure you’ve completely looted the camp. Use this opportunity to also restock on your resources and craft additional ammo or health kits. You never know what you’re going to face next in the world of Days Gone.

Remember, survival is all about being prepared for the worst while hoping for the best. Now, mount your bike and head back to the encampment, ready to face whatever comes next. You’ll encounter a screamer on your way back, have enough health to take care of it, or it’s another redo!
6. Encampment Job 7/8 | Rippers, Rest in Hell | Belknap Region
Rippers, Rest in Hell | via Trophy Gamers
After completing your previous tasks, you’ll be given the mission “Rippers, Rest in Hell.” Ada Tuckers will brief you on this one. It seems that a Ripper group has been spotted in the vicinity of the Belknap Caves. Your job? To ensure their reign of terror ends there.
Upon receiving your orders, mount your bike and make your way to the Belknap region. As you ride, stay alert – Rippers are known for their cunning ambushes and ruthless aggression.
via DSTORQUE
Once you arrive, you’ll notice the camp is located between a network of roads and barricades – a naturally defensible position. Not only will you face enemies in the open, but some may also be hiding within the dark recesses of the grooves. Be prepared for anything.
Rely on stealth initially. The natural cover provided by the rugged terrain can be used to your advantage. Scout the area with your binoculars, mark all the visible enemies, and plan your approach accordingly.
via DSTORQUE
With Rippers being one of the most dangerous enemies in Days Gone, discretion will be vital for your survival.
You can quietly take down isolated targets with your crossbow or a silenced weapon. However, once discovered, you’ll need to switch to a more aggressive strategy. Rippers will not hesitate to charge at you once alerted, so be prepared to defend yourself.
In such scenarios, remember your environment. Uphill locations can act as stealth points, allowing you to funnel incoming enemies into a narrow space where explosives, such as Molotovs or pipe bombs, can be used to great effect.
via DSTORQUE
Clearing the camp is not just about killing all Rippers present. It’s about securing the area and ensuring it’s safe for future travelers. So once you’ve dealt with all visible threats, venture into the camp. Use your flashlight to illuminate the dark corners, but be cautious – there might still be a few straggling Rippers waiting to pounce.
When the area is clear and secured, notify Ada via your radio. She’ll be relieved to hear that the region is free of the Ripper threat.

via DSTORQUE
Before you leave, ensure that you’ve thoroughly explored both the camp and the caves. The Rippers might have stockpiled valuable resources which you can use for your future missions. Health supplies, crafting materials, and ammunition can often be found in such camps.
With the Rippers vanquished, mount your bike again and head back to Ada. With this mission under your belt, you’re one step closer to reclaiming the post-apocalyptic Oregon from its dangerous inhabitants.
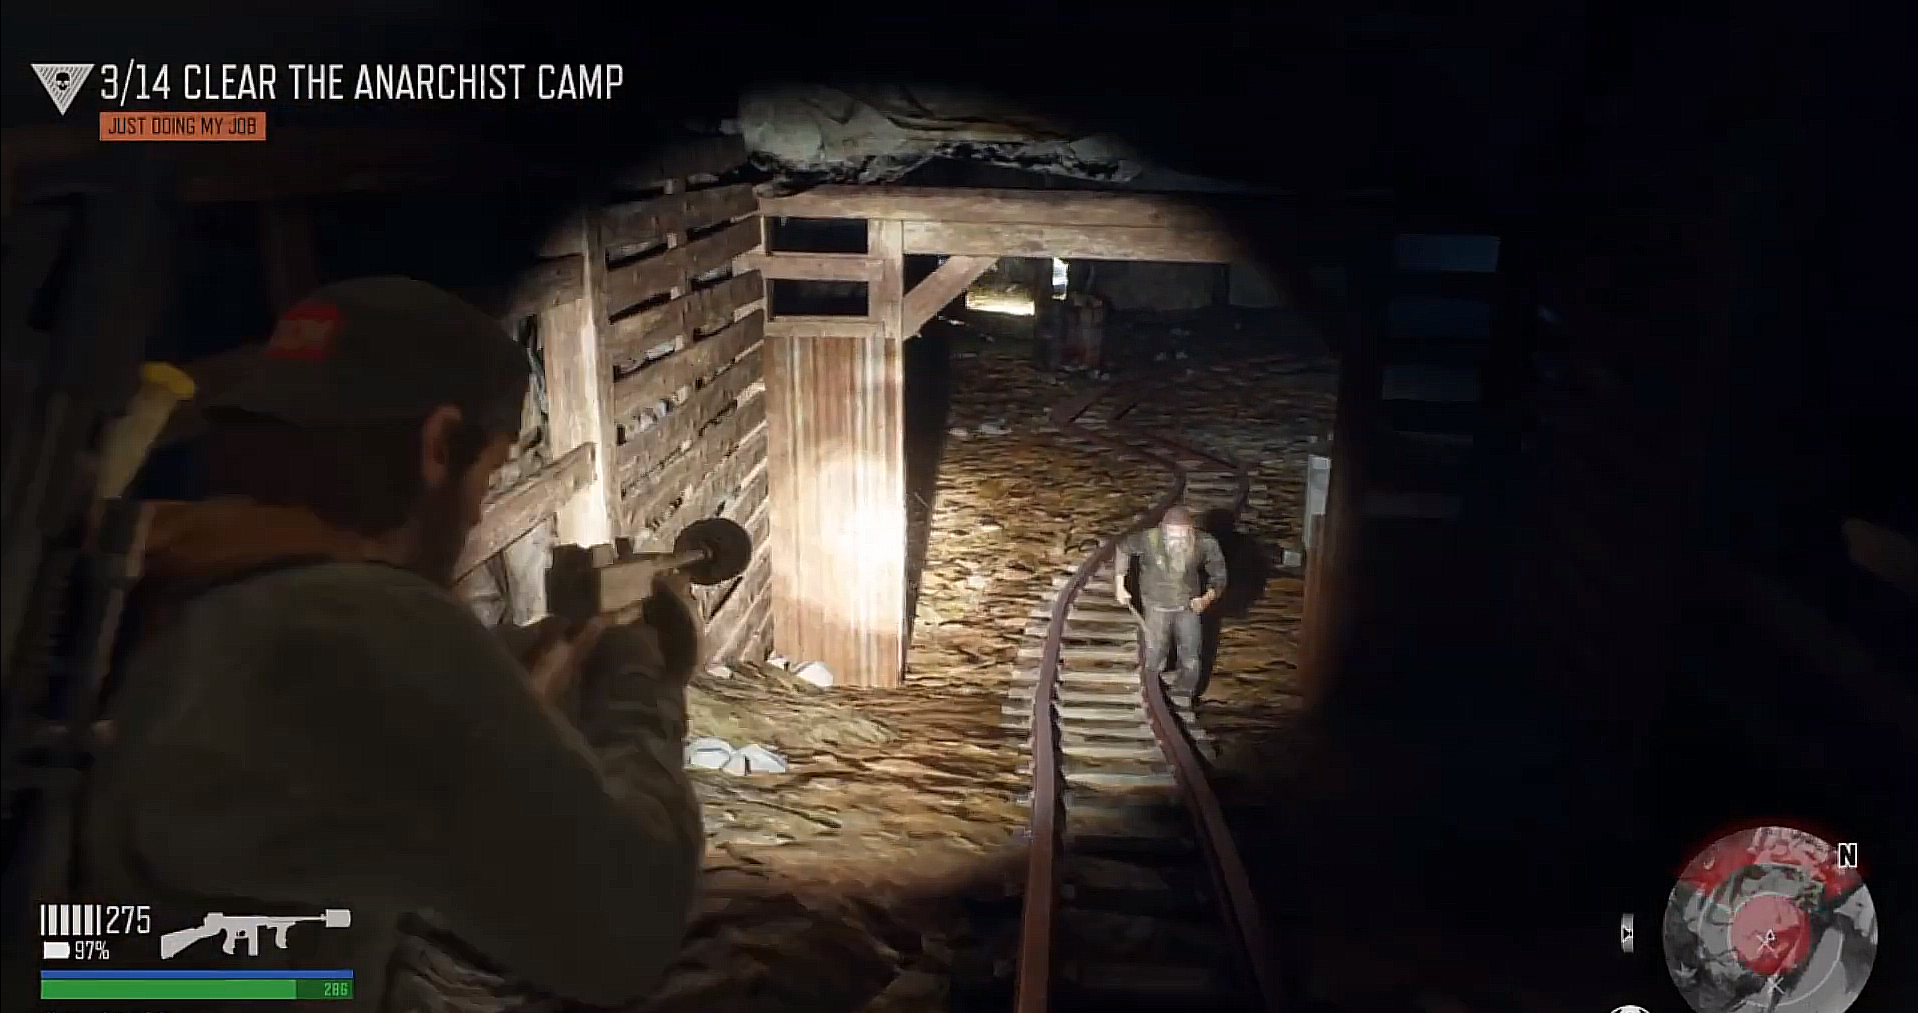
7. Encampment Job | Just Doing My Job | Crater Lake
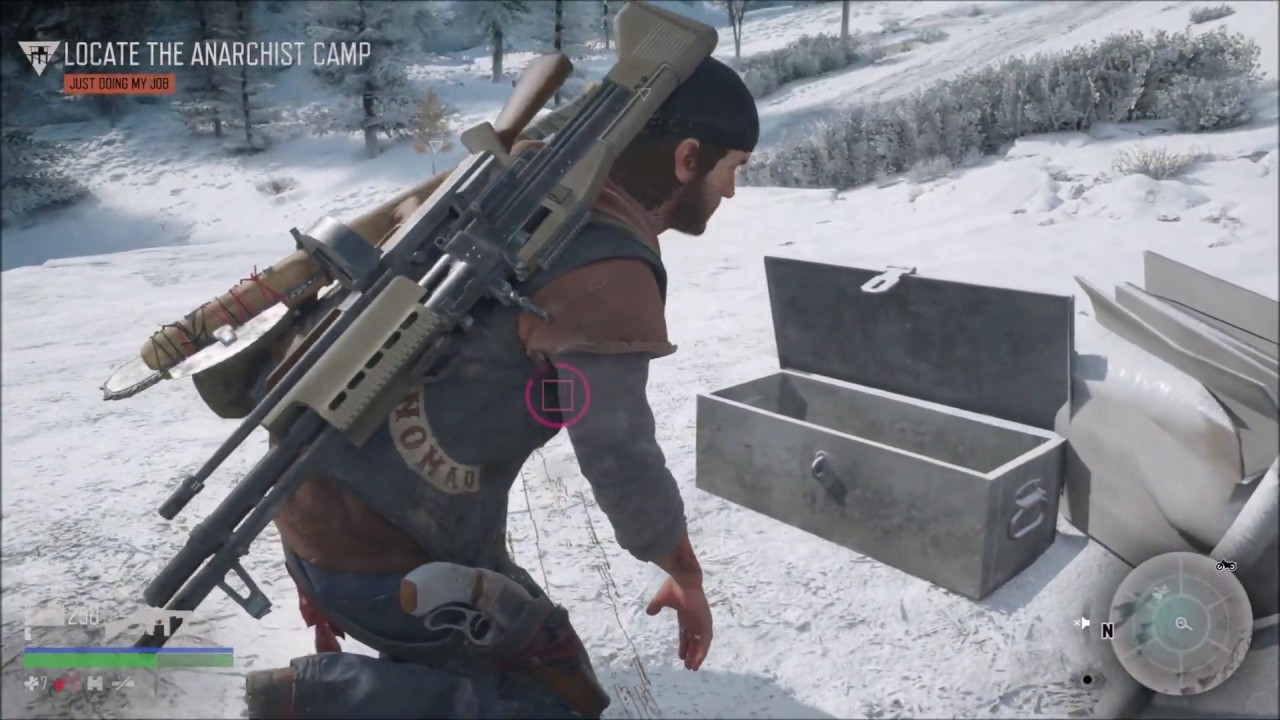
Just Doing My Job | via Massive Trigger Gaming
After returning from the last mission, you’ll be met with yet another challenge – a mission named “Just Doing My Job”. This time, it’s Captain Kouri who has a task for you, and it’s an urgent one. A hostile group of anarchists has been spotted near Crater Lake, and it’s up to you to deal with this threat.
Once the briefing is over, hop onto your bike and make your way towards the marked area. As always, stay vigilant as you travel, avoiding Freakers and potential ambushes.
Upon reaching the vicinity of Crater Lake, it becomes apparent that the area is crawling with hostiles. Your first objective should be to scout the area, identifying the number of enemies and their positions (14 in total).

via Gamerpillar
Crater Lake’s sprawling wilderness and multiple hiding spots can be used to your advantage, especially the layout within the mine. Your crossbow or any silenced weapon will be ideal for taking down isolated targets without alerting their comrades.
However, if you’re spotted, be ready for a fight. These hostiles are well-equipped and won’t hesitate to launch an aggressive counterattack. In such situations, remember to make the most of your weapons, switch between them as necessary, and never stop moving.
If possible, lead your enemies into the open, where their numbers will mean less and you can use your bike for quick hit-and-run tactics. Furthermore, the wider space might allow you to use explosives effectively, scattering and damaging clusters of enemies.
via Gamerpillar
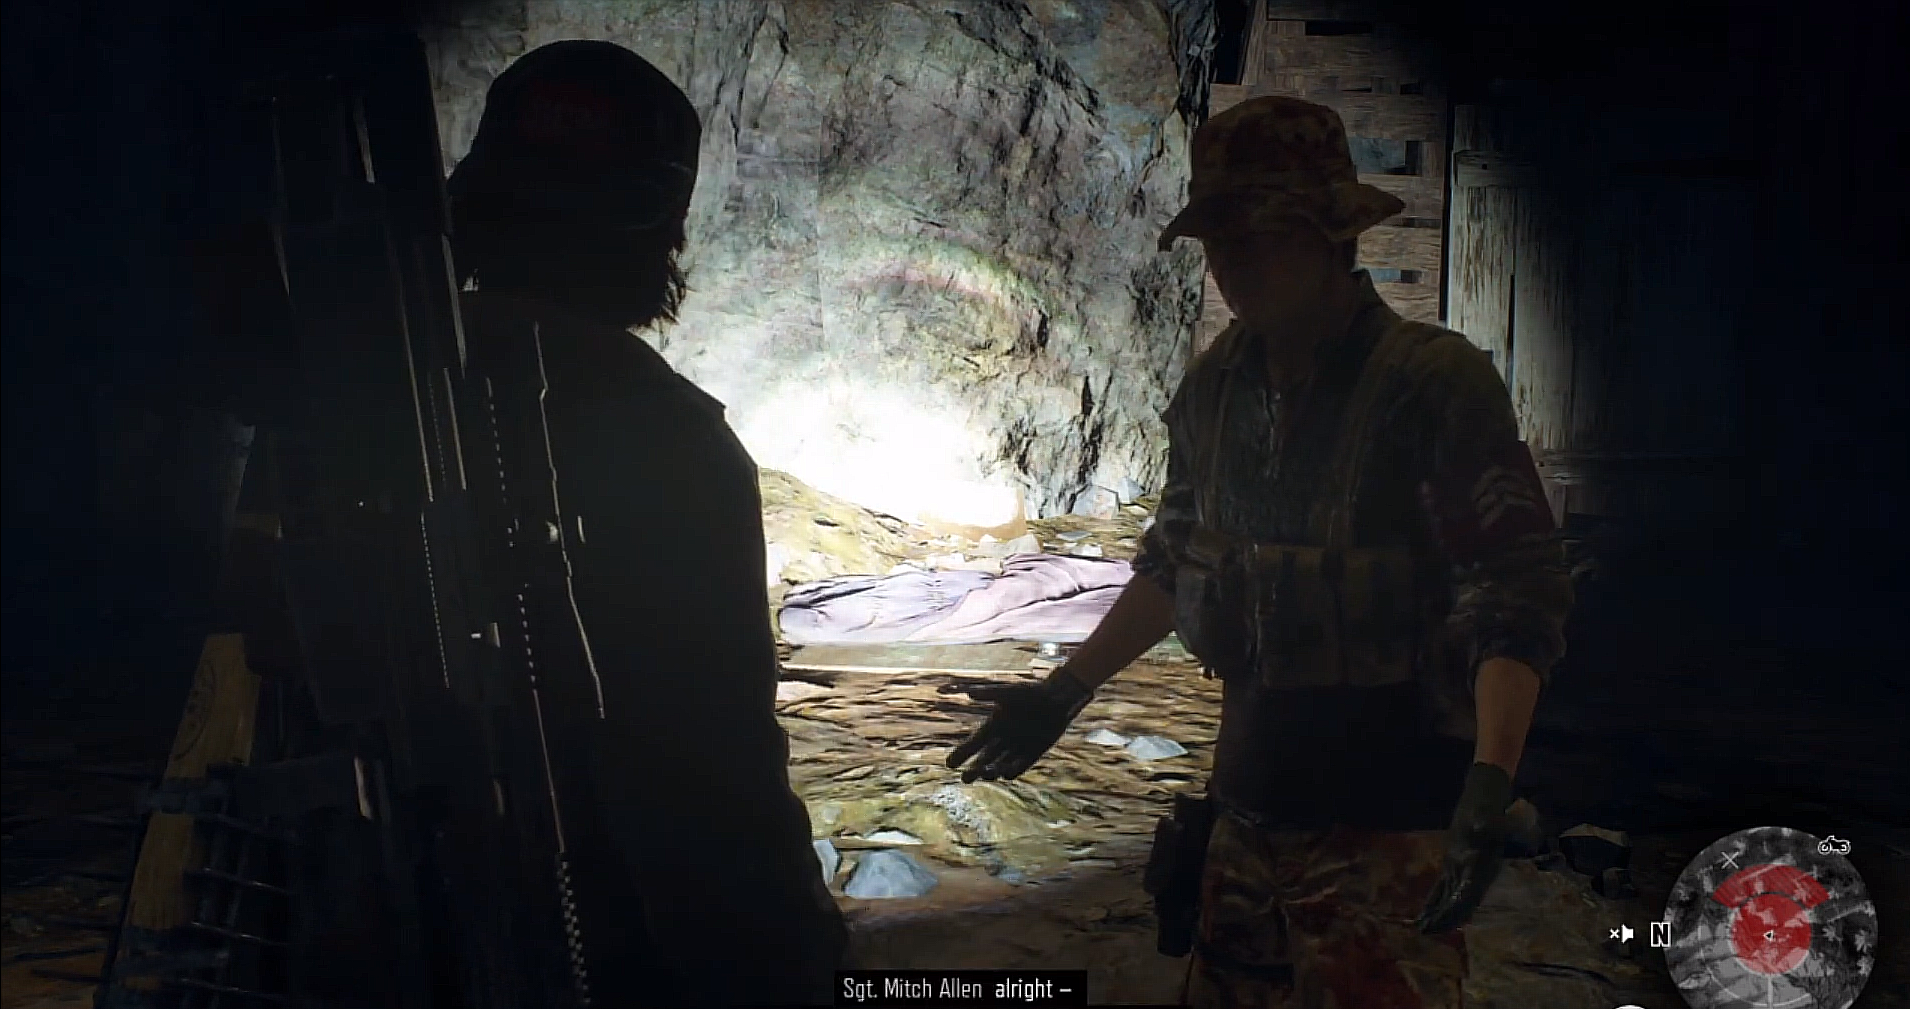
One by one, you’ll need to eliminate every hostile in the area. But remember, your mission is not just about neutralizing threats but also about making the area safe for others, and finding Allen.
Once all the enemies have been taken care of, rescue Mitch Allen, and report back to Captain Kouri. The news of your success will be welcomed, making Crater Lake a safer place for everyone.
via Gamerpillar
Before you depart, make sure you don’t explore the now cleared area for any loot or resources, there is a group of enemies coming! Make a run for it, nothing is more important than your live, especially when it results in you resetting the mission!
Now, with your job done and Crater Lake a little safer, it’s time to head back. Another mission completed, another step closer to reclaiming your world in Days Gone.
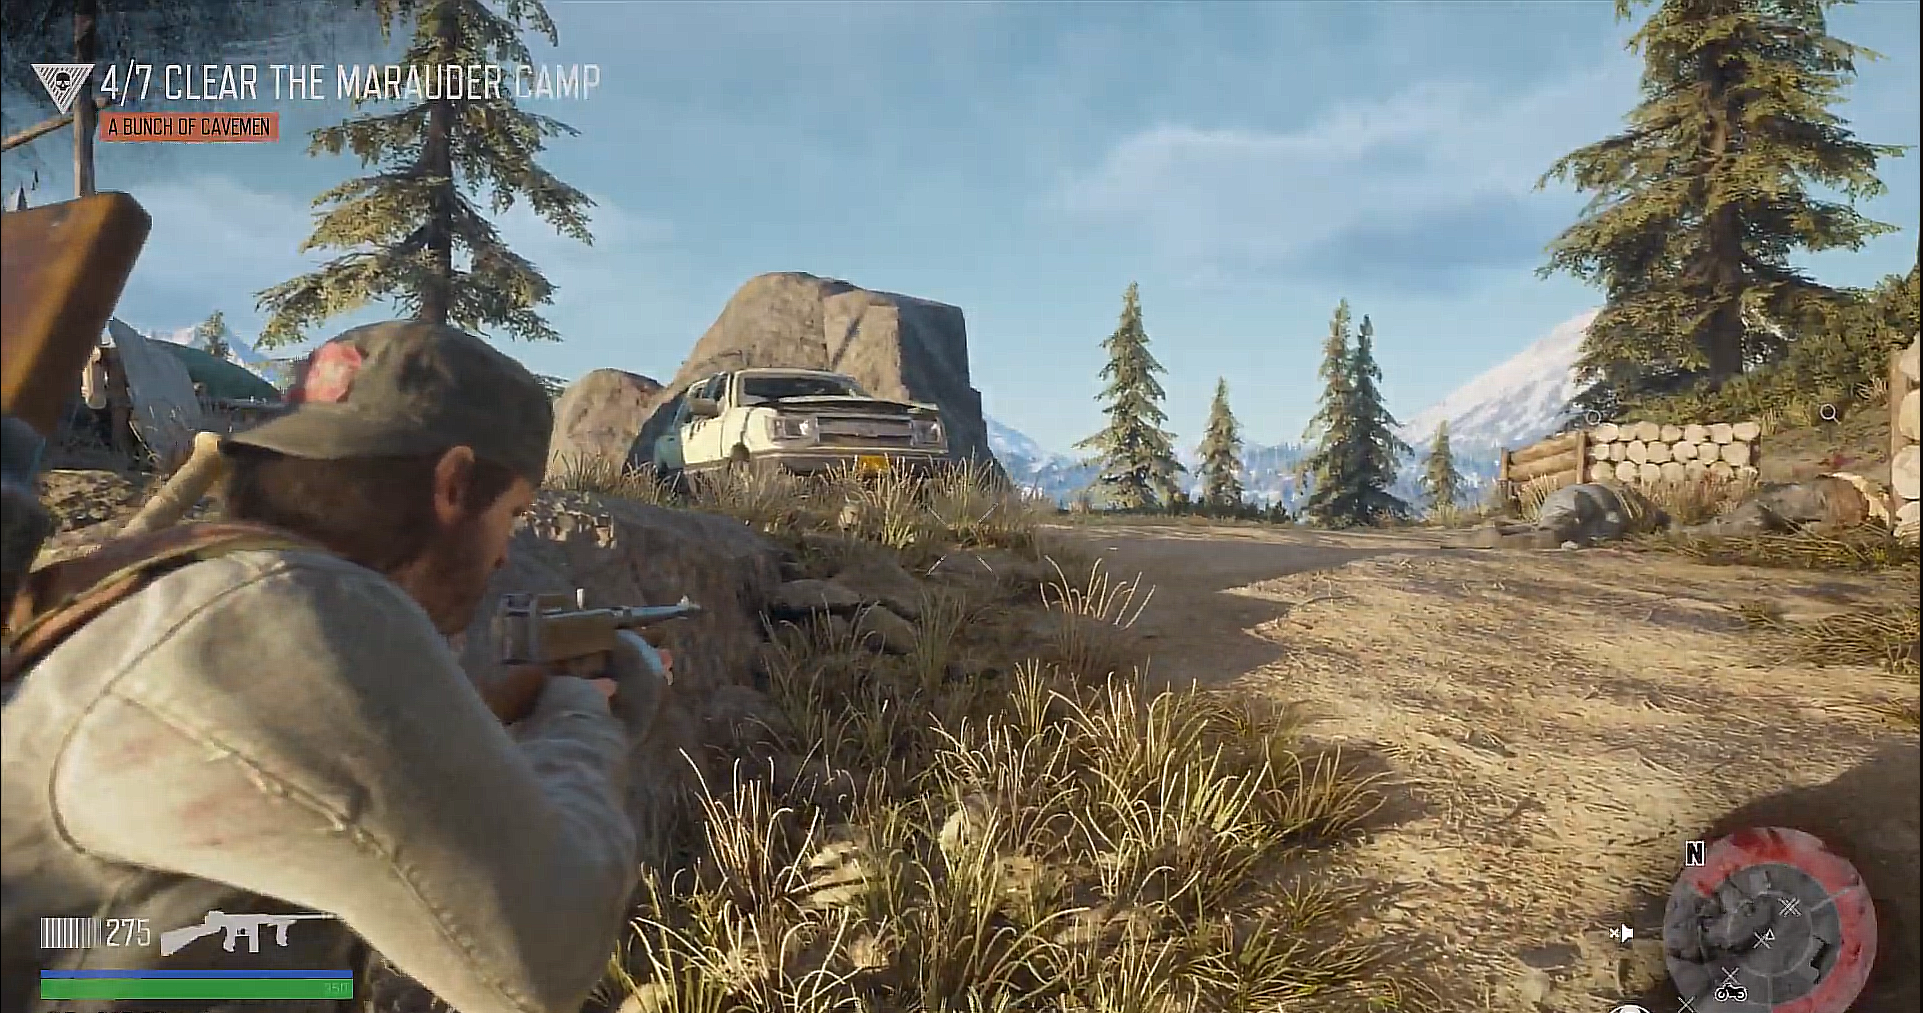
8. Encampment Job | A Bunch of Cavemen | Crater Lake
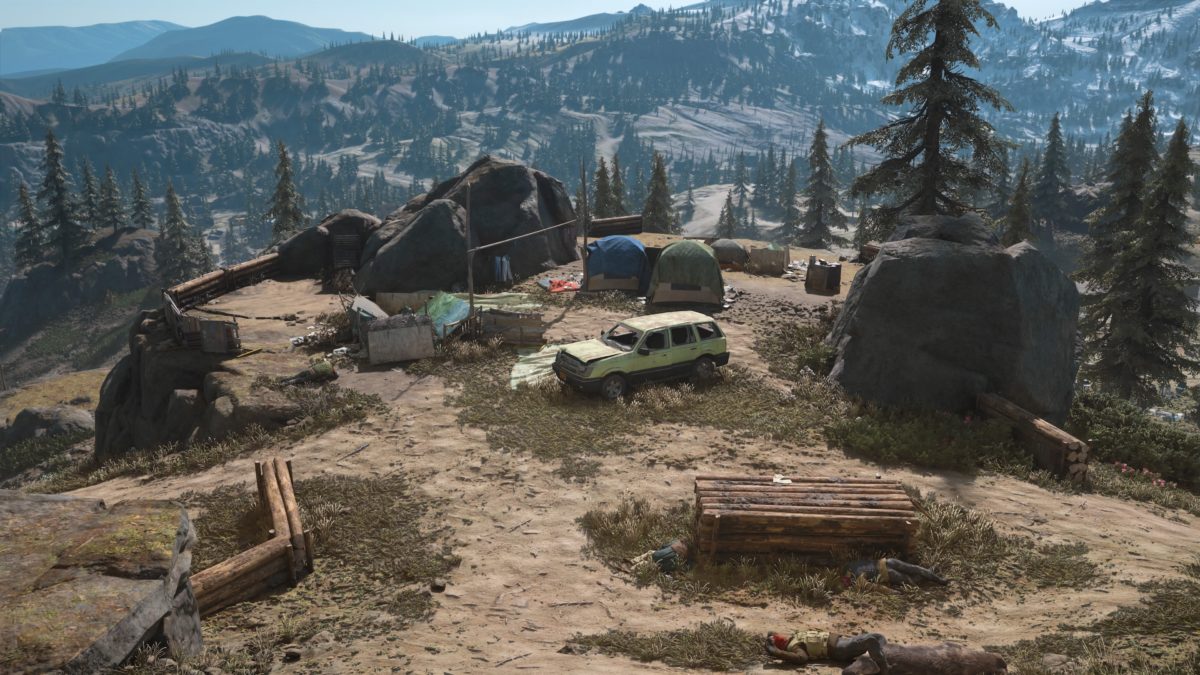
A Bunch of Cavemen | via Nightly Gaming Binge
Your next task, titled “A Bunch of Cavemen”, involves dealing with a group of hostile survivors that have set up camp in the open, near Crater Lake. After you get your briefing, mount your trusted bike, and head out towards the marked area on the map.
As you navigate the winding trails towards the camp, be alert to the surrounding area, watching out for Freakers or potential ambushes by hostile marauders.
On arriving at the outskirts of the encampment, park your bike at a safe distance. Given the open nature of their camp, a stealth approach would be a good initial strategy. Use your binoculars to survey the area, marking enemies for easy tracking.
via Visual Walkthrough
While your crossbow and any silenced weapons are ideal for quietly neutralizing isolated enemies, remember, an open camp offers them a clear view of their surroundings. Make the most of the natural cover, using bushes and the terrain to approach unseen.
If stealth fails, be ready to switch to a more direct assault. These hostiles will not hesitate to swarm you. Stay mobile and consider using your surroundings to your advantage – explosive barrels and other environmental hazards can turn the tide in your favor.
via Visual Walkthrough
After eliminating all the enemies, ensure you scour the camp thoroughly. Open camps like these often have resources scattered around, and these supplies could be invaluable for your survival.
Once the camp is cleared and looted, return to Captain Kouri to inform him of your success. The elimination of the “Cavemen” will make the Crater Lake region safer for the camp, another testament to your growing legend in the world of Days Gone.
With this mission complete, ride back to the safety of your camp, ready to rest, restock, and prepare for whatever challenge comes next.
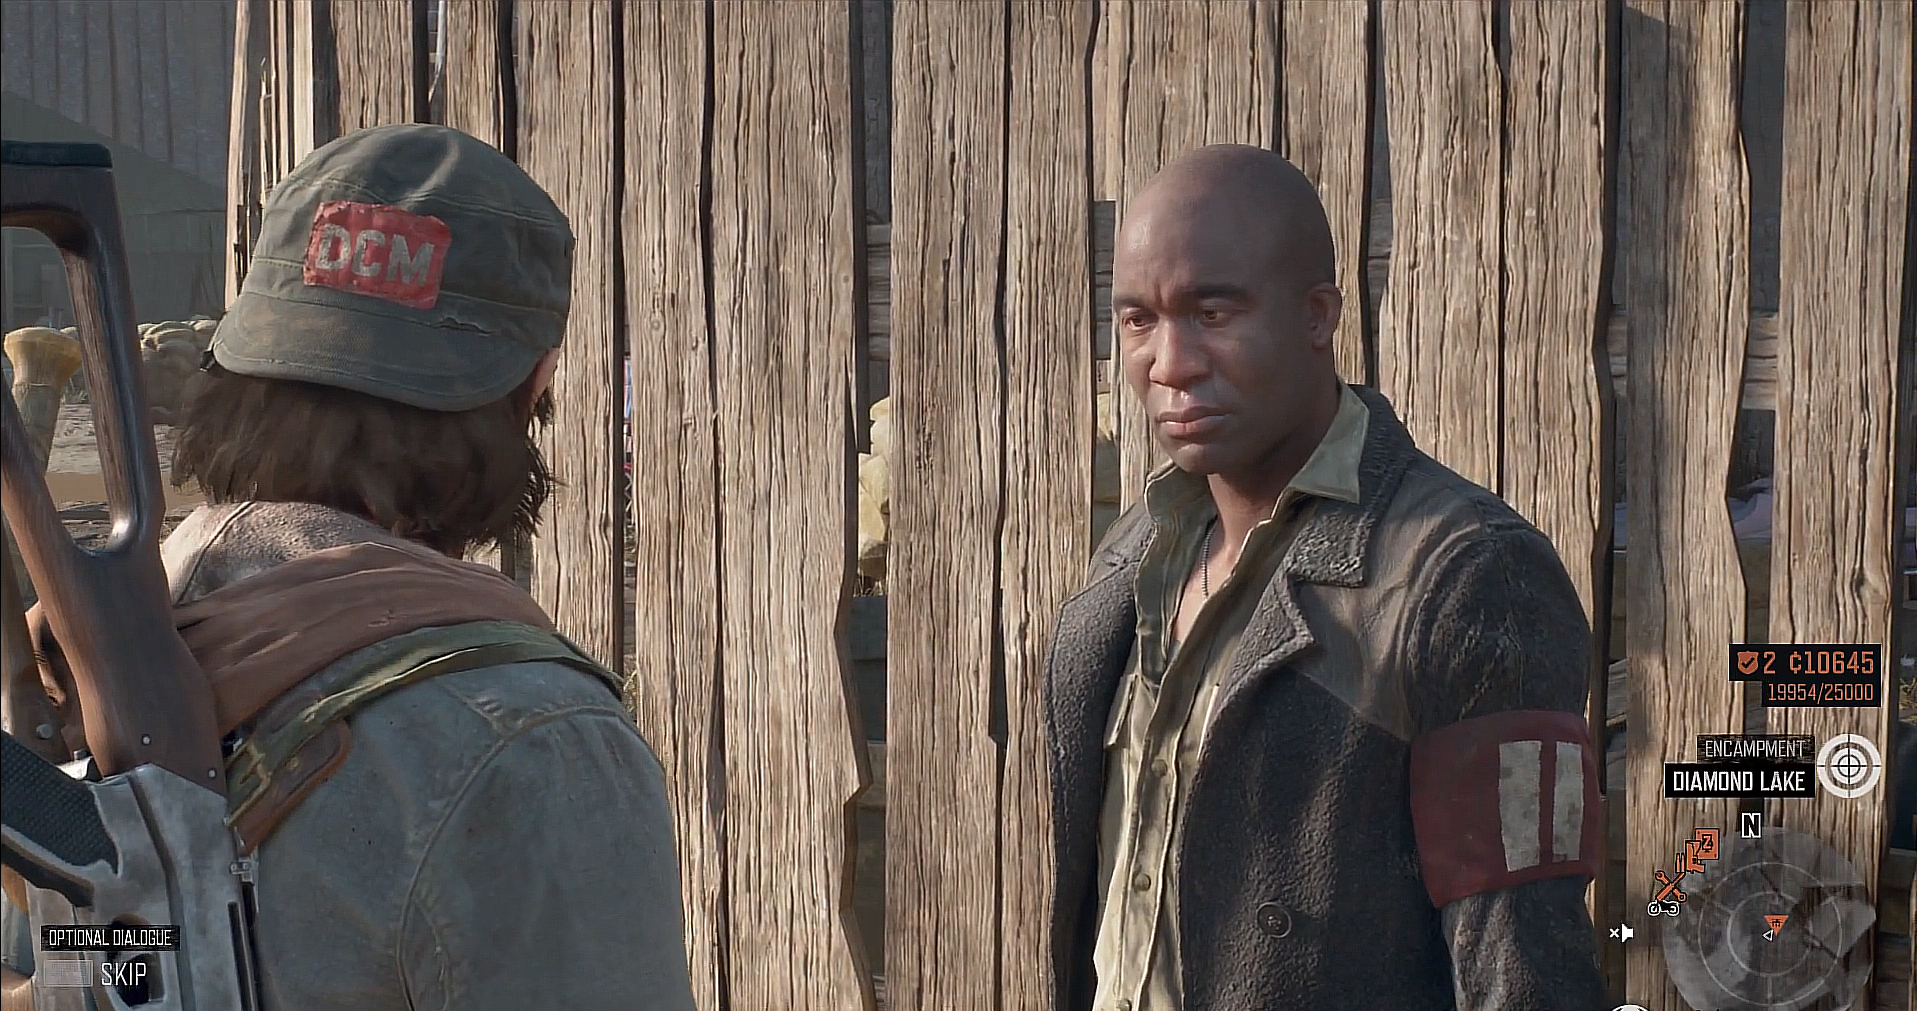
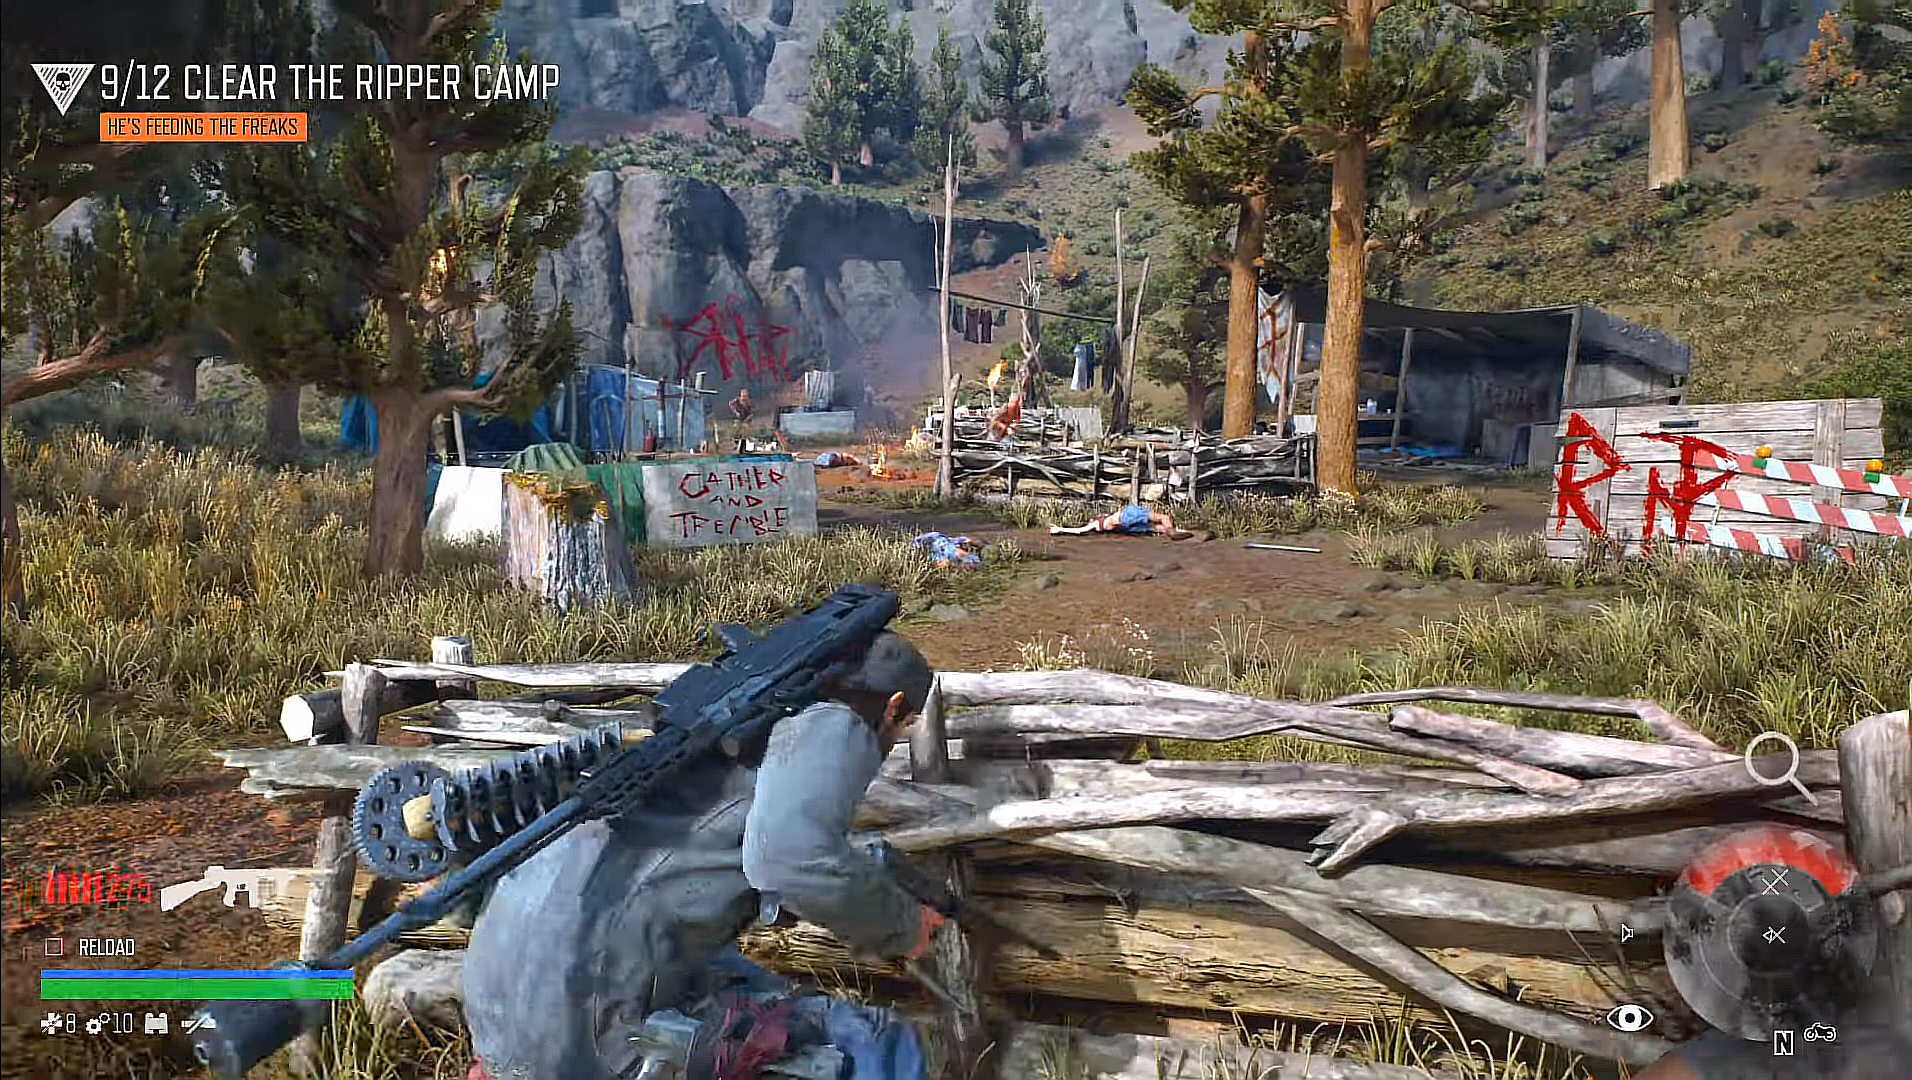
9. Encampment Job | He’s Feeding the Freaks | Crater Lake
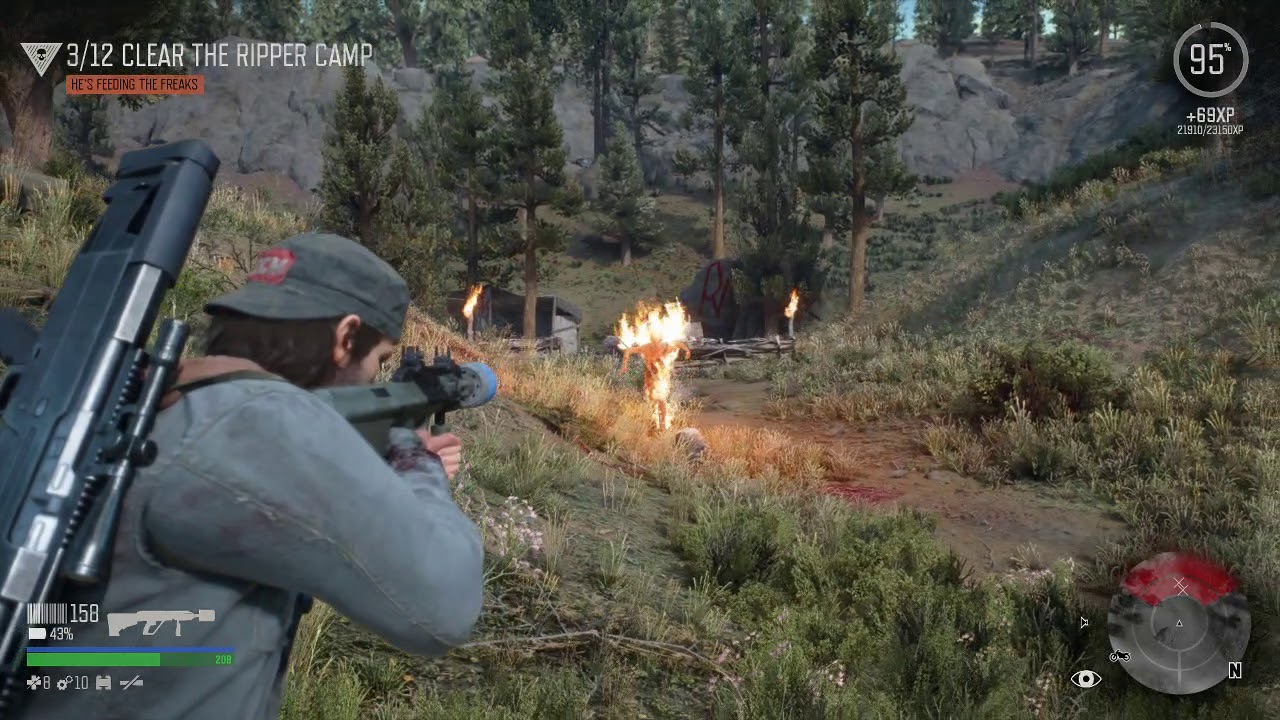
He’s Feeding the Freaks | via Trophy Gamers
The mission “He’s Feeding the Freaks” commences when you’re called upon by the Colonel after being commended for your efforts in dealing with the marauders. Captain Curry commends your efforts, but the focus quickly shifts to a new threat.
A curious group of drifters have been seen moving down highway 97, coming over the Teal’sen Pass – previously thought impassable. Their appearance is disturbing; they carry the letters RIP carved into their foreheads.

via SourceSpy91
Having been informed of the situation, you’re entrusted to deal with this new potential cult-like threat. The last thing the camp needs is another deranged cult springing up in their vicinity.
Mount your bike and proceed to the location the Colonel has marked on your map. As usual, remain vigilant for freaker activity, and don’t be surprised if you encounter more than you bargained for.

via SourceSpy91
Upon arriving at the marked location, it quickly becomes clear that this is no ordinary group of drifters. Investigate the area using your survival vision, looking for any peculiarities in the strange group with your binoculars.
Be prepared to defend yourself against freakers attracted by whatever the drifters may have left behind.
As you move from one spot to the next, collecting evidence and dealing with any confrontations, you will begin to piece together the picture of this new threat. Continue until you have eliminated every cultist.
via SourceSpy91
Once you have dealt with the new kind of cultists and collected all the evidence, return to Colonel Garrett to report on your findings. With this new potential cult dealt with, the camp can rest easier.
Now it’s time to get some well-deserved rest, repair and refuel your bike, and ready yourself for the challenges of tomorrow.
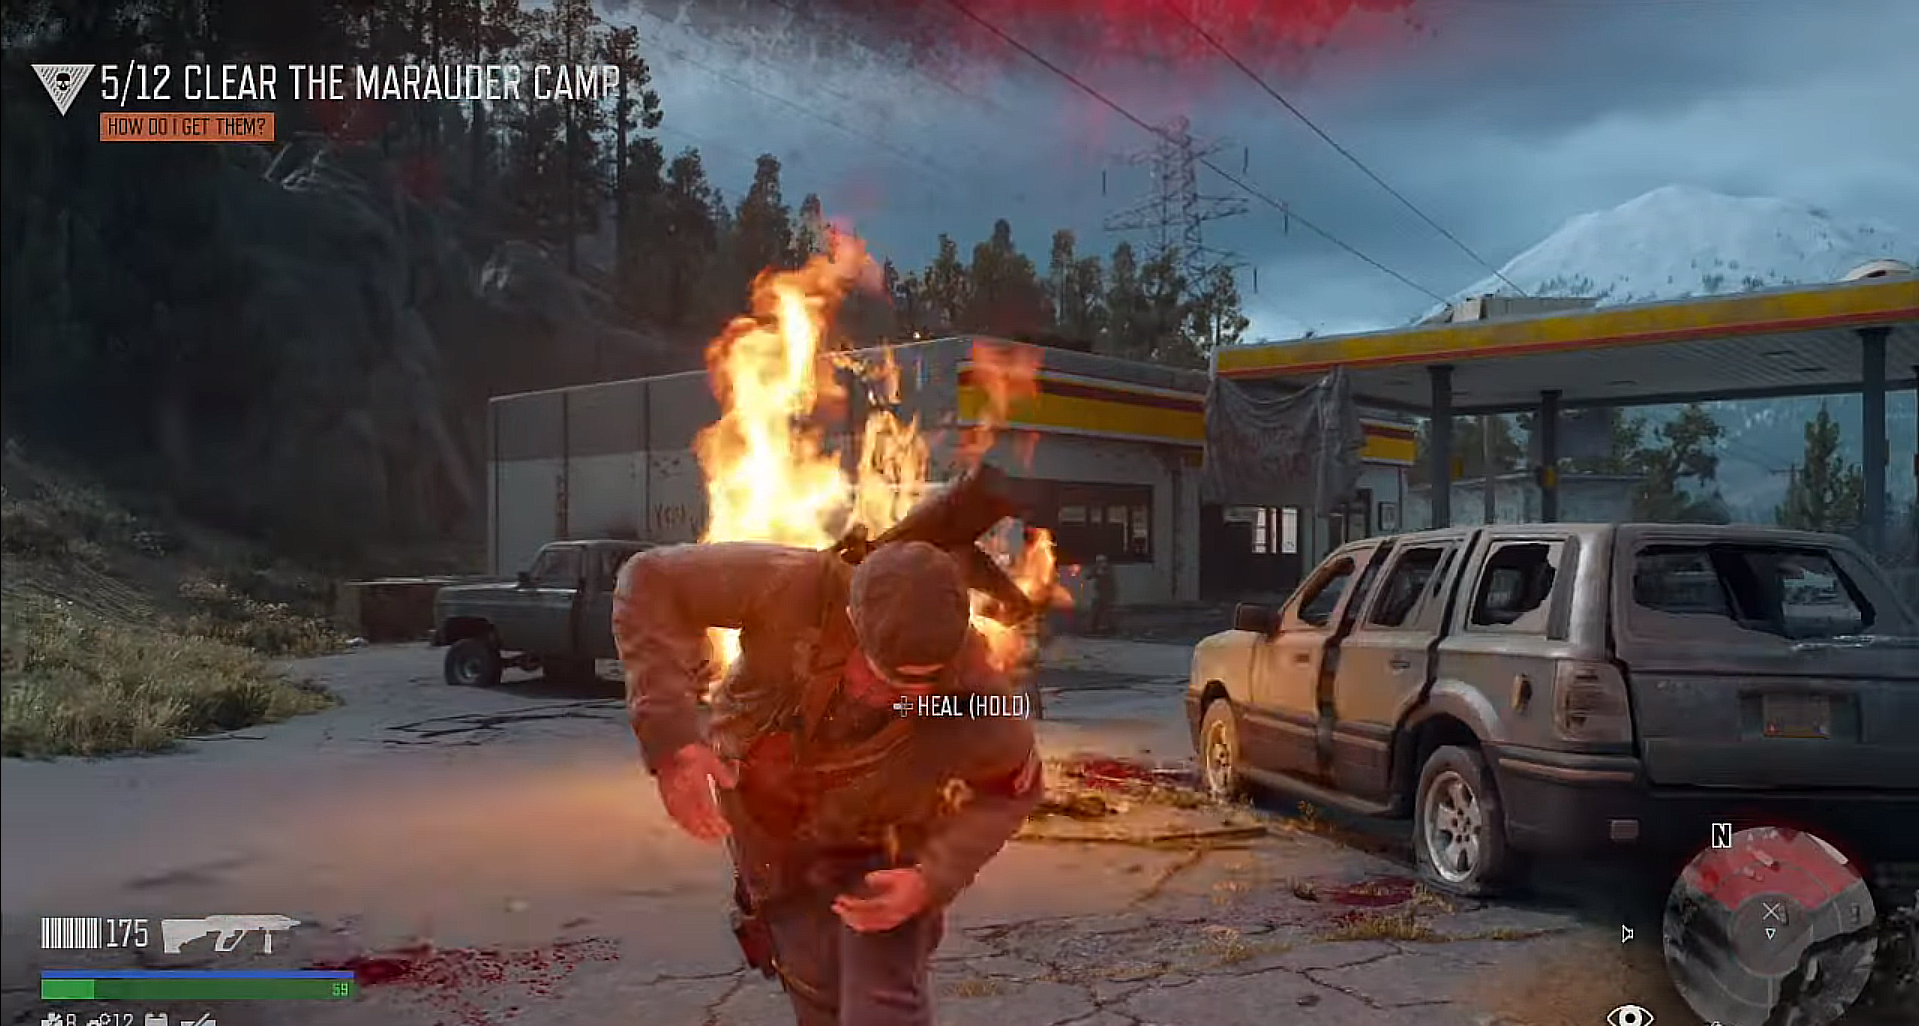
10. Encampment Job | How Do I Get Them? | Crater Lake
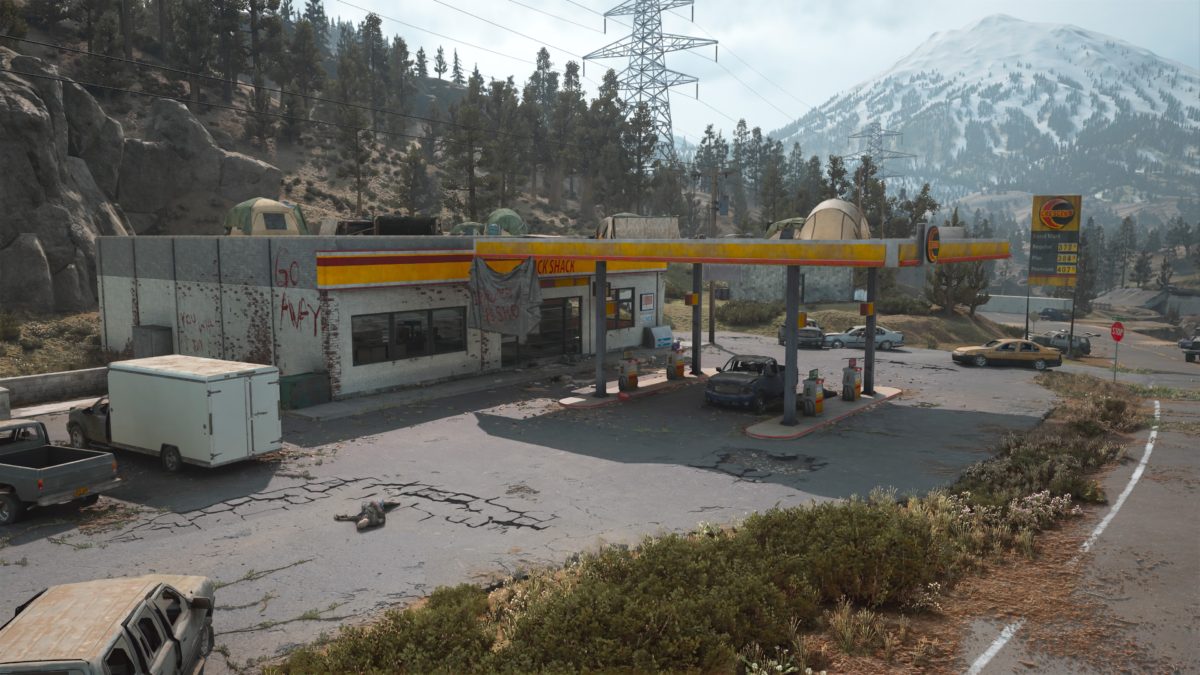
How Do I Get Them? | via Nightly Gaming Binge
After a debriefing with Colonel Garret, it’s clear that the pesky drifters are causing more trouble with their hit-and-run tactics. Your next mission, “How Do I Get Them?”, involves clearing out the drifter camp situated at a local gas station.
Start by hopping onto your bike and making your way towards the gas station. Be vigilant during your ride, as the post-apocalyptic Oregon is filled with unpredictable threats that can quickly turn a simple ride into a high-stakes fight for survival.
Upon reaching the vicinity of the gas station, dismount and approach cautiously. The drifters have become adept at using the terrain to their advantage, and rushing in without a plan could prove disastrous. Use your binoculars to get a good look at the camp layout and mark the drifter positions.
via Trophy Gamers
Your strategy here should be one of stealth and cunning. The hit-and-run tactics the drifters use can be used against them. Try picking them off from a distance with your crossbow or snipe them with a silenced rifle. The goal is to reduce their numbers without alerting the entire camp.
Keep an eye out for any explosive barrels or cans around the gas station – these can serve as a perfect tool to cause a devastating explosion that can wipe out a group of drifters simultaneously. Be careful, though, not to be within the blast radius.

via Trophy Gamers
If you’re spotted, retreat and find cover. The drifters will likely swarm your last known position, allowing you to either sneak away or flank them for a surprise attack. Your main objective is to eliminate all drifters, so use whatever strategy works best for you.
There’s also a flamethrower here. Under no circumstances try to face it head on. Maintain your distance, unload a bunch of bullets, and take the trophy home!
via Trophy Gamers
Once the area is clear, return to Colonel Garret to report your success. You’ve not only managed to dispel the immediate threat but also gained more control of the region, allowing the Crater Lake camp to breathe a sigh of relief.
After a mission like this, it’s important to rest and resupply. The world of Days Gone is full of dangers, and you’ll need all your strength and resources to face the next challenge.
How To Best Marauder Camps – General Tips & Tricks

via Fandom
Surviving in Days Gone and successfully conquering Marauder Camps can prove a considerable challenge. However, with the right strategies, you’ll be clearing out camps in no time. Here are some more detailed tips and tricks to help you master these camps:
- Stealth is Your Best Asset: Moving as silently as a whisper, weave your way through the darkened wilderness. Seek solace in the dense underbrush and towering grass, shrouded from the prying eyes of adversaries. What’s that in your hand? A rock, plain, and simple. Yet, in the heart of conflict, it transforms into a mighty tool of diversion, luring foes towards their unsuspecting doom.
- Scouting is Crucial: Never rush headlong into the fray. Instead, become a watcher in the woods. With binoculars in hand, observe your enemies from a distance – a hawk eyeing its prey from the skies. Know your arena, learn the enemy’s habits, and understand their territory. With this knowledge, become the orchestrator of their downfall.
- Effective Use of Traps: Set traps with all the guile of a crafty fox. Watch as the unwary stumble into a fate they never knew awaited them. Proximity bombs, bear traps, remote explosives – these are the artistry of a true survivalist. Lay down your deadly surprises on well-trodden paths and near the resources your enemies covet, then enjoy the ensuing chaos.
- Optimal Weapon and Ammo Management: Bear your weapons with confidence, their chambers loaded and barrels primed. The crossbow, an instrument of silent demise, or the rifle, echoing your power across the wilderness. Every bullet, every bolt is a harbinger of doom to your enemies, so make each one count.
- Use Silencers: Like a ghost, strike from the shadows. With silencers equipped, your guns are but whispers on the wind, the tolling bells of unseen retribution. Scavenge, craft, and survive. Turn the fruits of your scavenging into the instruments of your success.
- Leverage the Environment: Be a force of nature itself. Turn the world into your weapon – a spark here, a well-placed shot there, and your enemies will learn to fear the red barrels and their fiery wrath. Choose your position wisely, high above the pandemonium or nestled safely in the shadows, and become the hunter.
- Time Your Assault: As the world of Days Gone changes with the rising and setting sun, so too should your strategy. Unleash the frenzied Freakers onto your foes under cover of darkness, or brave the daylight where fewer of these monsters roam.
- Patience is Key: Calmness is the calm before the storm, the predator waiting for the perfect moment to strike. Measure your movements, keep to the shadows, and systematically dismantle the enemy’s defenses.
- Thoroughly Loot Cleared Camps: After the storm, comes the calm, and the spoils. Scavenge the remnants of the fallen, for their possessions now belong to the victor. Fuel, ammunition, food – each object is a step towards survival.
- Rest and Prepare: Triumph demands celebration. But in this wild, unforgiving world, celebration means rest and preparation. Find solace in the quiet moments, heal your wounds, restore your weapons, and brace yourself for the battles yet to come. Every victory, every fallen foe is a testament to your prowess and a step towards mastering the harsh reality of Days Gone.
Conclusion
As we conclude this guide, it’s clear that survival in Days Gone demands cunning, resilience, and resourcefulness.
Whether you’re facing marauders, Freakers, or the harshness of the post-apocalyptic Oregon, your survival ultimately hinges on your ability to adapt to an ever-evolving set of challenges.
From sneaking into enemy camps to engaging large hordes, each mission has tested your mettle.
Your journey in the desolate world of Days Gone has seen you traverse treacherous landscapes, confront formidable enemies, and even grapple with the unsettling actions of your fellow survivors.
Yet, every stride you’ve taken, every enemy you’ve eliminated, and every mission you’ve completed has led you deeper into this world. Along the way, you’ve not only learned to navigate its challenges, but have also come to embody the indomitable spirit of survival.