After you complete the first mission in Chapter 2 of Red Dead Redemption 2 (Polite Society, Valentine Style) you can start one of your first Stranger Missions, Arthur.
The Noblest of Men, and a Woman is going to be quite long because you will need to find and engage a series of gunslingers.
In RDR2, The Noblest of Men, and a Woman Stranger Mission is divided into two parts; however, because we want our Red Dead Redemption 2 Wiki Guide to be as useful as possible; we will treat it as a single mission.
This way you will be able to find all gunslingers in Red Dead Redemption 2 in a single walkthrough, and you can also check their locations on a single map.
Ready cowboy? Good! Let’s hunt down some gunslingers!
WORK IN PROGRESS!
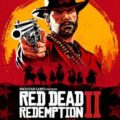
Red Dead Redemption 2 Gunslingers Locations Map
Mission Requirements:
- Part I & II – Complete Eastward Bound
- Part III & IV – Complete A Fine Night of Debauchery
The Noblest of Men, and a Woman – I & II Walkthrough
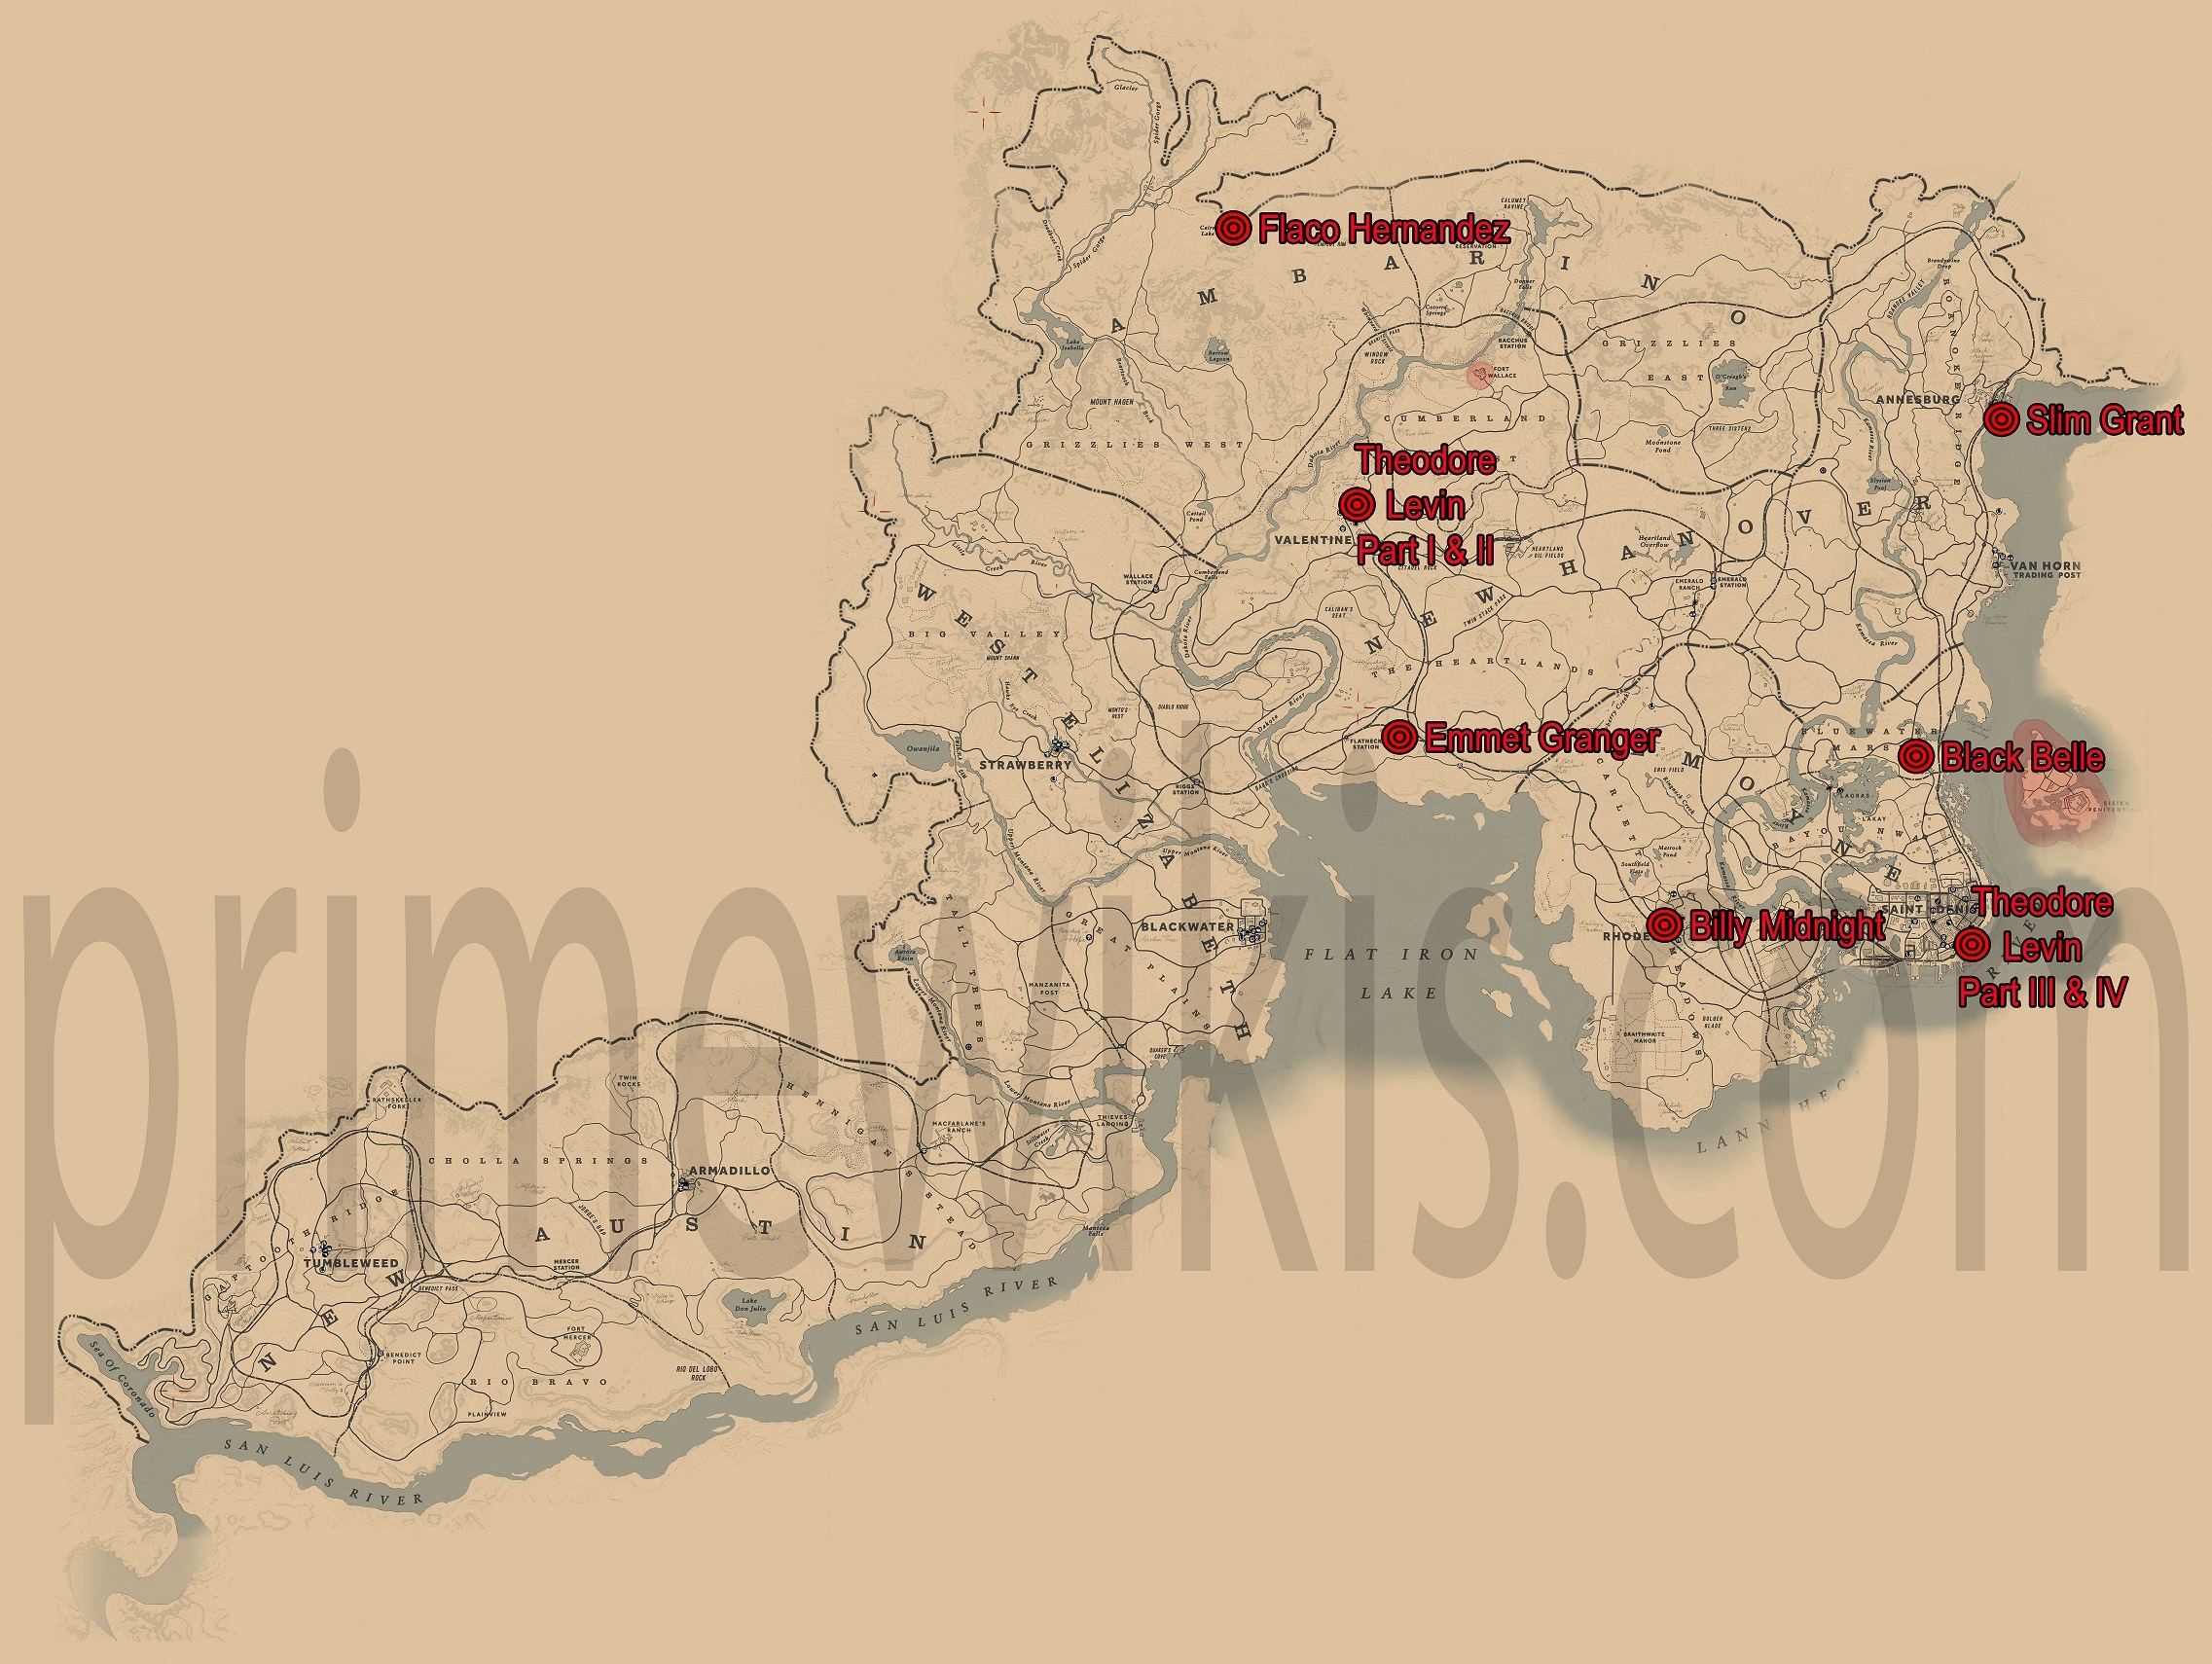
Now, pay attention, Arthur! First of all, head to the Keane’s Saloon in Valentine. Find Theodore Levin sitting at the bar! He talks to Jim “Boy” Calloway.
Keane’s Saloon in Valentine
Theodore is writing a book about, well… gunslingers! Jim, unfortunately, is quite drunk and unable to talk; which means that Theodore is desperate.
He needs your help Arthur and he also needs photos. Hence you have a new camera!
Ok, so, Theodore wants you to find specific gunslingers! Just the best of the best. Make them tell you more about Jim “Boy” Calloway and take pictures of them.
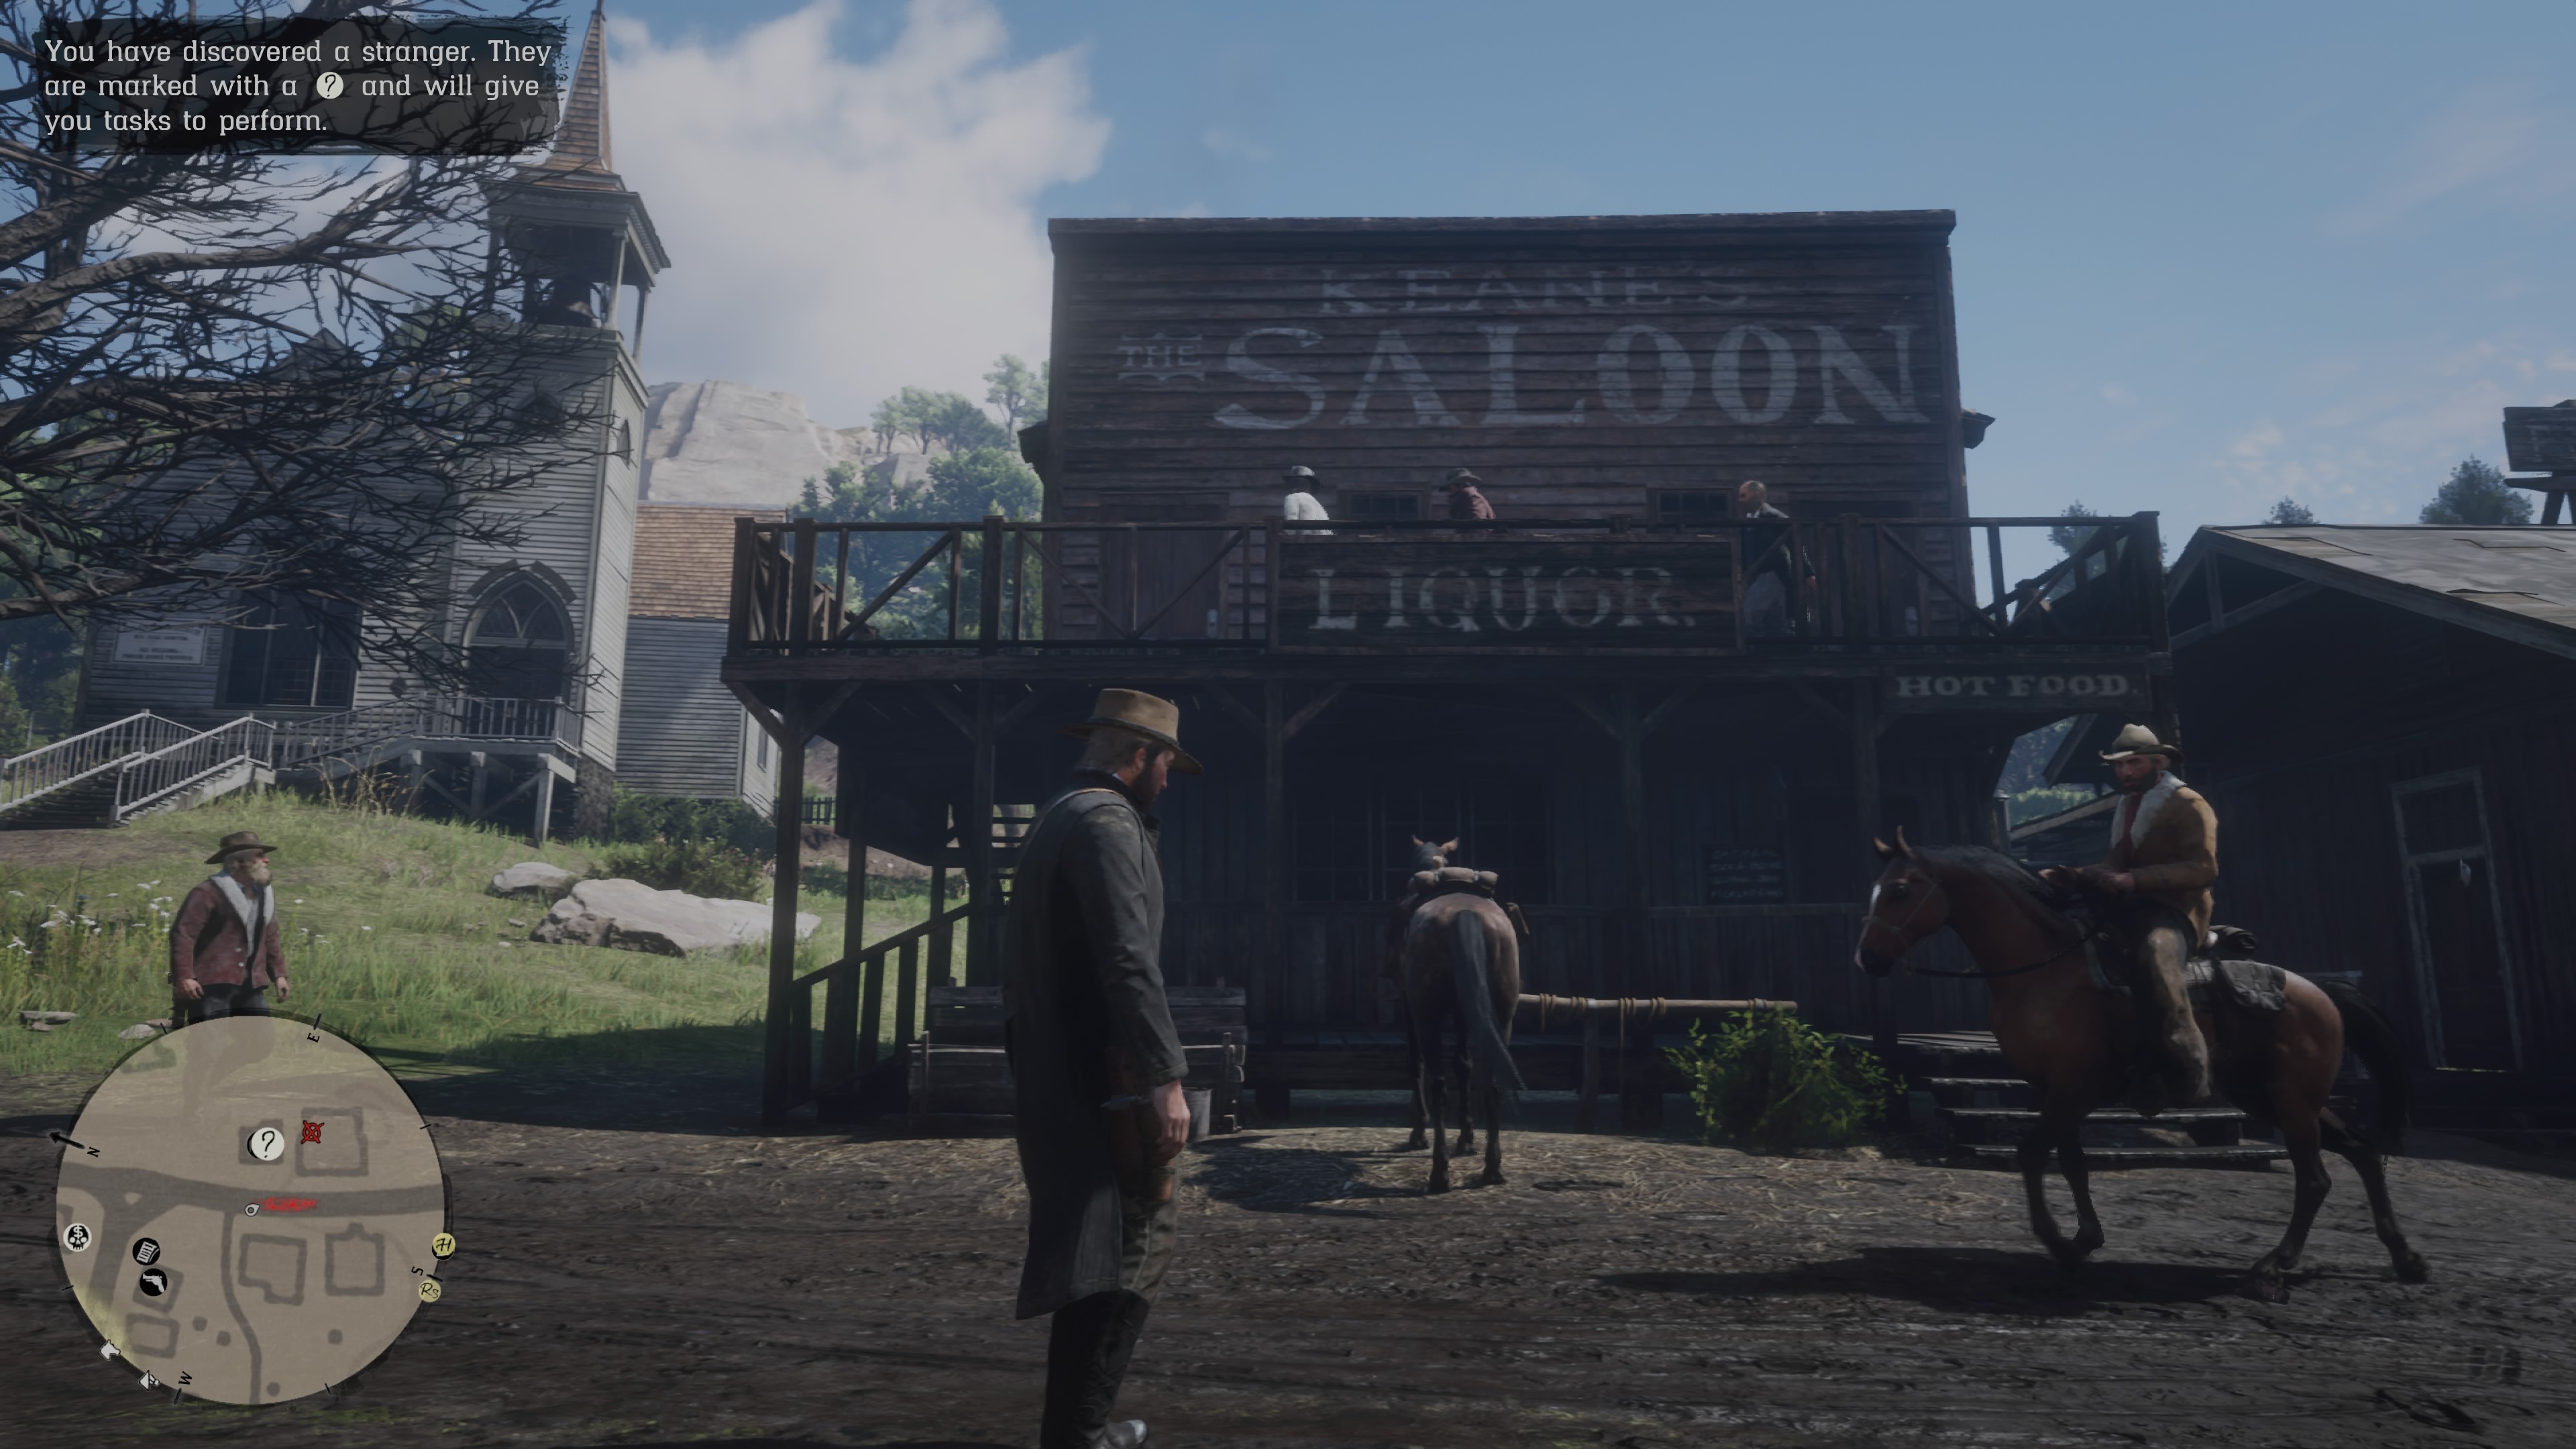
To help you identify them, he gave you a series of photos. Feel free to check them out and stop at the one showing Emmet Granger. Make sure you flip it an read his biography.
When you flip a photo, the location of that gunslinger is also marked on your map.
Emmet Granger
Biography:
Red Dead Redemption 2 Emmet Granger Gunslinger
“Pervert, Killer, Hog Fancier??”
- Beaver Brook/Massacre – Reported Sightings -1882
- Laidlaw Family Disappearance – Rumors of Involvement – 1886
- The Chaparral Killings – Suspect -1890
- Fosse Gang Arrest – Witness -1894
- Federal Pardon – Why? -1895
At present keeper of hogs near Flat Iron Lake. Interview refused.”
Interesting character Emmet Granger! Let’s pay him a visit, east of Flatneck Station. If you have problems finding him, check our map above.
When you get close you should be able to spot him near a pig farm. Talk to him first by pressing L2/LT.
Emmet seems to agree to tell you something about Jim, but first, you have to help him clean out the manure.
Grab the pitchfork near the fence and start cleaning, cowboy. The manure locations can be seen as little yellow dots on the minimap. And on the ground.
Each time you are close to one, pick it up then drop the manure in the wheelbarrow.
There are 4 spots you need to clean.
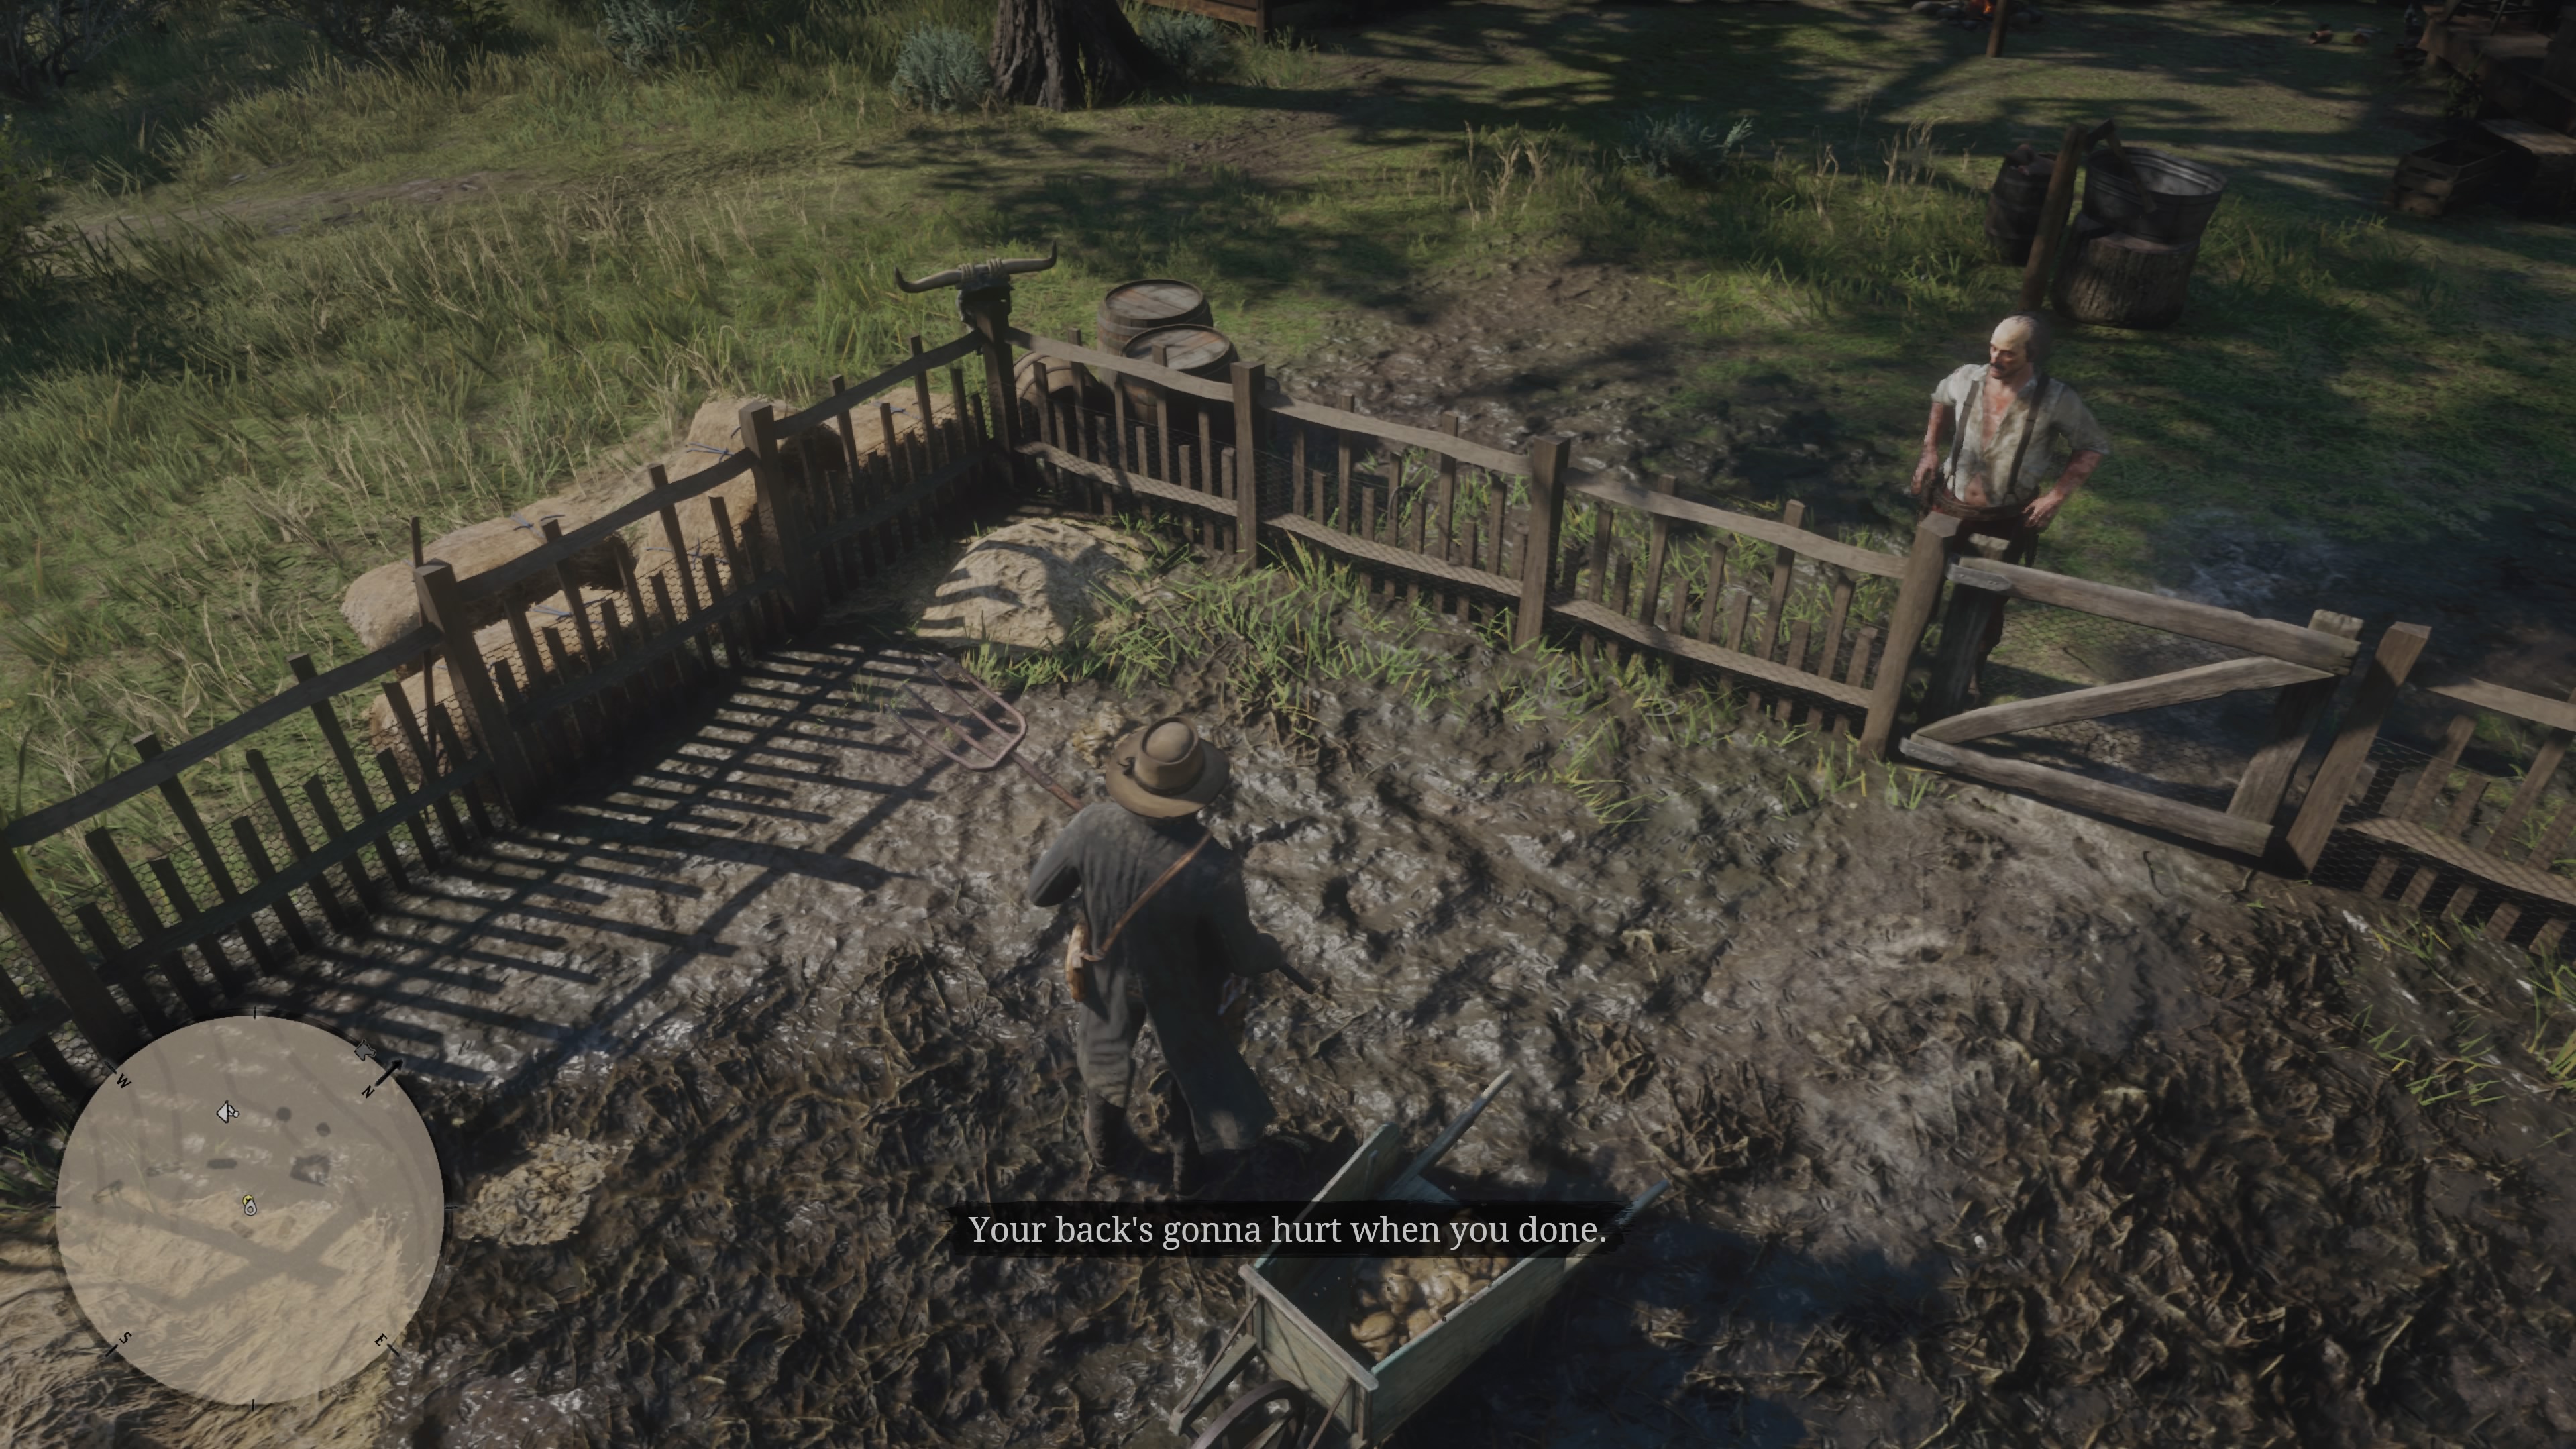
Clean the pig s**t, cowboy
After you drop the wheelbarrow, you will have a small talk with Emmet. He is a nasty man indeed and eventually, you will start a fight. In order to make Emmet talk, you have to scare him by placing a dynamite stick on the manure store. Approach and press R2/RT. Look at that mess!
Emmet is angry now…and you will begin your first duel!
When the slow-motion sequence starts, press slowly R2/RT and adjust your aim, before fully pulling the trigger. You should have enough time, cowboy.
Great! Emmet is down; however, you should not leave the area without his gun and a picture.
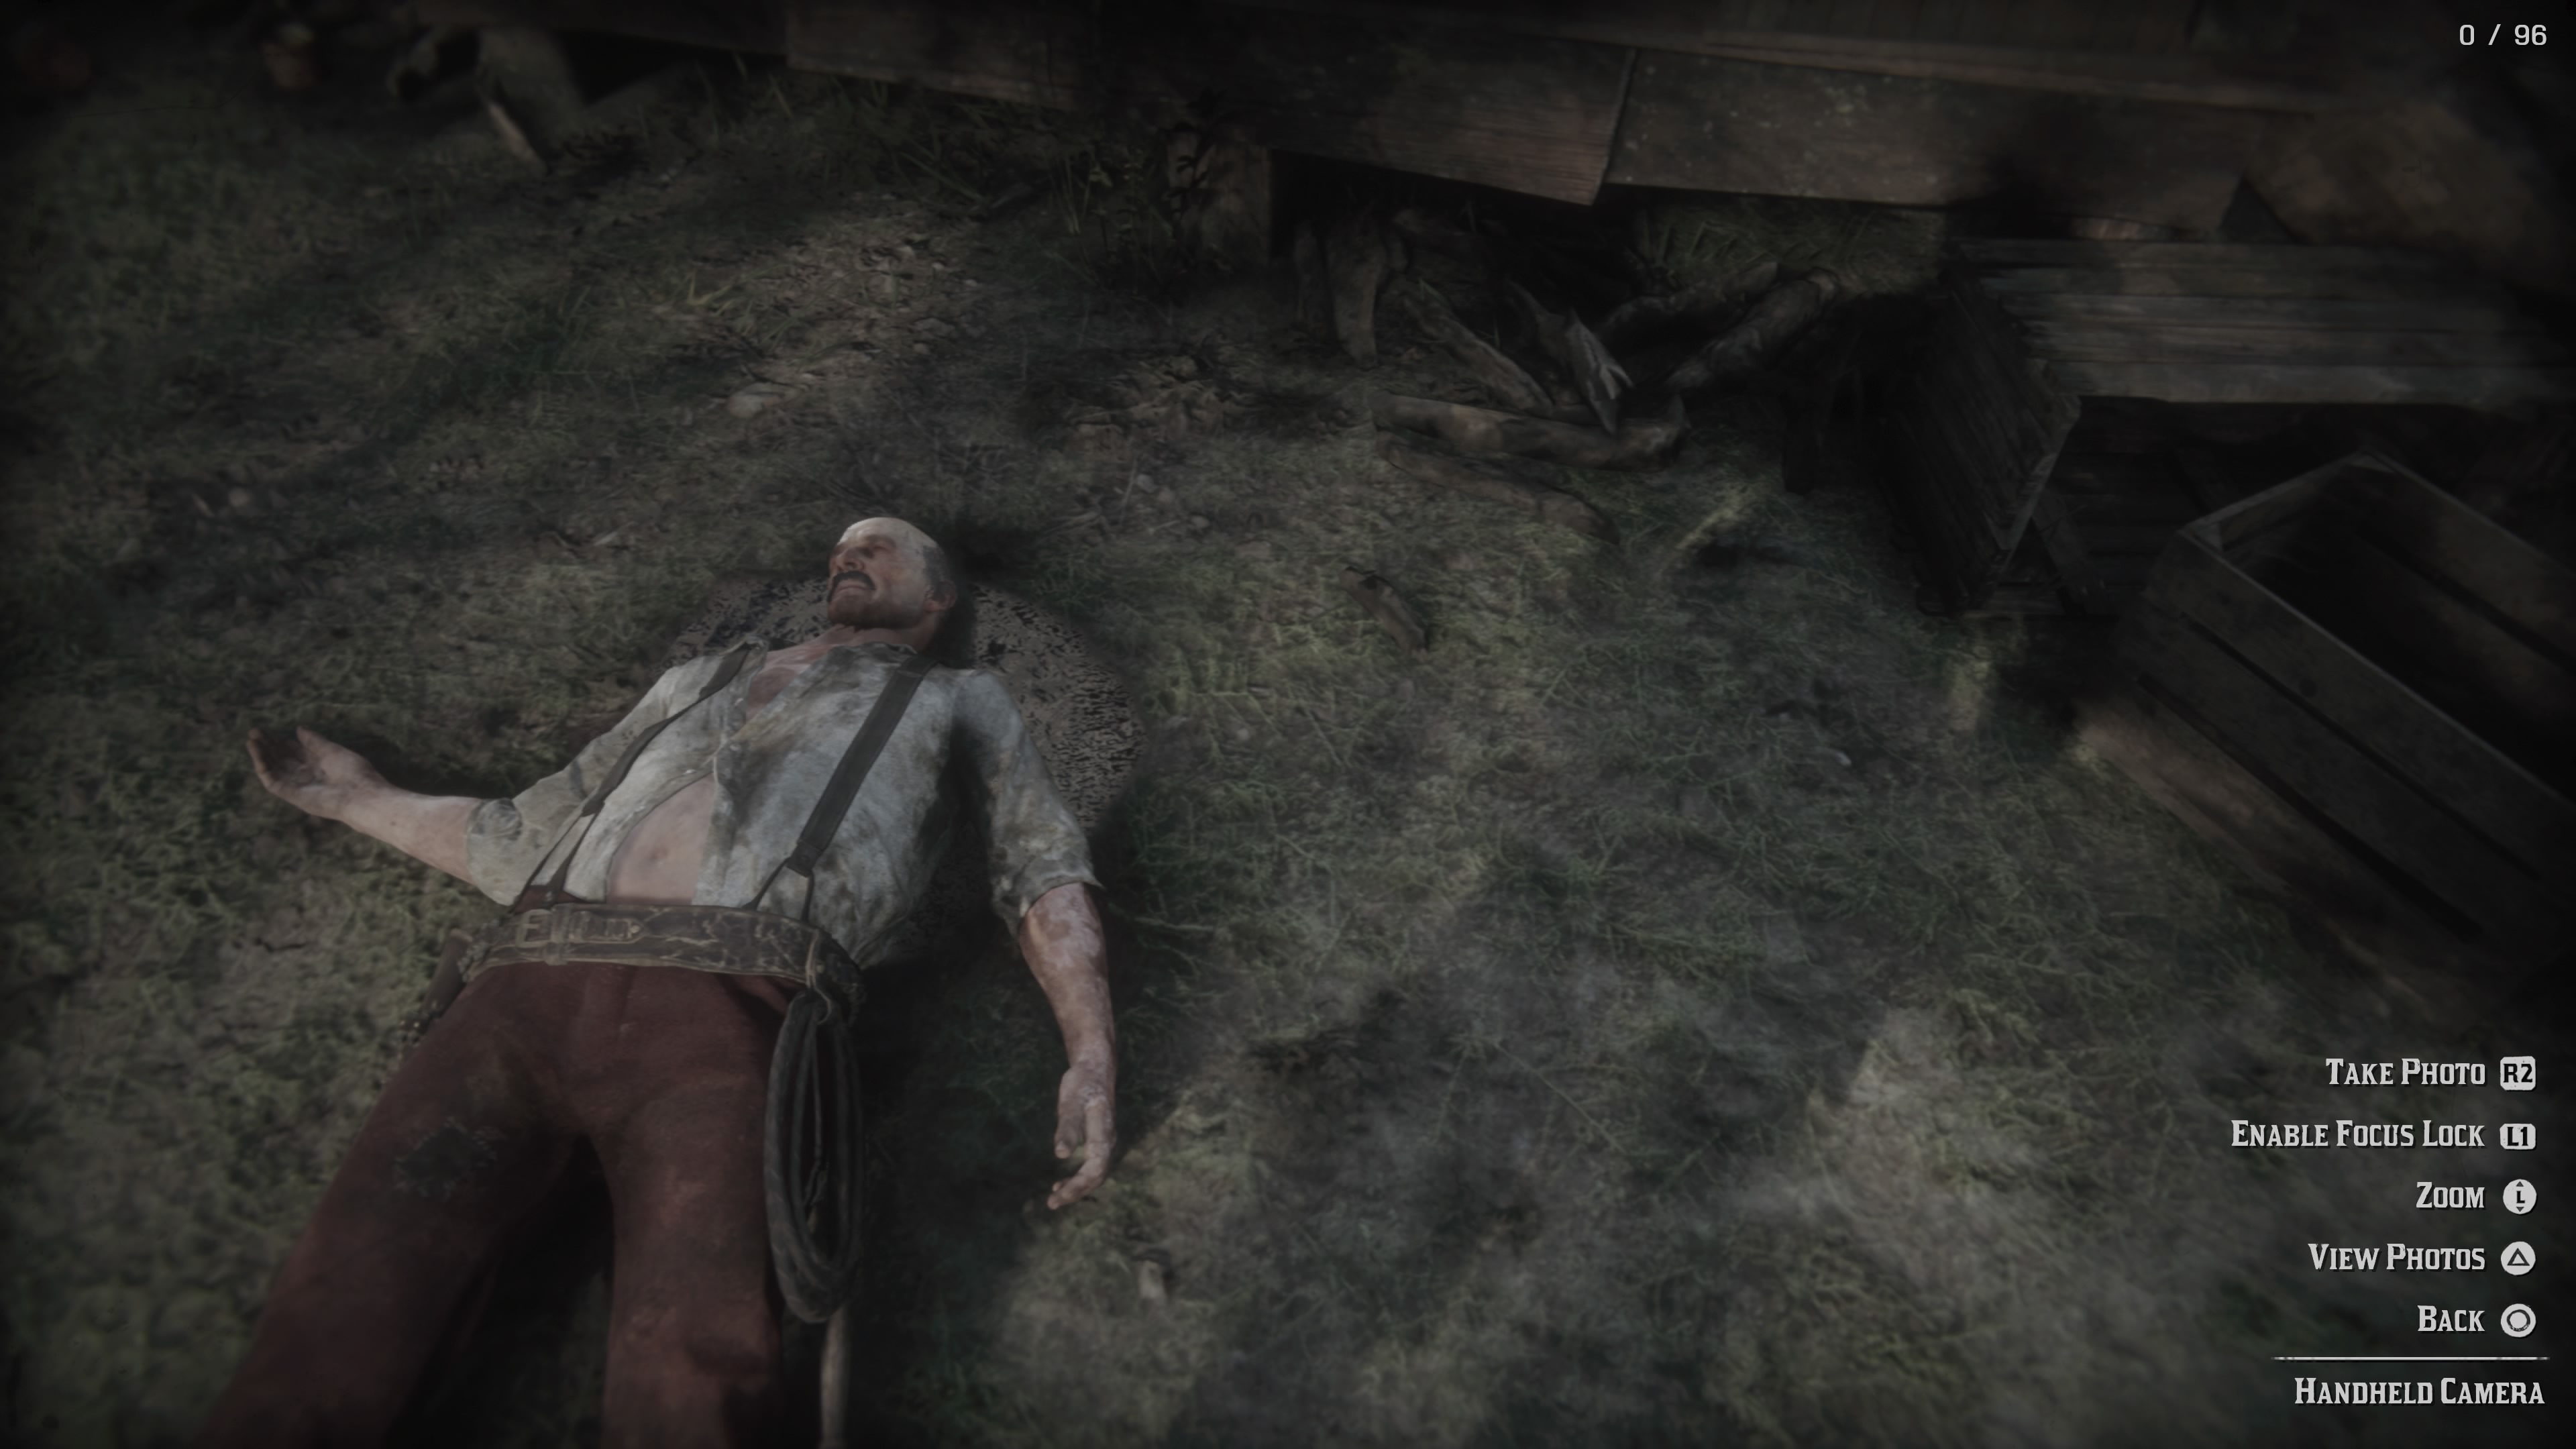
Don’t forget to grab Emmet’s weapon and take his picture
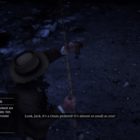
First, take a picture for Theodore. Press L1/LB, then select the camera from the Items Menu. Press L2/LT to focus on Emmet, then R2/RT! That’s it! You killed your first gunslinger!
Now, take his gun (Granger’s Revolver) from the ground. Fail to do so and you won’t be able to find it later. Finally, you can check the cabin to find a Harmonica in the cabinet behind the door. This item will help you complete a Companion Item Request for Sadie, during Chapter 3 of the video game.
Flaco Hernandez
Biography:

Red Dead Redemption 2 Flaco Hernandez Gunslinger
“The Terror of the Grizzlies-“
- Wanted in 8 states
- Runs with a gang of at least 10
- Stone cold killers – Is that right?
- Raids into Annenberg, Valentine, Strawberry & Surrounds
- Gazette RPRTS.
- Hideout W. of Colter, Deep in Grizzly Mtns.
- Unlikely Conversationalist
Proceed with CAUTION!”
So, you’re up for another gunslinger challenge, Arthur? Great! Let’s hunt down Flaco Hernandez! He’s a bit tougher than the previous target, but he’s no match for you!
First of all, check his picture in your satchel and make sure you flip it, so you can have his location on your map. Great now!
As you can see on your map, or on ours above, this gunslinger is located up in the northern mountains. Make sure you dress correspondingly because it’s cold out there. Snow is also present. Now, ride cowboy until your reach his location.
As you approach Flaco Hernandez’s camp you will notice that he is not alone. No need to panic. Simply press L2/LT and threaten Flaco’s goons.
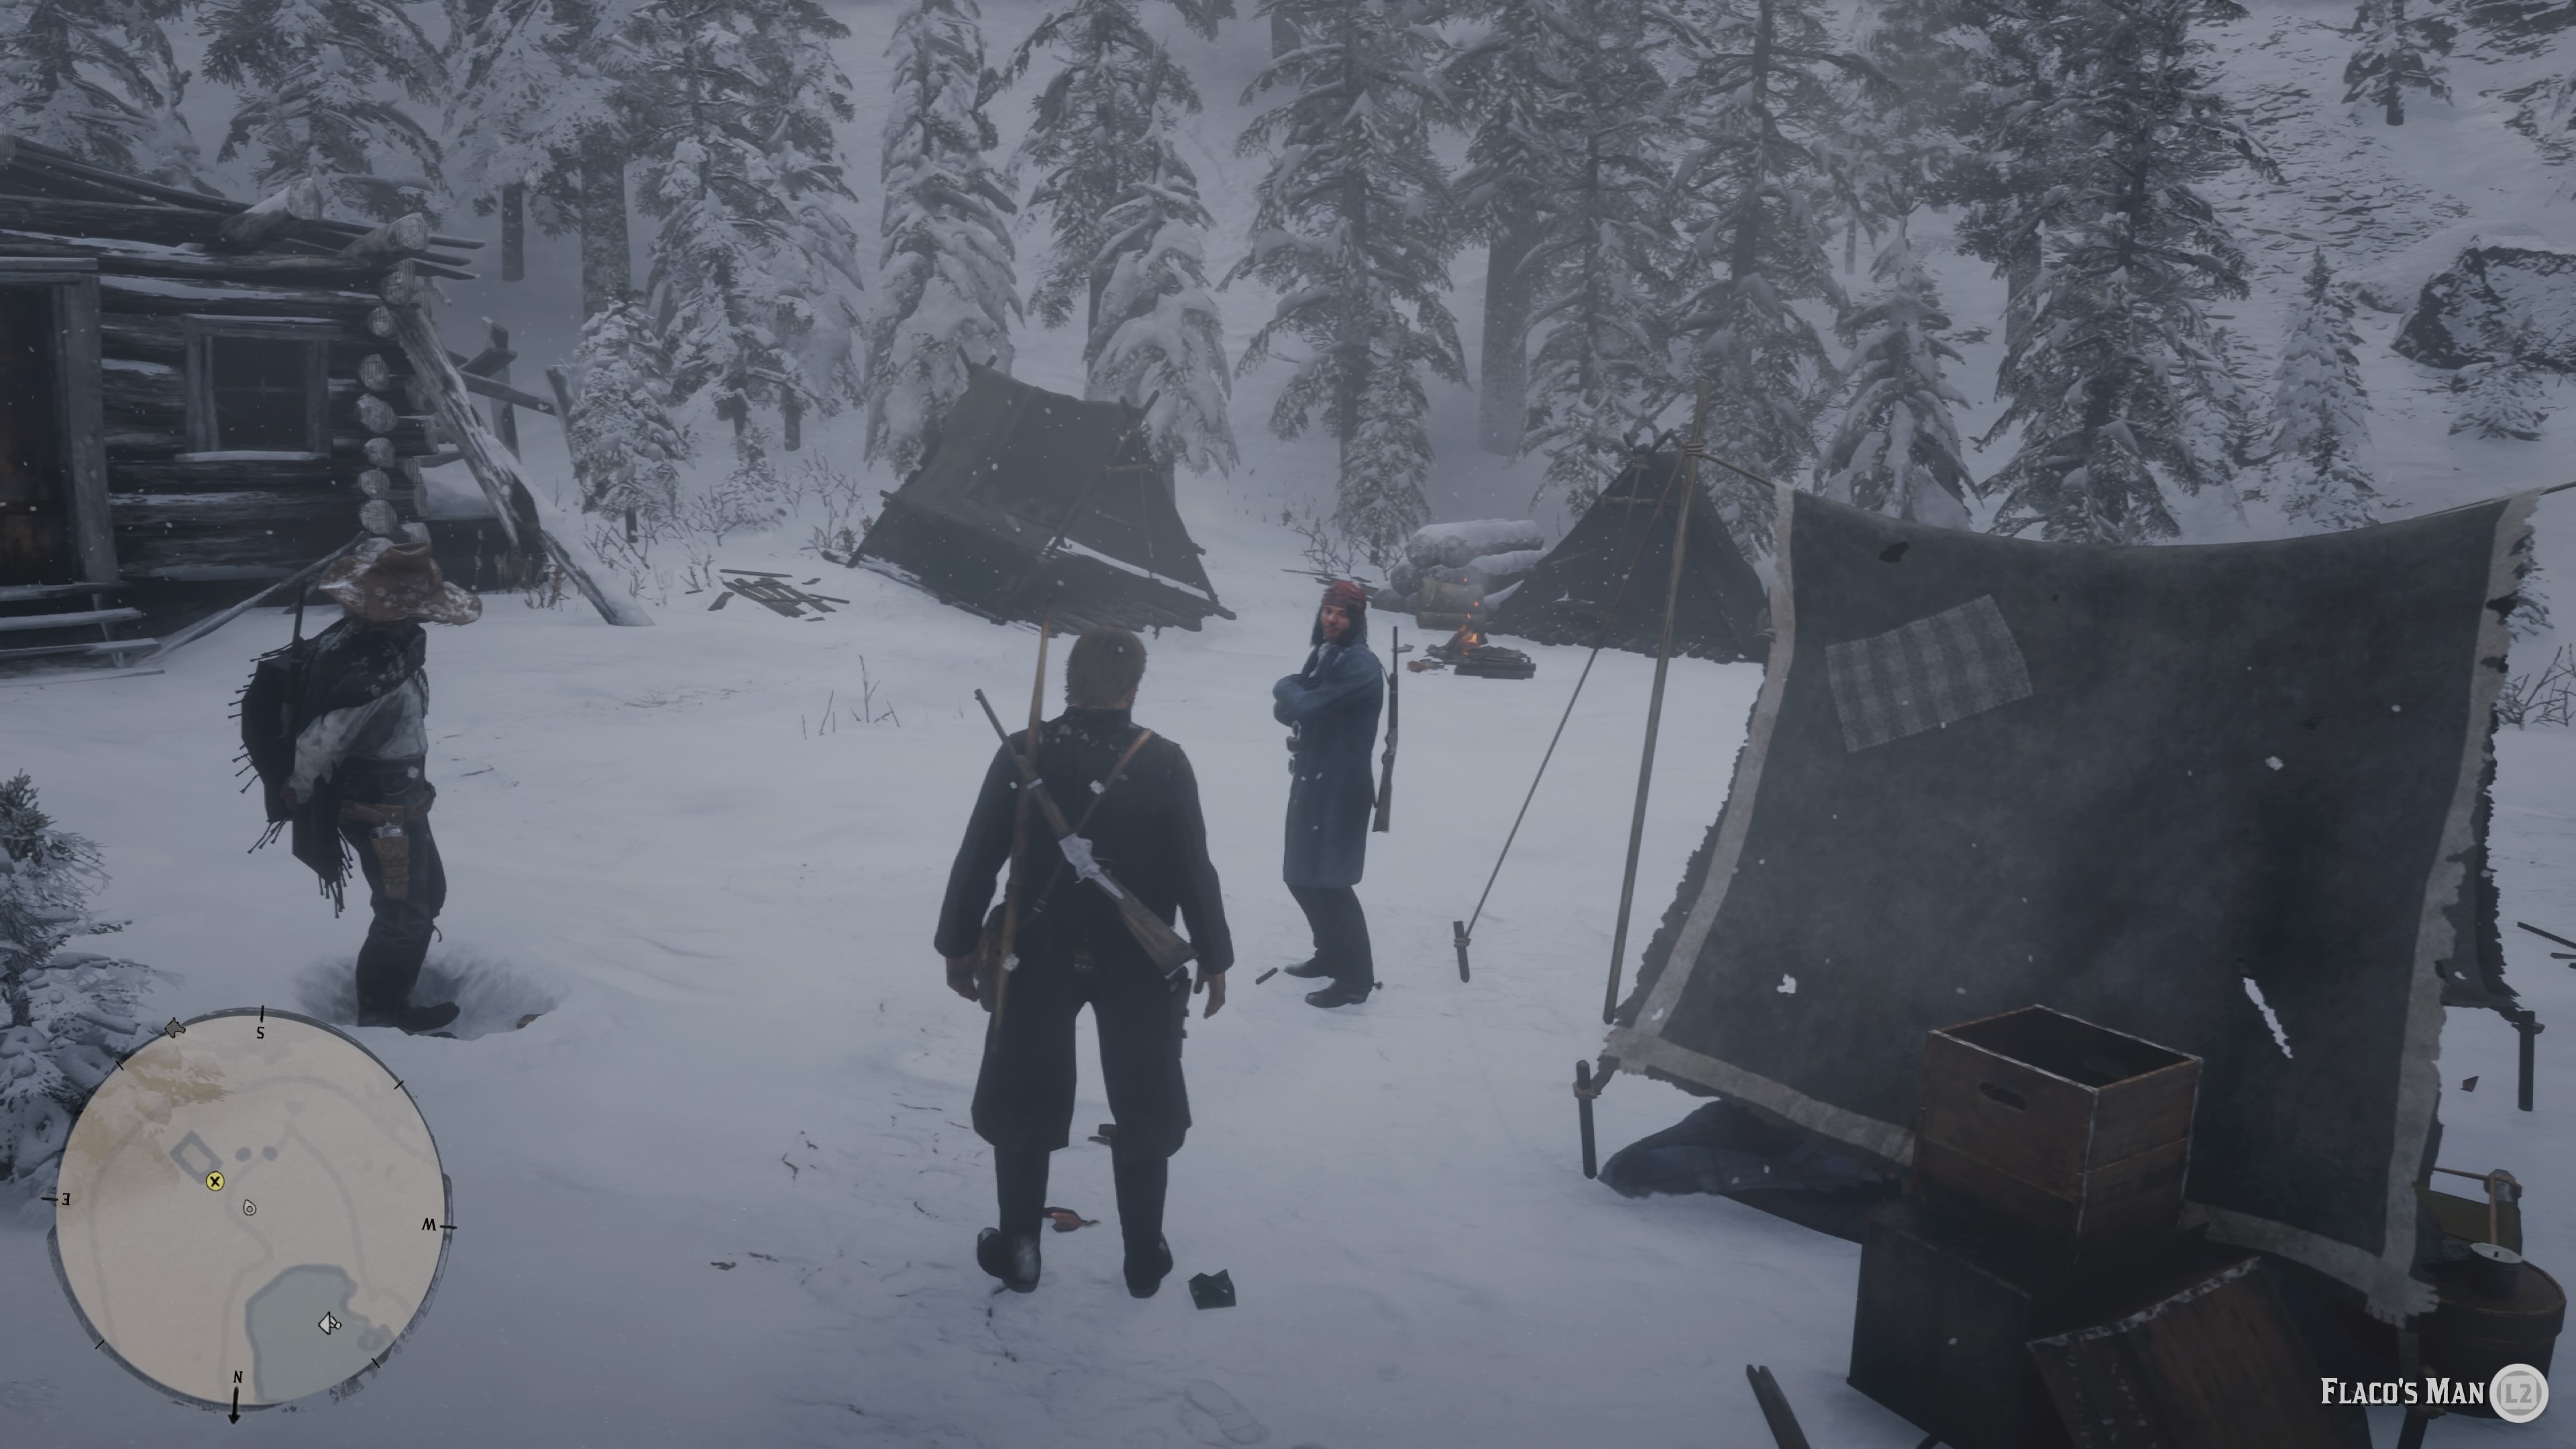
Threaten Flaco’s gang members
Now, head to his cabin and call him out!
Make sure you don’t pull your weapon before the duel because he will not come out. Once Flaco is out the duel begins, so slightly pull R2/RT, aim and shoot by fully pulling the trigger.
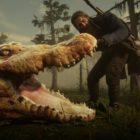
Go for a critical shot (head/heart) because if you only disarm him, he will pull the second revolver and most likely kill you. Since Flaco didn’t want to talk to you, just take his picture after you kill him.
Make sure before you leave you also grab his weapon (Flaco’s Revolver) on the ground, or you won’t find it later.
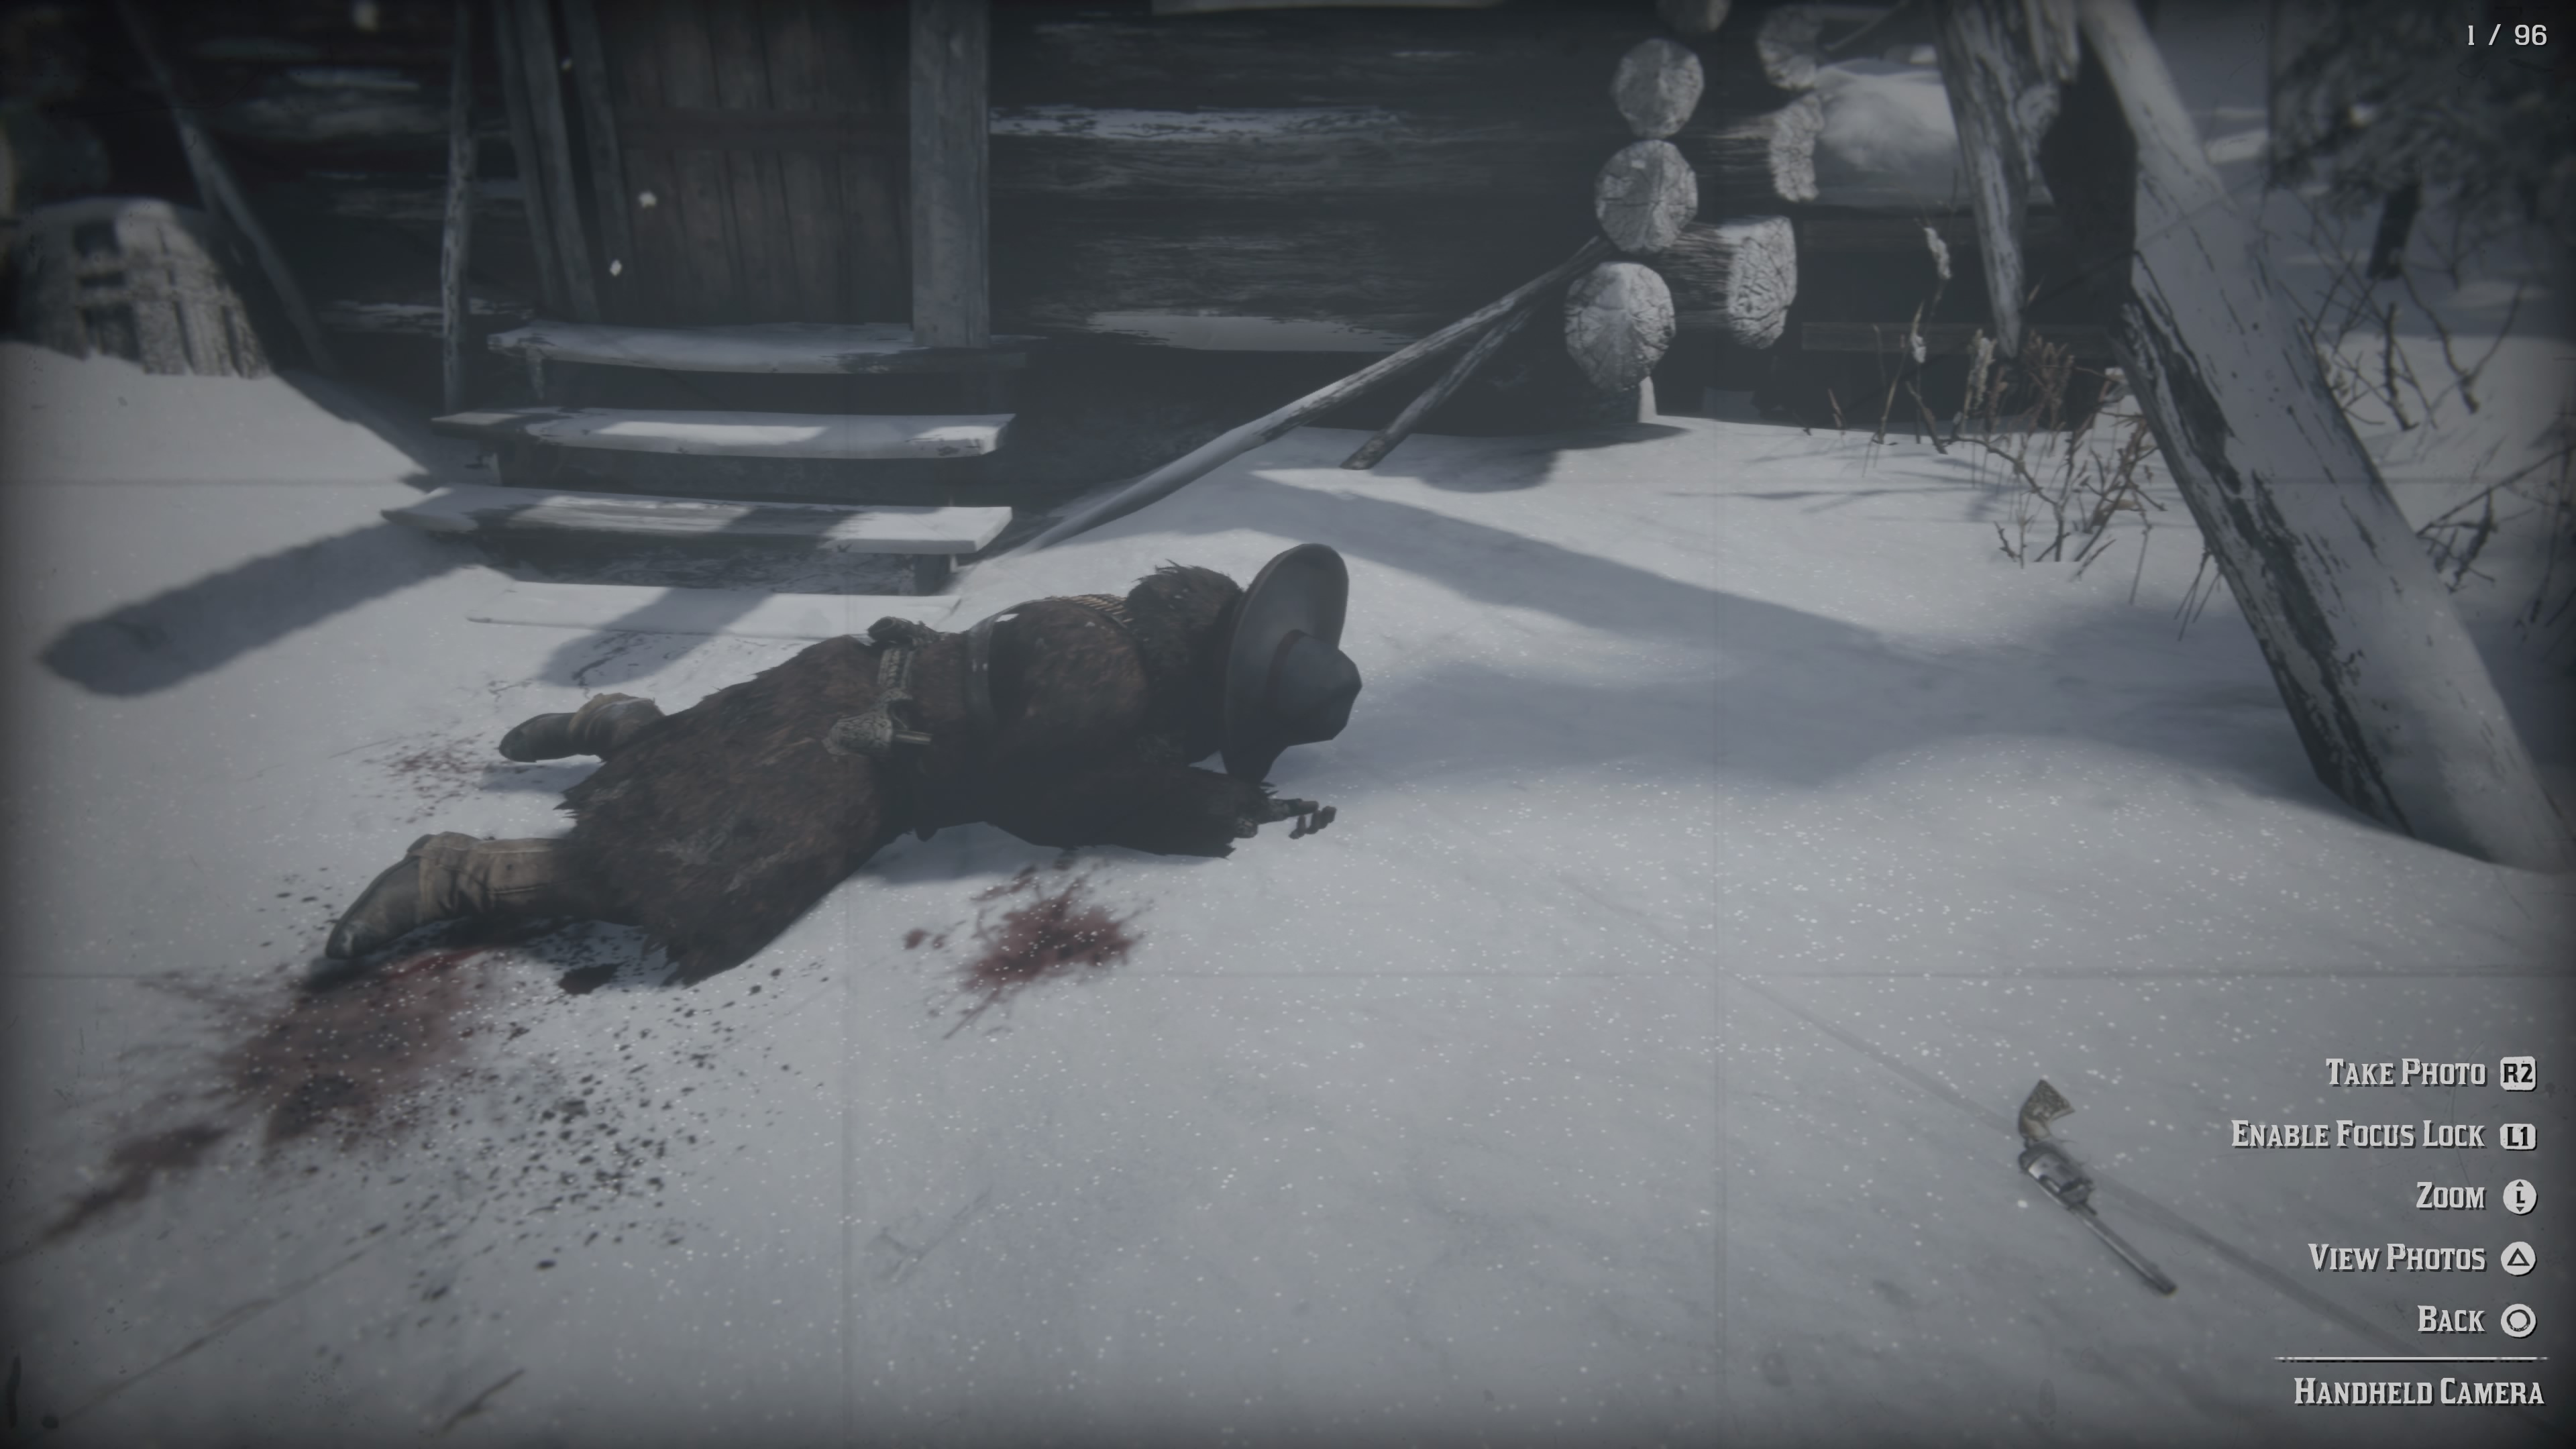
After you kill Flaco take his gun from the ground
That’s it, cowboy! The second gunslinger is down. Let’s focus on the third. Billy Midnight.
Billy Midnight
Biography:
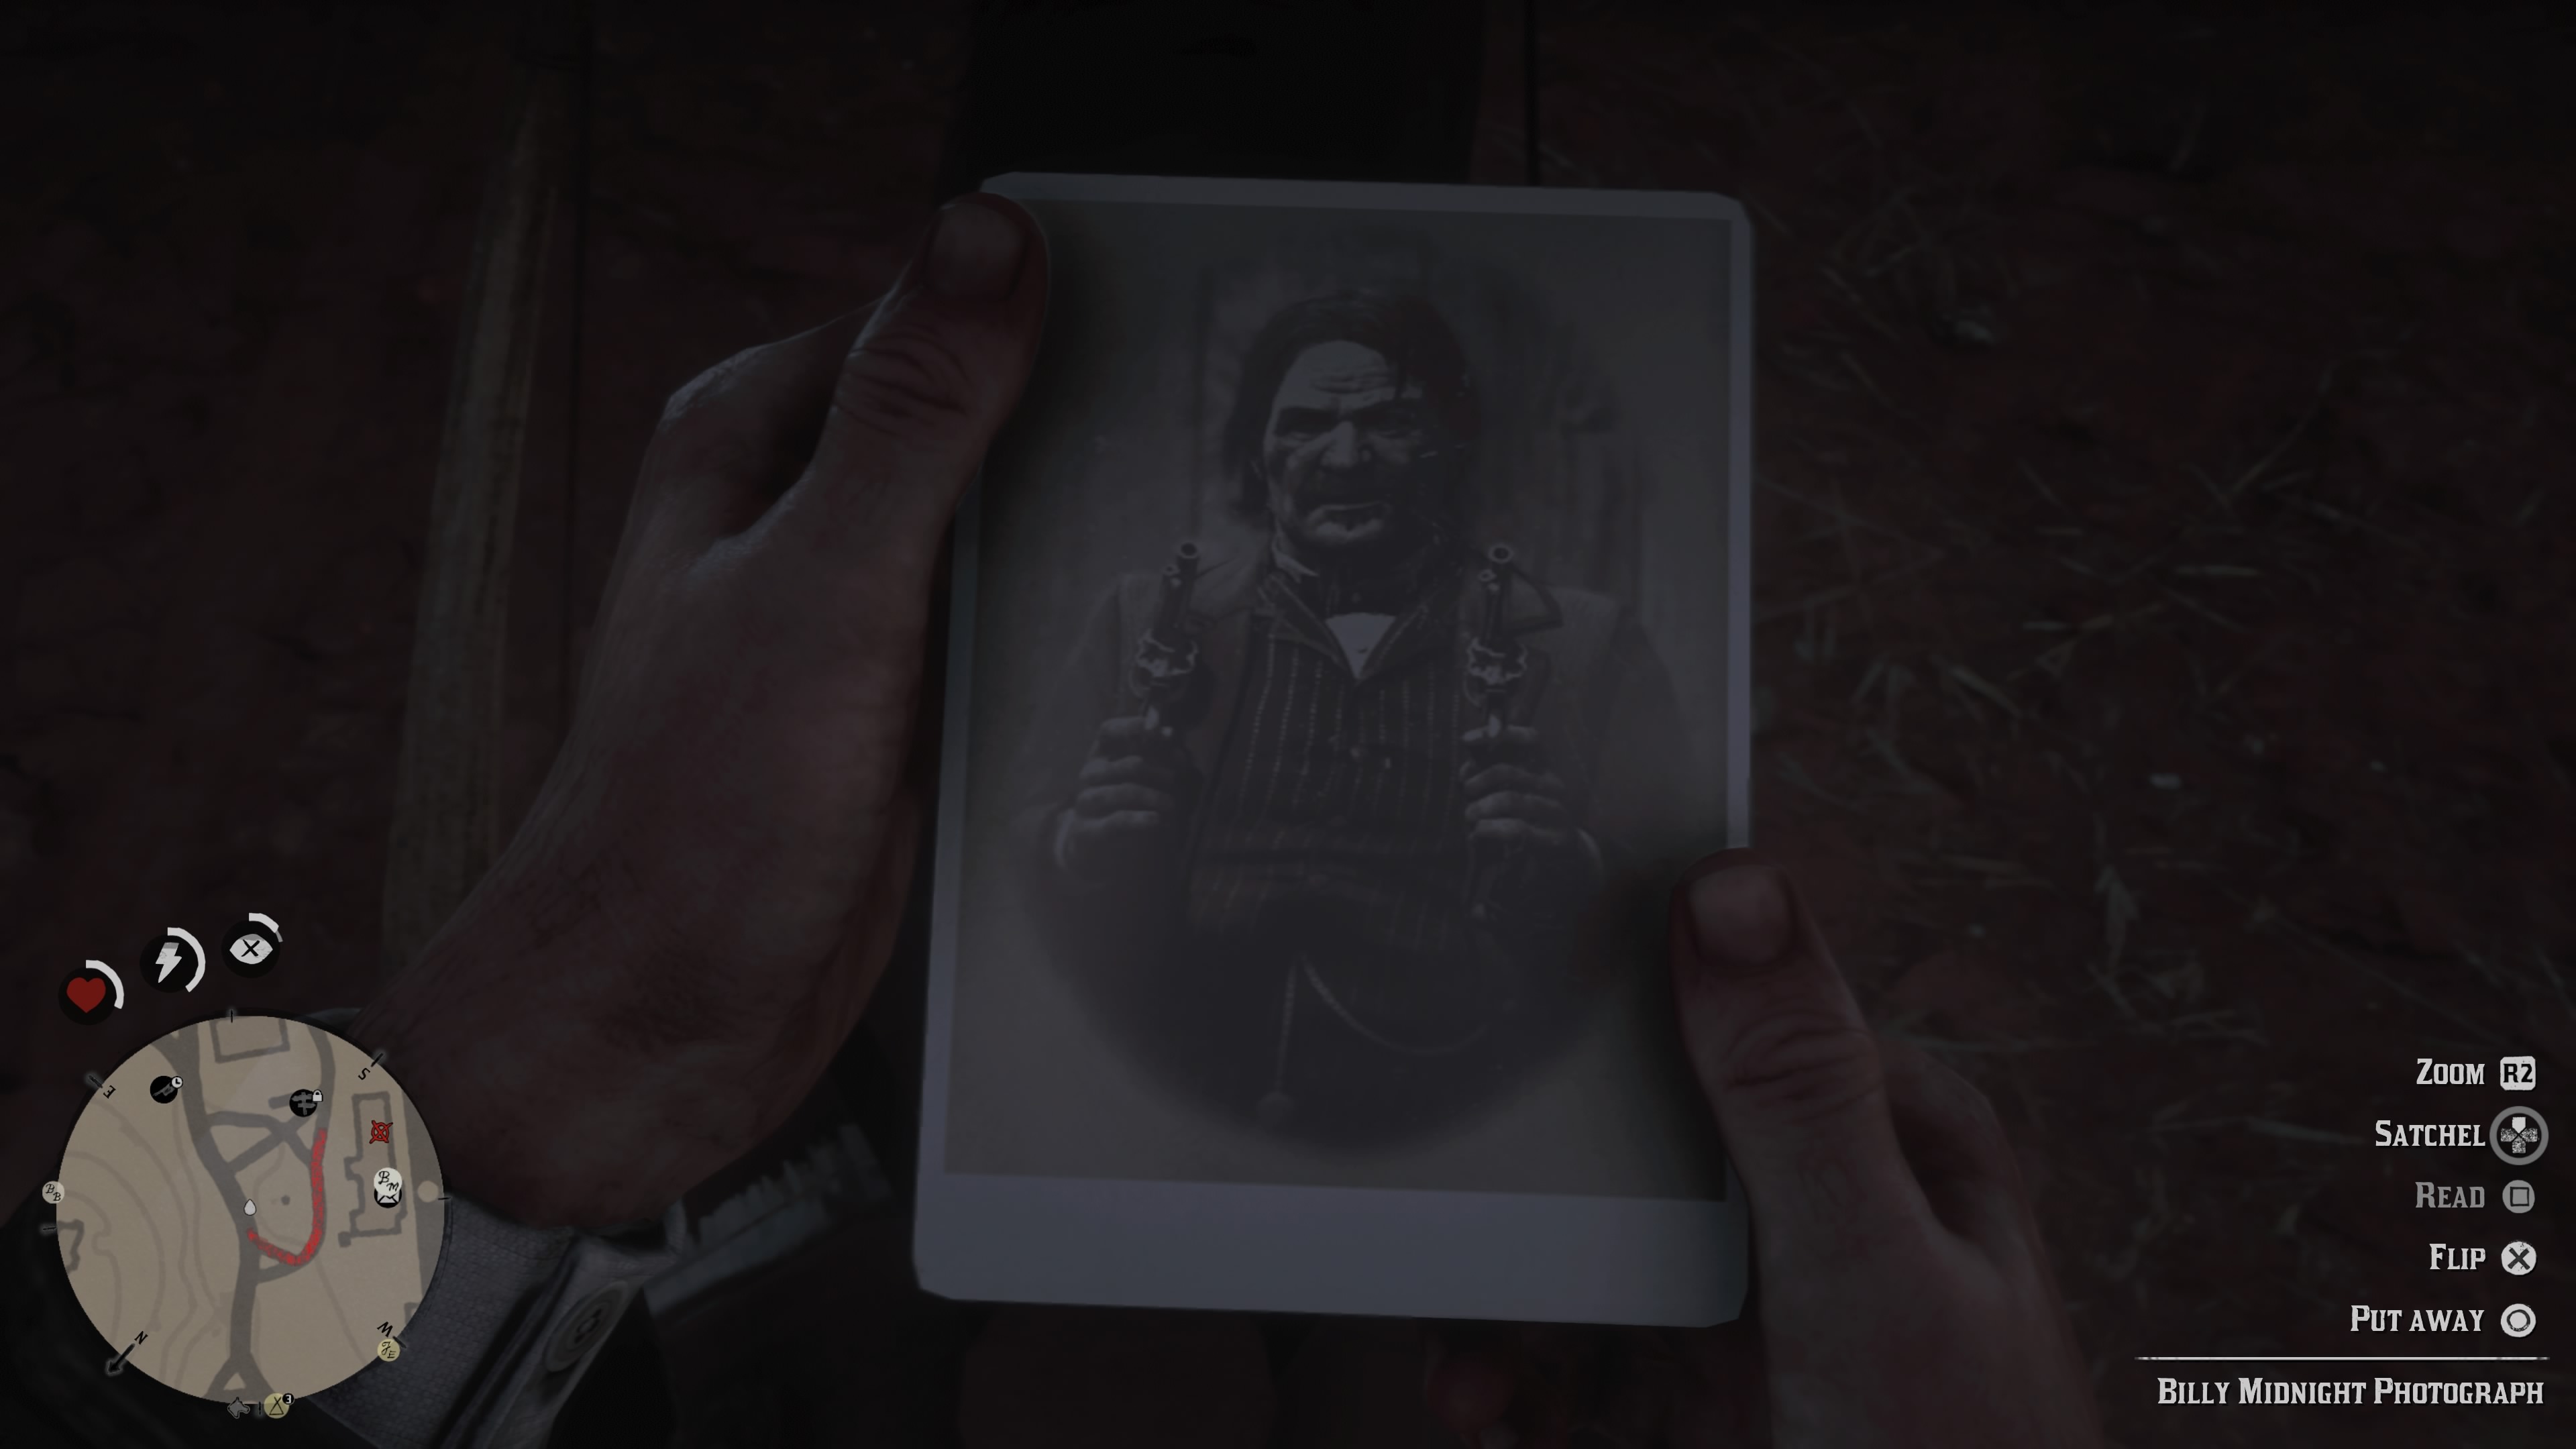
Red Dead Redemption 2 Billy Midnight Gunslinger
“(Born Wilhelm Schnell)”
- The man who killed Rabbit Matthews
- Little known abt. Midnight bef. killing
- Thought to have been Matthews’s rifle
- Cleaner & Stableboy
- Knew Calloway then
- Overnight sensation/gained national celebrity
- Speaking tours then re-enactments from St. Louis to St. Denis, San Fran, etc…
- Received death threats and suffered attempts on his life…
- Now a recluse for regular sightings at Rhodes Train Station
(Ask for him there?)”
The notes on Billy Midnight are quite clear, Arthur. Ride to Rhodes train station (marked on our map) and ask the clerk about your target by pressing L2/LT and ▢/X.
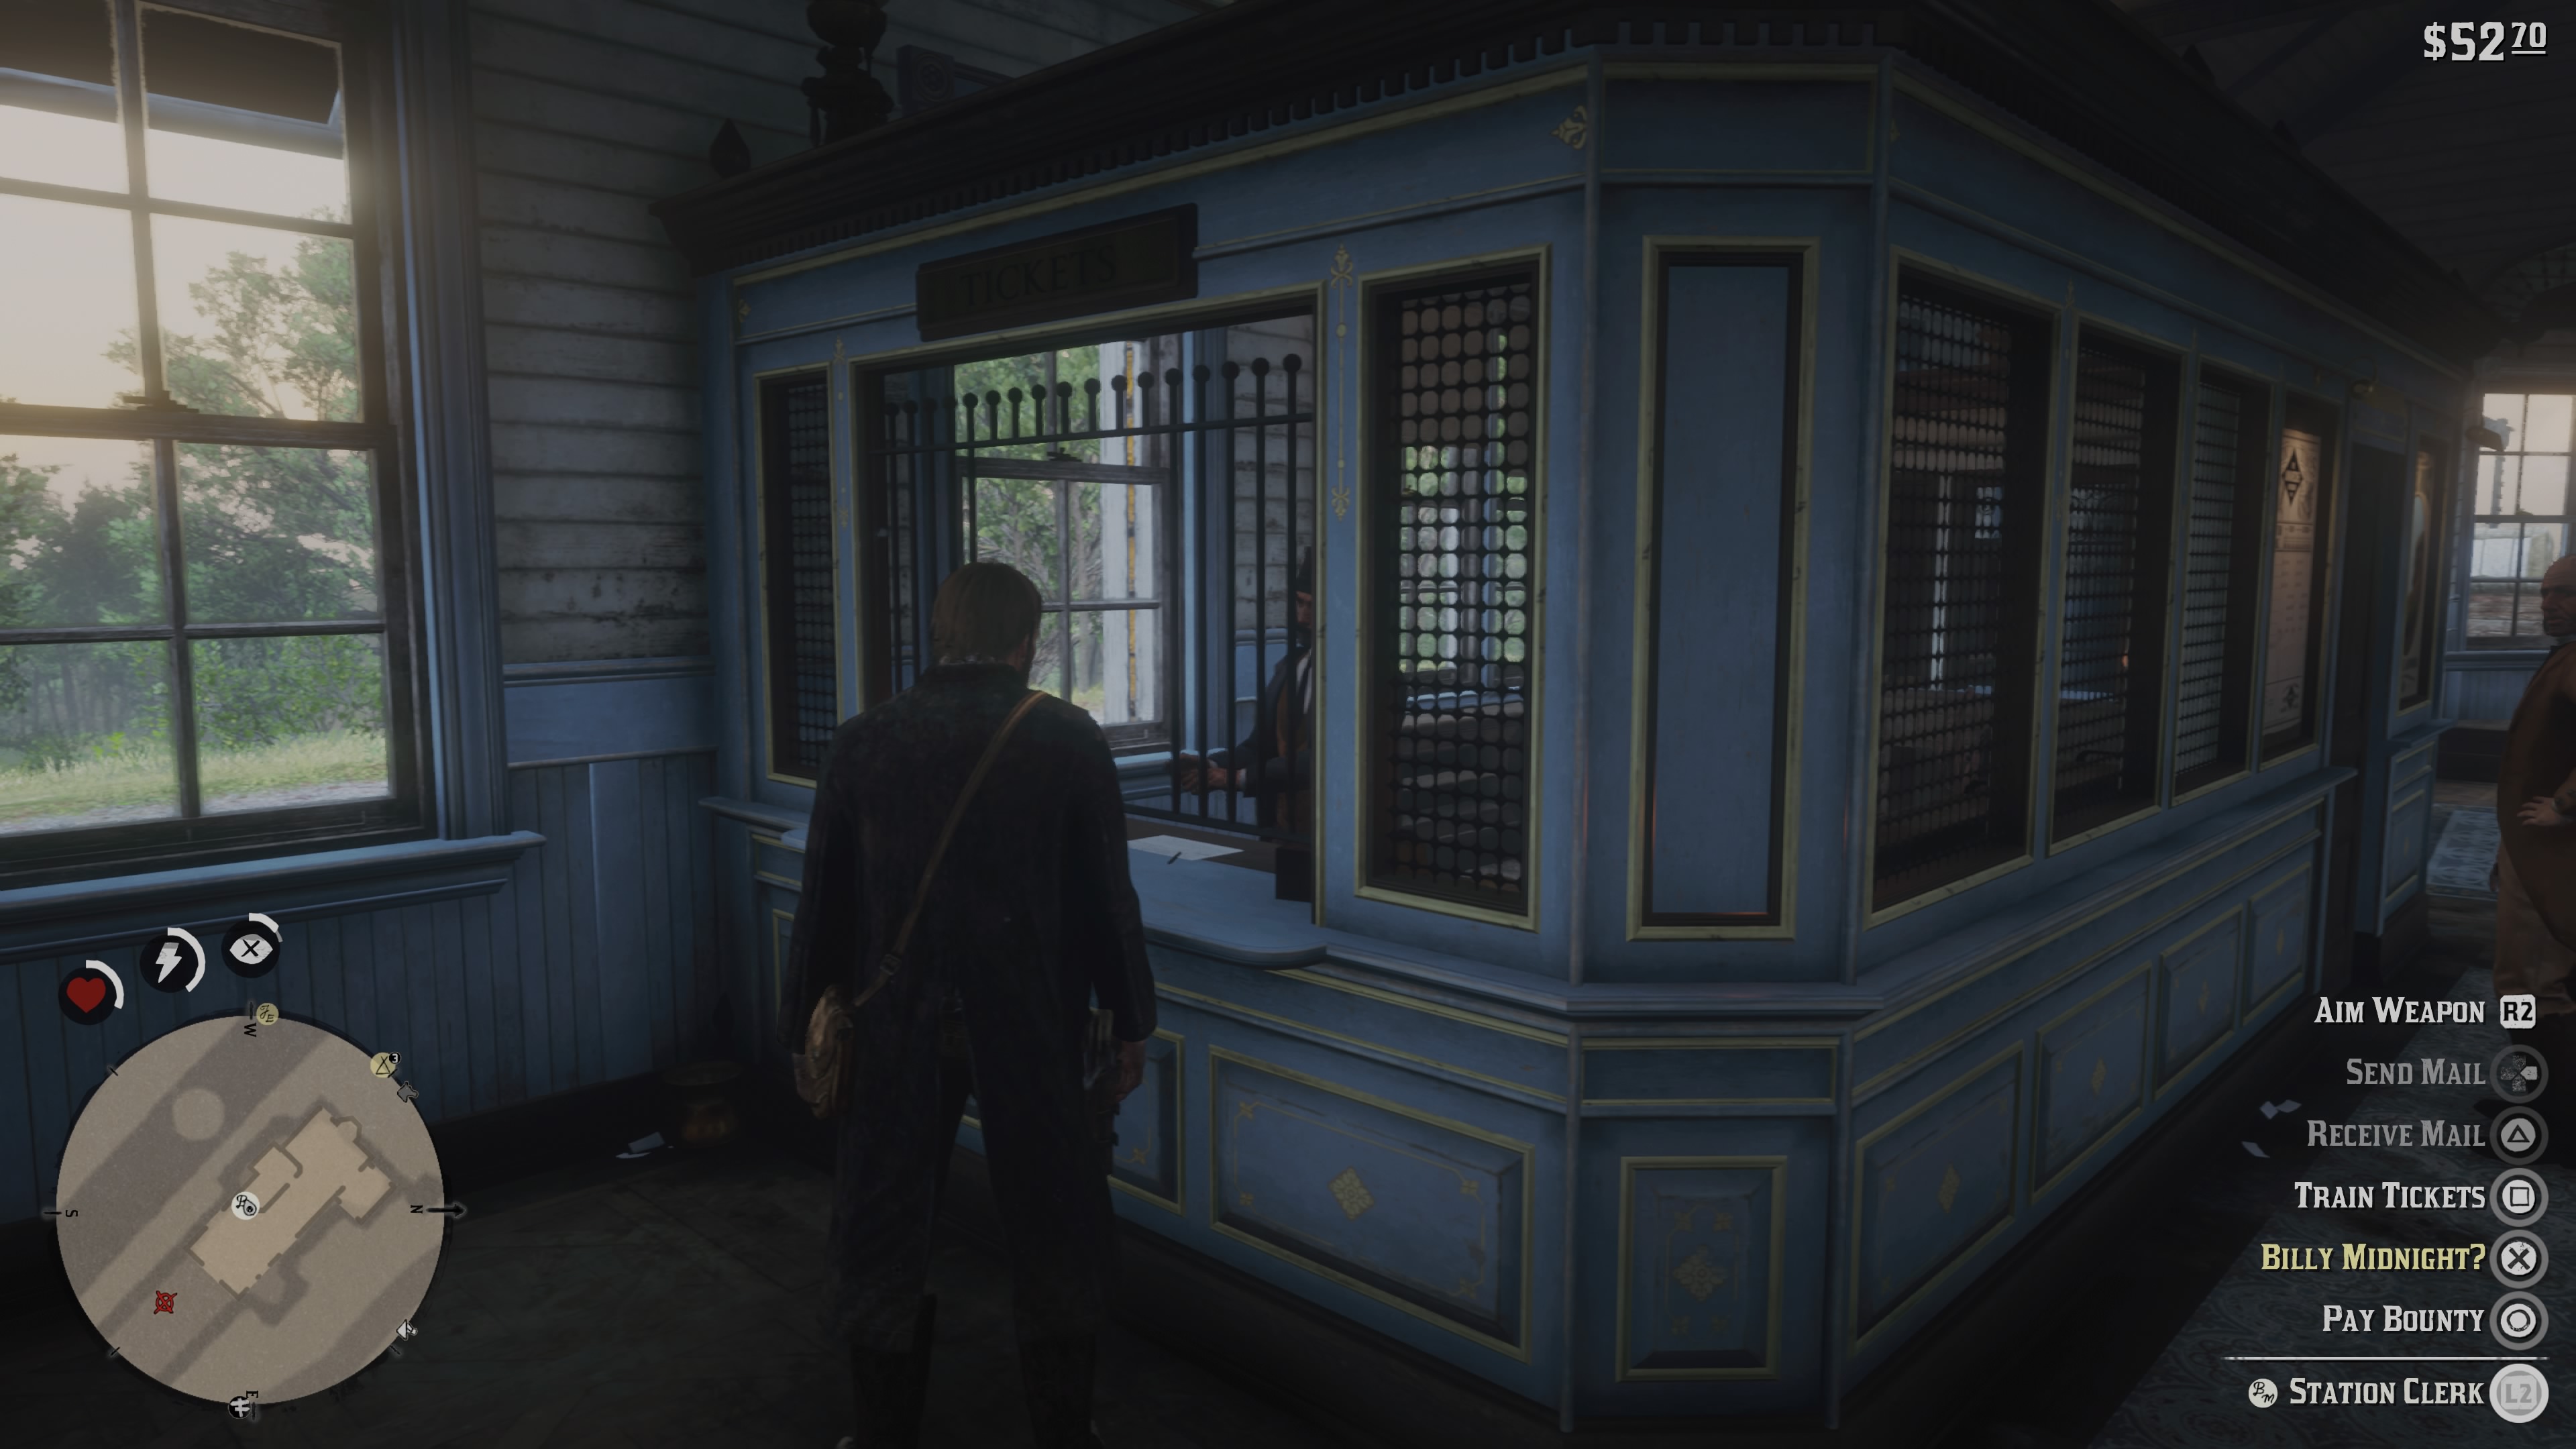
Ask the clerk at the station about Billy Midnight
Now, as you discuss with the clerk a train will arrive at the station. Head inside and go right towards the bar car.
You should see Billy at the bar. Greet him, then get ready to run because Billy is not in the mood to talk and he seems to be quite scared by strangers. Or feeling guilty.
As you chase Billy climb through the cars you will have to climb on the roof where the duel starts. What makes this fight different than the rest is that Billy crouches. This means that you need to aim low. As long as you do that you won’t have any difficulties in completing this encounter.
Finally, take a picture of him, using the camera in your satchel, and grab this weapon (Midnight’s Pistol). Now, jump from the train and head to the next target: Black Belle.
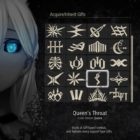
Black Belle
Biography:
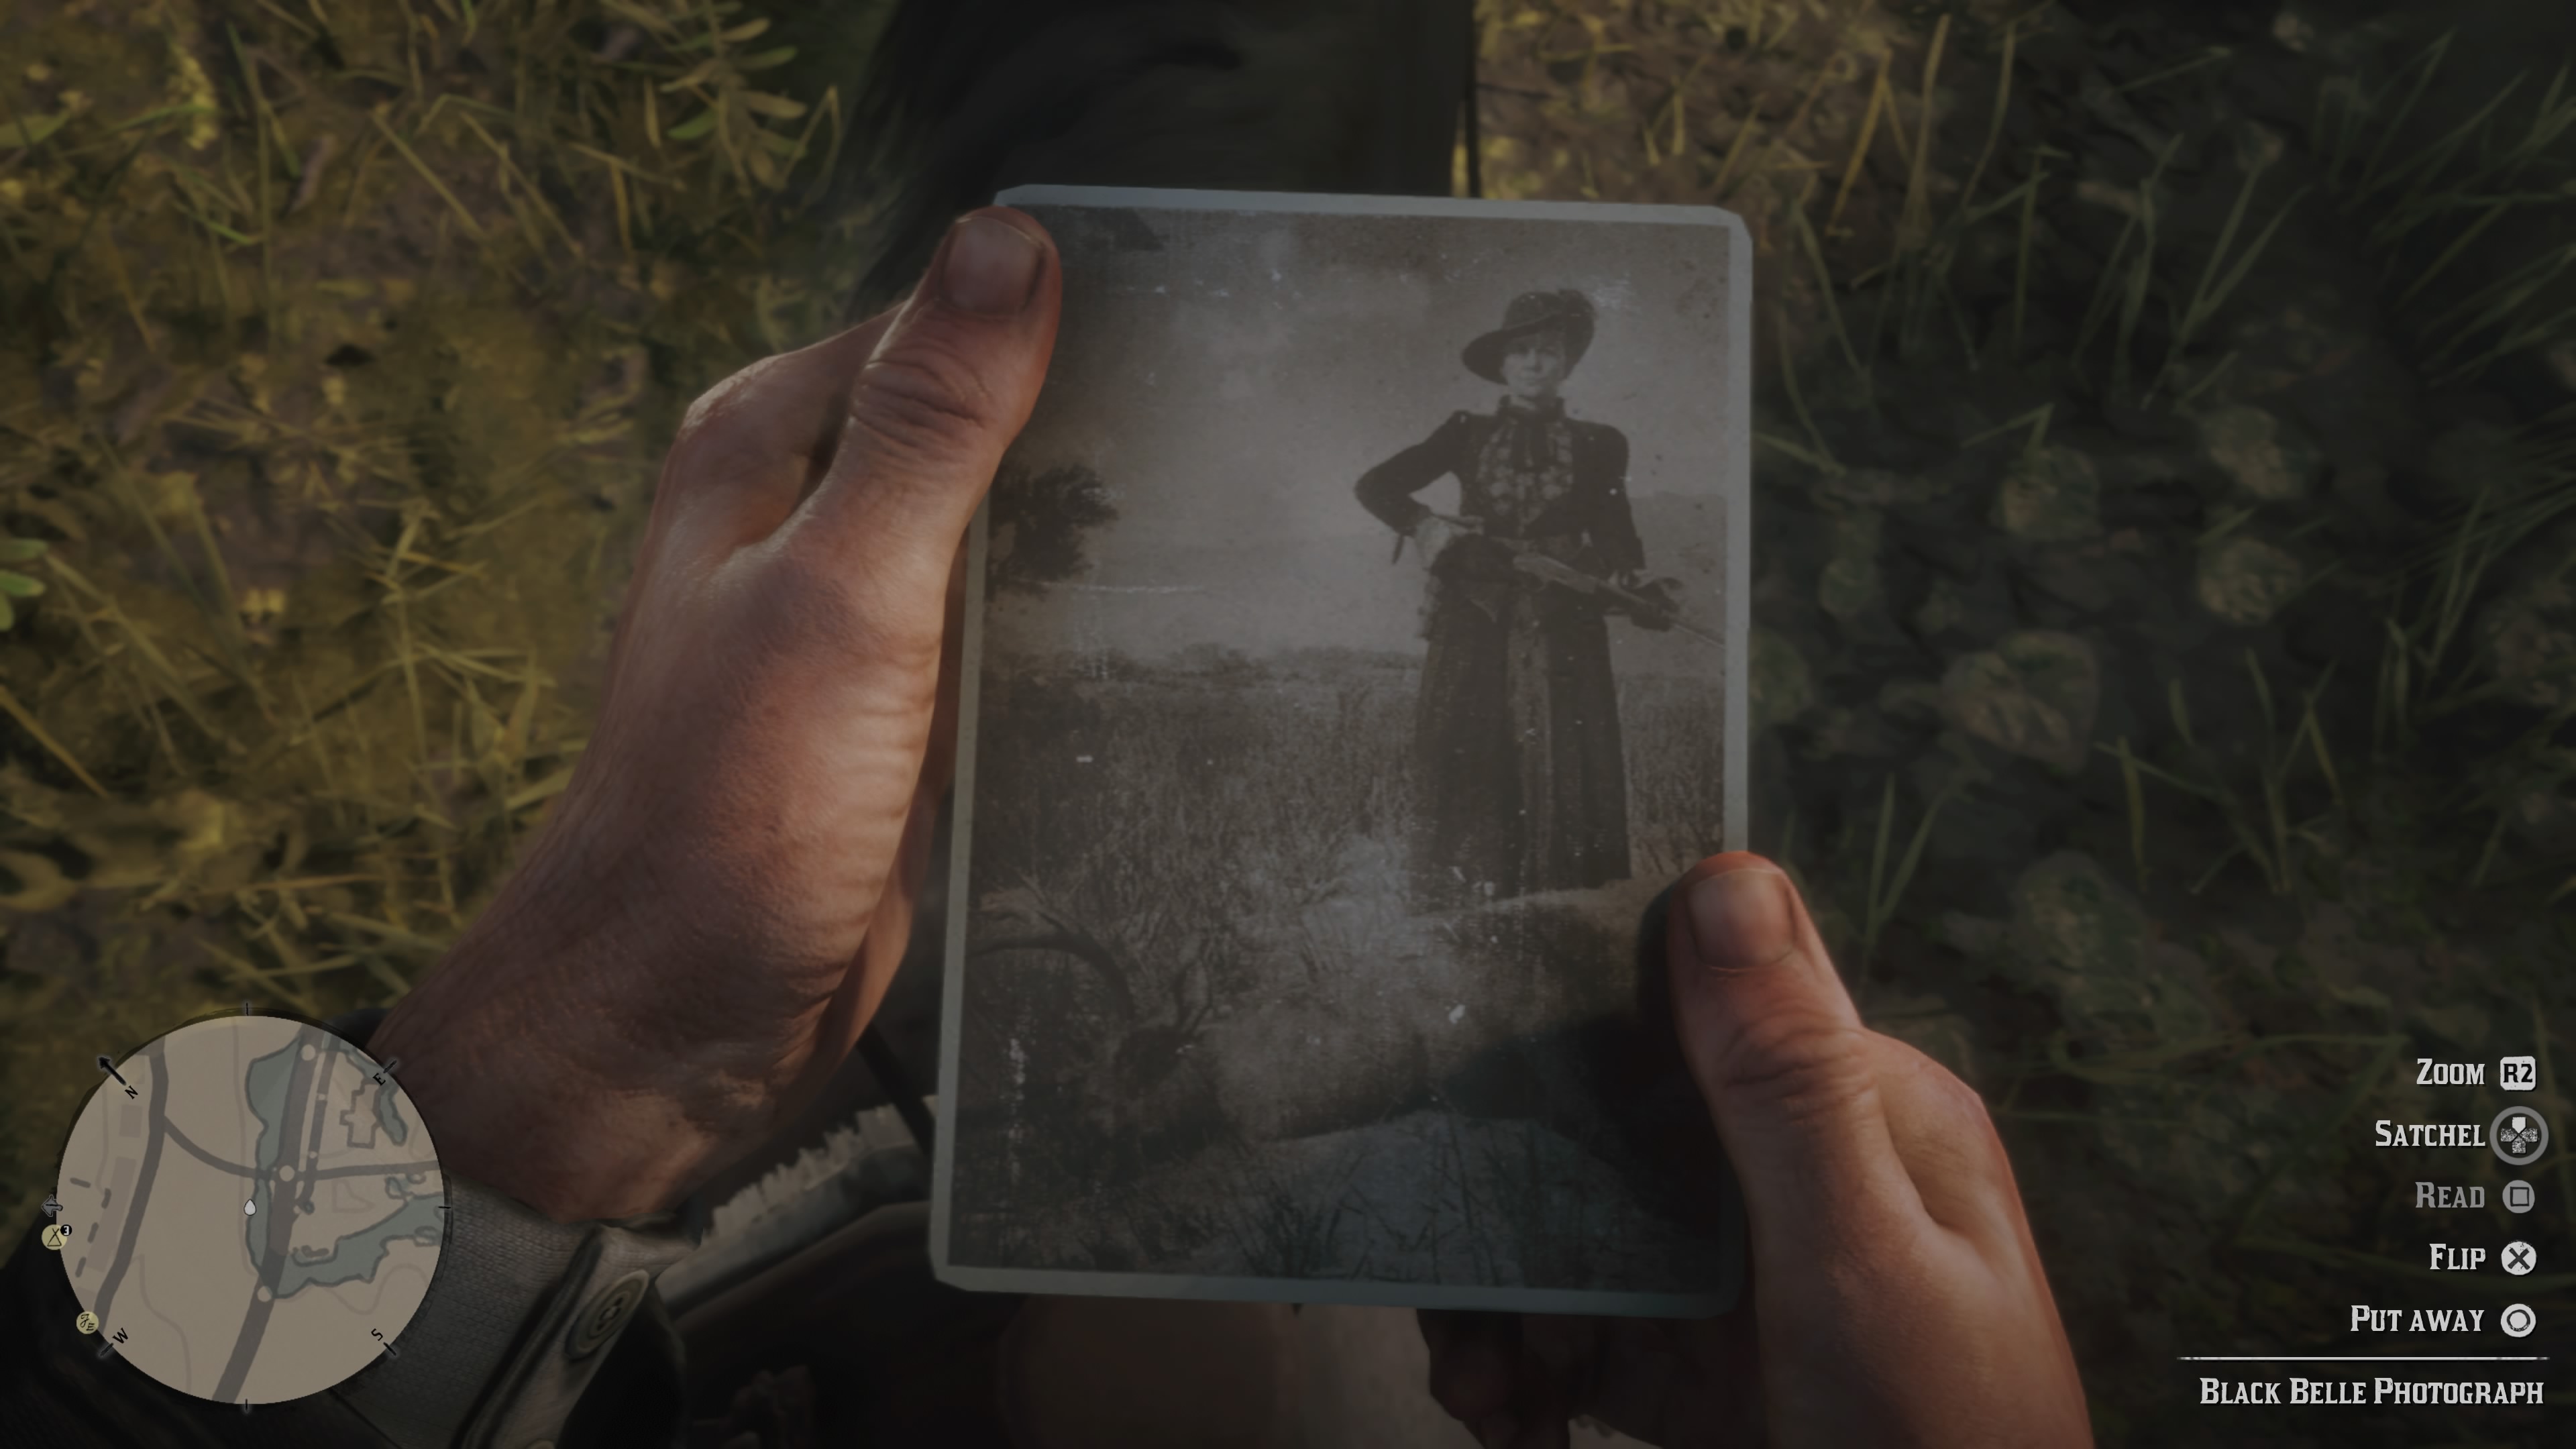
Red Dead Redemption 2 Black Belle Gunslinger
“The grande dame of the gunslingers/the dynamite dowager”
- Married six times to six gentlemen-
- Gamblers, robbers outlaws every one
- Never divorced, dresses in her widow weeds
- Sole remaining survivor of the Colter Tobin Gang
- Outlawed after a robbery in Rhodes
- A private contract for her life or liberty – Large Reward
- Last reported sightings nr. Bluewater Marsh
Do not approach, too dangerous for mere biographer”
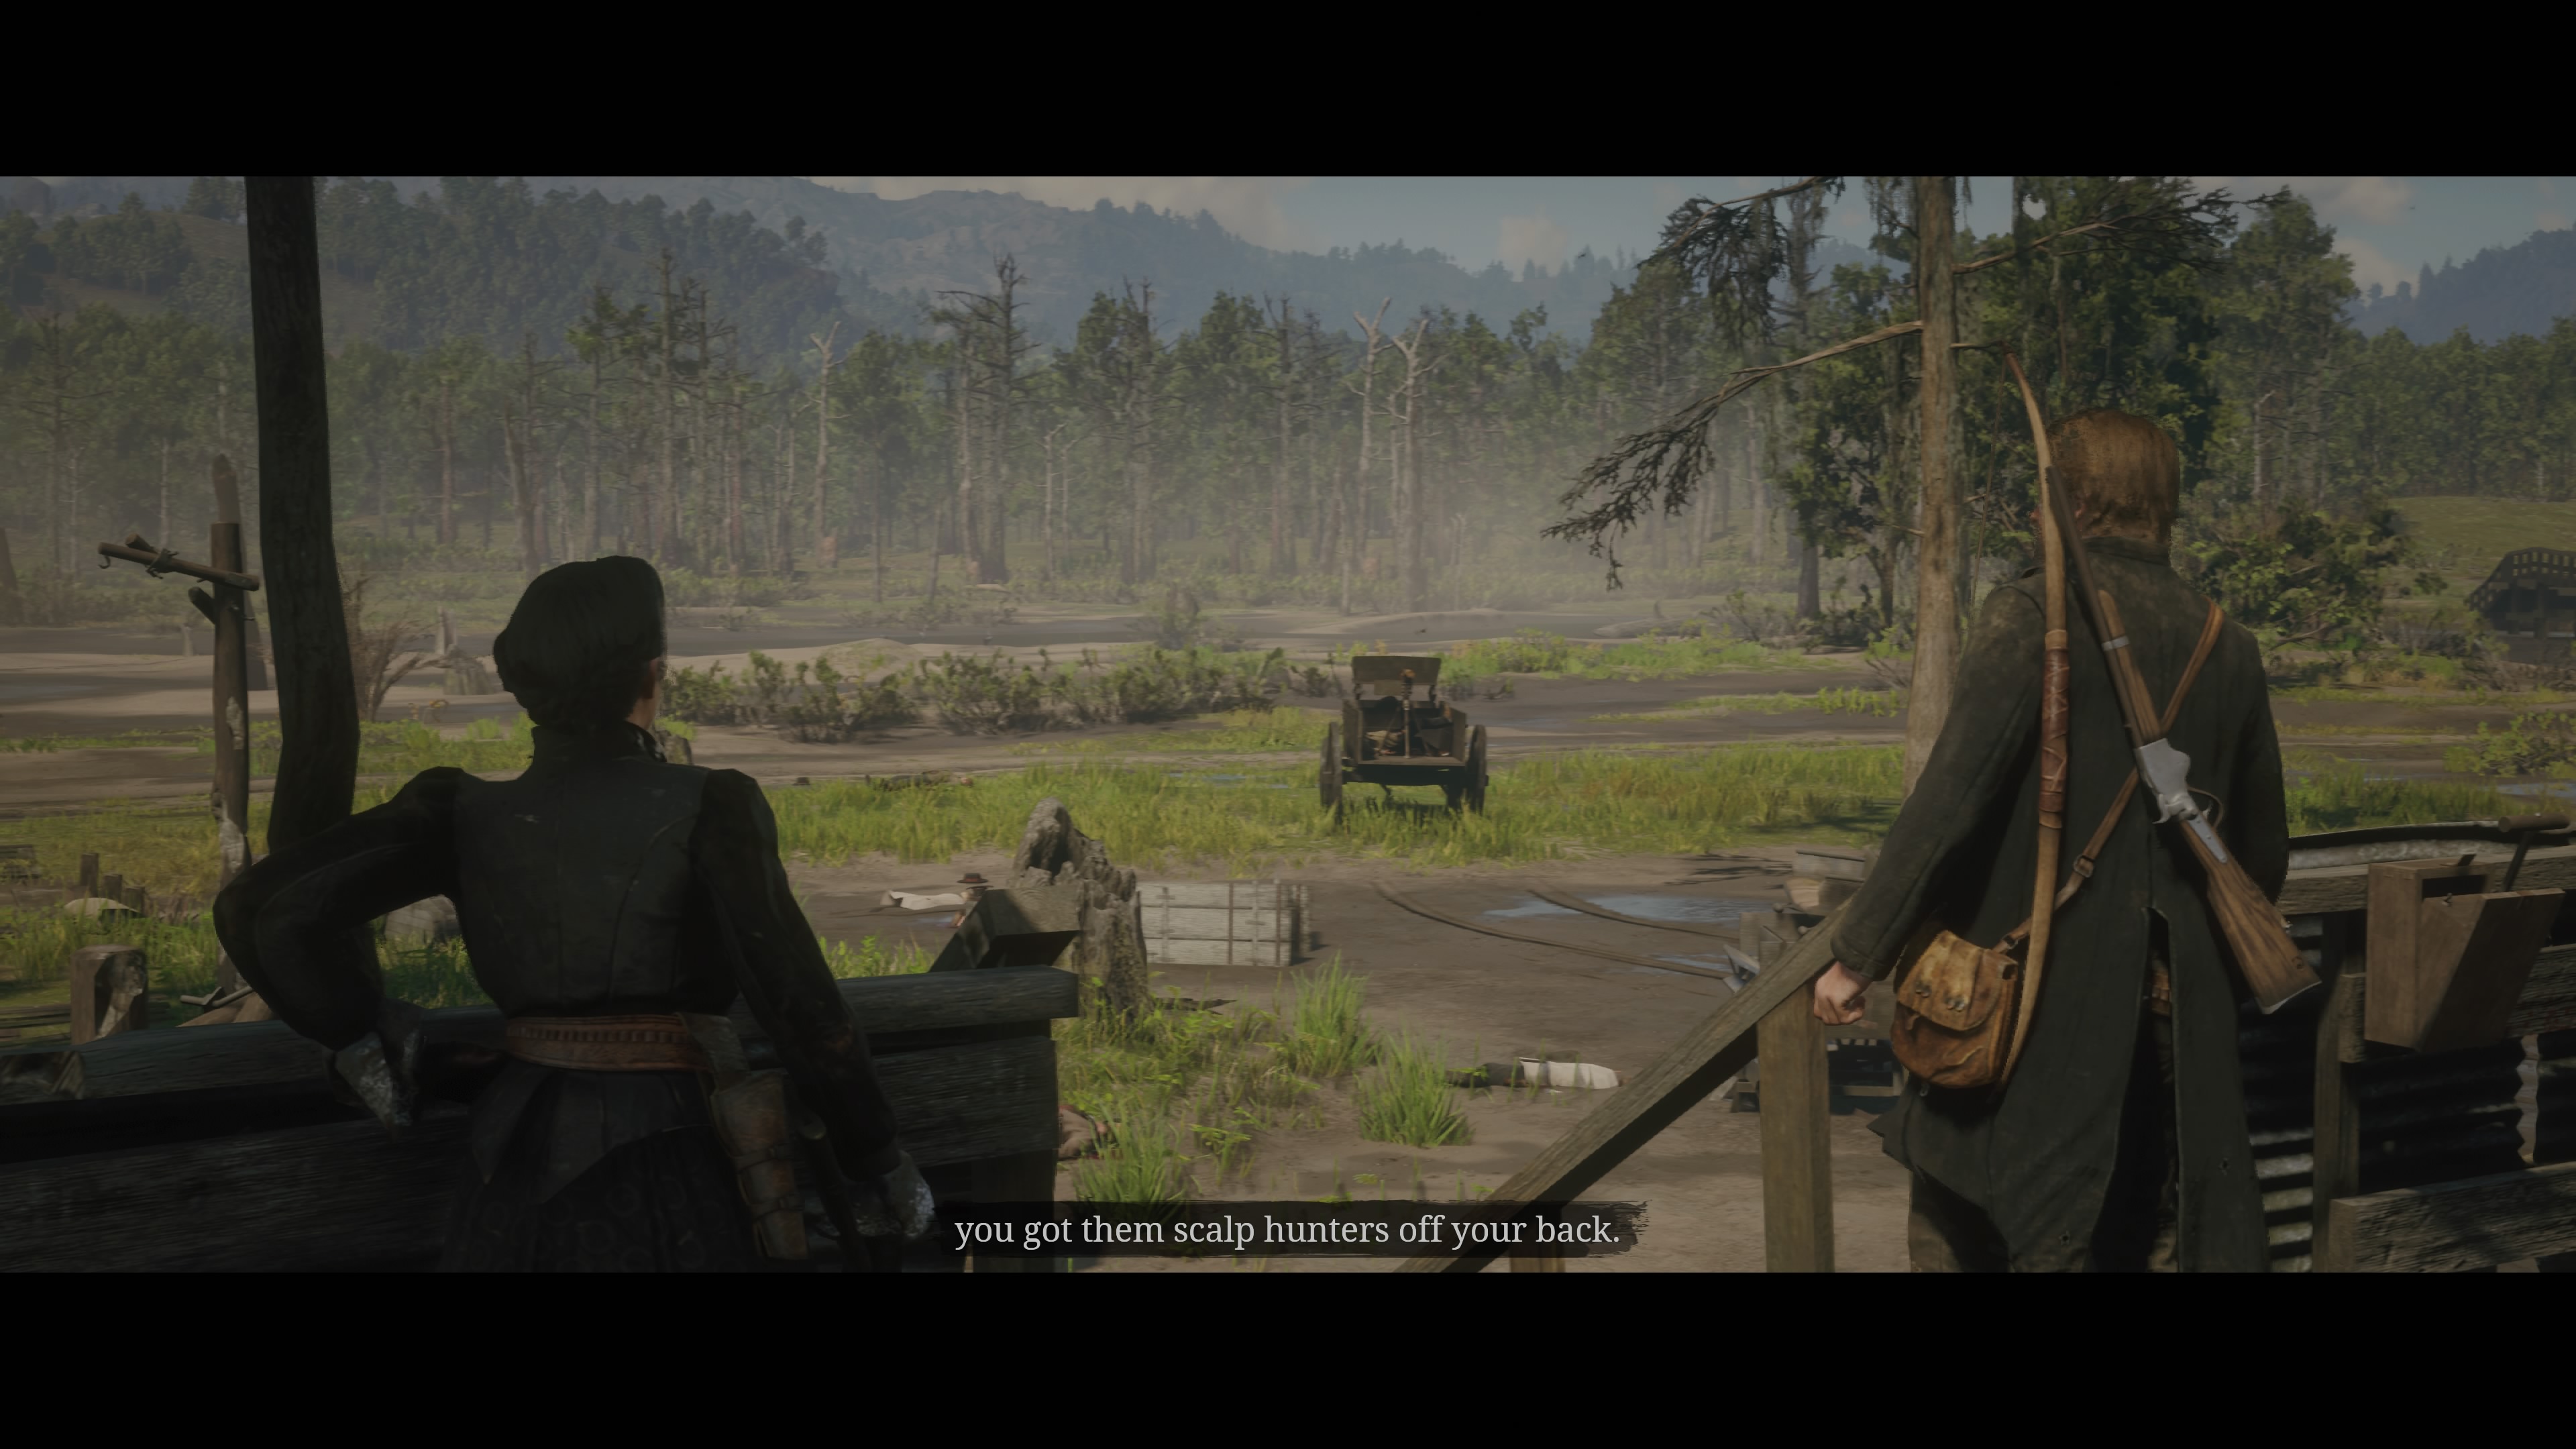
After you flip the photo of Black Belle and read the biography above, open your map and you will see a new icon (BB) in Bluewater Marsh. Head to that location where you will find a house. Move towards the door to trigger a cutscene, during which you and Belle are attacked by bounty hunters.
Belle agrees to give you the story you want to hear if you help her defeat the bounty hunters. The first one is easy to kill because you will basically detonate a series of charges right next to him. For the rest, however, you have to get ready.
The fight features three sequences. First, you will have to shoot the attackers in front of the house. Stay in cover and pick your targets one by one, until Bell tells you to move to the back of the house.
Additional enemies will come from your left. As long as you aim for their heads and stay low you won’t be in danger. For the third sequence you will have to move back to the front porch, but this time you should see that a Gatling gun was installed. Take out the man handling the weapon first, then those trying to reach it.
Keep an eye on the Gatling gun and take out the goons who try to reach it
Once you clear all waves of enemies, another cutscene starts. Unlike the other gunslingers, Black Belle is quite easy to convince to pose for a picture. Make sure you take a great one, Arthur!
Since you didn’t actually duel Black Belle, you won’t be able to take her weapon, but hey, there are many corpses to be looted. Take your time and inspect them.
The first four gunslingers in this mission are now history. It’s time for you to focus on the game’s main missions until you reach Chapter 4 and finish A Fine Night of Debauchery.