This is a guide about how to make texture packs for Minecraft. It will walk you through the steps and explain what is needed to make and edit the packs. The Minecraft texture packs are an essential part of the game and you should master the ability to use them.
How to make texture packs for Minecraft
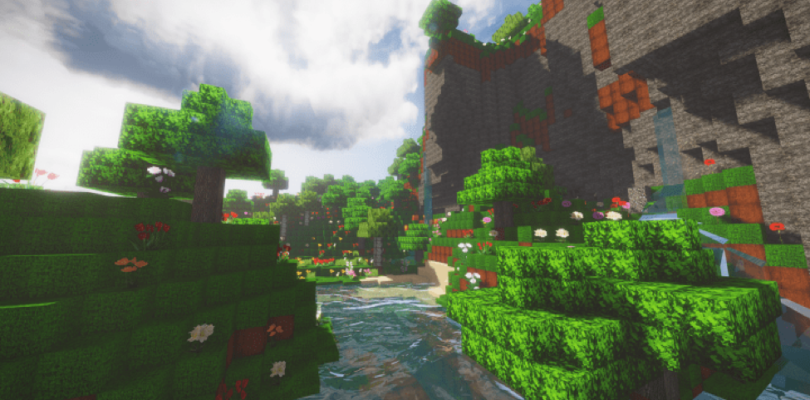
Texture packs are something that can help you enjoy Minecraft even more. They basically allow you to customize and give a new look to your Minecraft world. For instance, you can make a sponge block look like a stone through a texture pack. These packs also allow you to alter various items through which you can create some tricks and hidden items.
Today, we’ll be talking about how you can create a texture pack. Keep in mind that we won’t tell you how to make something look like wood, grass etc. We will only cover the important things, such as where you can find the required files and the basics of creating a texture pack. Although the task may seem difficult at first, it is quite easy.
So, without any further due, here is how you can create a texture pack in Minecraft.
How to Find Textures
To begin with, you first need to find the textures. There is a folder named .Minecraft that contains Minecraft jar file. This file contains all the textures and there are two ways to find the folder:
- Go to C: Documents and Settings*USER*Application Data.Minecraft. From there, replace the word *USER* with your account name. OR,
- Open the windows search bar and enter %appdata% after which you need to browse through roaming > application data > .Minecraft. This will take you to the folder you’re looking for.
Revealing Hidden Files
One thing to keep in mind here is that you might not see the application data folder until you reveal hidden files. If you don’t already know how to reveal the hidden files, then follow these steps:
- Open any folder.
- On the top bar, click on tools.
- Click on folder options.
- Click on the view tab in the pop-up menu that will appear.
- Click on Hidden Files and Folders.
- Mark the Show hidden Files and Folders as ticked.
Once you’re done with revealing the hidden files, its time to find the textures. Open the .Minecraft folder that will appear and from there, open the bin folder. There will be a Minecraft.jar file inside this folder and you will be able to open it with either 7zip or WinZip. If you don’t have any of these two programs, then you can go ahead and download them for free.
If you’re unable to open the file by clicking on it, then you will need to right-click on the file and select “open with” from there. This will help you open the program manually. Once you do that, all the texture files will appear.
All of them Will Not Be in The Same Location
Although all the textures are in this file, you will need to open different folders for different textures. Some of them can be easily found as they are located inside a folder of their name, while others are present in a folder with a different name. For instance, the armor textures and the mob textures are located inside a folder called armor and mob respectively. However, the block textures are inside a file called terrain.png.
The above-mentioned files will include all the block textures. Keep in mind that some blocks use only 1 texture while some use more than 1 textures. Once you open the file, you will realize that blocks such as grass, vines, and ferns are gray. Although the color of these blocks can be changed, we will suggest you don’t do this until you have enough experience with editing.
How to Edit Textures
After you’re done with finding the textures, its time to edit them. You can use various editing programs, but the Gimp editing software is considered as the best one when it comes to editing textures. Many players have used it to successfully create various Minecraft texture packs. Keep in mind that there will be some blocks that you will need to keep transparent, so you won’t be able to edit them in software such as MS Paint.
If you’re new to editing, then we will suggest you first do some simple editing to get familiar with how things work. You can simply recolor the default texture pack and make some small changes to it. This will allow you to learn how textures look after they are edited. Make sure to keep the format and the size of the files you edit the same as before. If you end up saving terrain.png as terrain.gif, then your textures will not load.
Location of Different Textures
As it can be somewhat difficult to locate textures inside the jar file, we are going to list down the locations of most of them.
- png: Found in Minecraft.jar file. Contains all the block textures.
- png: Found in Minecraft.jar. Contains all the particle effects (torch flames, raindrops, etc.)
- png: Found in Minecraft.jar. It is used as a thumbnail for texture packs.
- text: Found in Minecraft.jar. It is used to write a short description of the texture pack.
- Environment folder: This folder contains all the clouds, light, rain, and snow textures.
- Item folder: This folder contains books, arrows, boats, signs, xporbs, chests, and minecarts textures.
- Title folder: This folder contains the Minecraft logo and the Mojang logo. In addition to this, you can also find the panorama pictures and the splashes.txt file inside this folder.
- Font folder: This folder contains all the fonts used in Minecraft.
- Terrain folder: This folder contains the sun and moon textures.
- Achievements folder: This folder contains all the achievement interface textures.
- Art folder: This folder contains the image used for all the paintings in Minecraft.
- Gui folder: This folder contains the textures for the interfaces in the game.
- Mob folder: This folder contains all the mob textures.
- Misc folder: This folder contains all the textures used for the background of the maps, explosions, the pumpkin helmet view, biome shaders, water colors, and some other light effects.
- Armor folder: This folder contains all the textures for armor.
This was all regarding how to create a texture pack in Minecraft. Make sure to follow our guide properly if you want to successfully create one.

