
Tom Clancy’s The Division 2 Photo Mode is a feature which allows you to capture photos while playing the videogame developed by Massive Entertainment for PlayStation 4, Xbox One and PC.
The Photo Mode in The Division 2 is unlocked, just like the Fast Travel, early in the game. You’ll get access to it automatically.
You can use the Photo Mode to take photos of your agents or capture beautiful views from different angles. Furthermore, you can share these photos on various social media channels.
What’s really cool about The Division 2 Photo Mode is that the user interface is completely removed; thus providing “clean” photos.
It’s also worth mentioning that the Photo Mode works almost everywhere (The Dark Zones too), except for PVP areas.
Here is how to use the Photo Mode in The Division 2, where to find the photos you take and how to share them on social networks.
Remember that using the Photo Mode to take a picture with a group of 4 agents allows you to unlock For Posterity trophy/achievement.
How to Use the Photo Mode in The Division 2
You can access this mode from the game’s main menu.
Press the Options button on PlayStation 4 or the Menu button on Xbox One, to pause the game and enter the menu.
From here, press and hold ▢ on PS4 or X on Xbox One to enter Photo Mode.
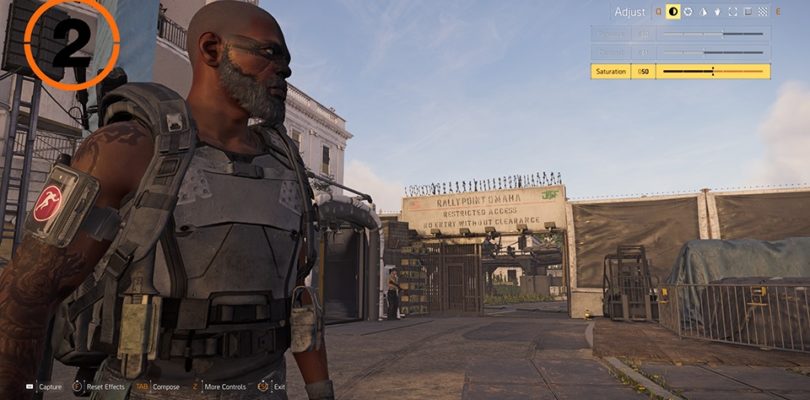
When in this mode, you’ll notice that there are various options available. You can change angles, you can zoom in and out, you can add vignettes, or you can change the saturation and the color temperature.
Just play with these effects to make your pictures stand out.
When you’re done, press the corresponding button to capture your photo. You should see it in the lower left corner of the screen.
Now, your photos are being saved. But where?
Where to Find The Division 2 Photo Mode Pictures
The game automatically saves your pictures in various locations depending on your platform.
As such, the default location on PC will be C:\Users\username\Documents\The Division 2\Screenshots; while PS4 players cand find them in the Capture Gallery.
To access the Capture Gallery, go to Settings then to Storage and System Storage. From here go to Capture Gallery and finally The Division 2.
Last but not least, on Xbox One, the Division 2 photos are stored on your online storage.
Sharing The Division 2 Photo Mode Pictures
Now that you know how where your photos are being saved, let’s see how to share them on social networks.
Xbox One
To share your Division 2 pictures in Photo Mode press the Xbox button on your controller.
Now, choose Broadcast and Capture, then go to Recent Captures.
Next, select the picture you want to share, and press A.
Finally, select the method you want to use to share your picture and press A again to share it.
PlayStation 4
Sony’s gaming platform allows you to use two methods when you want to share photos.
While using the Share button is straightforward, here is how to access your Division 2 photos saved to your Capture Gallery.
Open the PlayStation menu, then go to Settings and System Storage.
Select the game, in this case, The Division 2, then the picture you wish to share.
Next, press the Share button on your controller, and select the in-game picture you want to make public.
Press X, and finally select the social media channel where you want to share your screenshot.
Did you use the Photo Mode in The Division 2? Feel free to share your pictures in the comments below and let’s see your agents.
Last but not least, share your opinions on Tom Clancy’s The Division 2 in the Review Section, and don’t forget to follow us on Facebook, Twitter, and Instagram where we discuss the best video games out there.