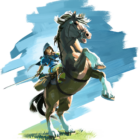
There are a lot of amazing items and abilities in The Legend of Zelda: Breath of the Wild. While some of these get the recognition they deserve, others, like the Climbing Gear, do their parts while hiding in the shadows.
While Climbing Gear has always been a part of The Legend of Zelda Series, its uses and shape have never remained stagnant. However, it’s not an item that you can just gain from the very start of the game. Rather, you need to clear a certain area.
Luckily, doing all of that and more isn’t that hard once you understand all the ins and outs of the Climbing Gear in The Legend of Zelda: Breath of the Wild. With that said, this guide will focus on just that. So, without further ado, let’s get started!
Climbing Gear: The Origin
Based on the description, the ancient gear is supposed to make you a better climber while allowing you to have a more nimble climbing time. The no-slip coating is supposed to help you stick to the walls without using as much energy.
As armor present in the Chass Qeta Shrine, the Climbing Gear, as the name suggests – is used to gain one level of climb speed up. Upon wearing the complete set, you will also get a Climbing Jump Stamina Up bonus.
Climbing Gear: Available Colors
Since Climbing Gear is a type of armor, you will be able to dye it in different colors from the Kochi Dye Shop located in the Hateno Village. Sayge there offers outfit dying for a total of 20 rupees. However, Link needs to be the one to provide the ingredients for the dye.
Having said that, here are all the Climbing Gear variants available in The Legend of Zelda: Breath of the Wild:
Climbing Gear – Base Variant | Source: Wiki
-
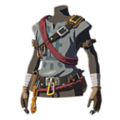
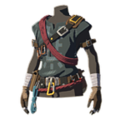
- Gray Climbing Gear – Source: Wiki
-
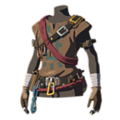
- Brown Climbing Gear – Source: Wiki
-
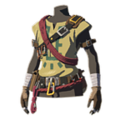
- Light Climbing Gear – Source: Wiki
-
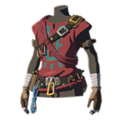
- Crimson Climbing Gear – Source: Wiki
-
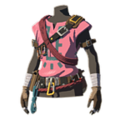
- Peach Climbing Gear – Source: Wiki
-
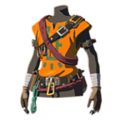
- Orange Climbing Gear – Source: Wiki
-
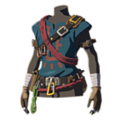
- Navy Blue Climbing Gear – Source: Wiki
-
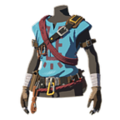
- Light Blue Climbing Gear – Source: Wiki
-
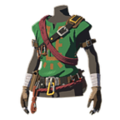
- Green Climbing Gear – Source: Wiki
-

- White Climbing Gear – Source: Wiki
-
- Black Climbing Gear – Source: Wiki
-
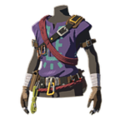
- Purple Climbing Gear – Source: Wiki
-
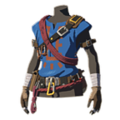
- Blue Climbing Gear – Source: Wiki
-
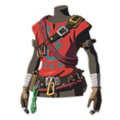
- Red Climbing Gear – Source: Wiki
-
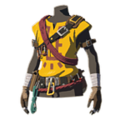
- Yellow Climbing Gear – Source: Wiki
Luckily, you can restore the original color even after dying the gear. Therefore, feel free to change as many colors as your pocket and time allows. The changes are ephemeral and can be reverted.
How To Enhance Climbing Gear – Legend of Zelda BOTW
Climbing Gear can be unlocked by visiting the Great Fairy. However, it will not be free, and you will have to unlock as many Great Fairy Fountains as the star level requires.
With that said, here are all the enhancement tiers for the Climbing Gear armor:
1- Star
This tier will have an Armor value of 5. You will need the following materials to enhance your gear to 1-star:
- Keese Wing x 3: A common drop that can be obtained from anywhere in Hyrule.
- Rushroom x 3: Another common material that tends to grow anywhere on the cliff faces. You can identify them based on their striking purple color.
This tier has a resale value of 605 Rupees, which is only 5 Rupees higher than the base resale.
2- Star
This tier will have an Armor value of 8. You will need the following materials to enhance your gear to 2-star:
- Electric Keese Wing x 5: Obtained by taking down the Electric Keese, this material is generally sourced from the Gerudo province.
- Hightail Lizard: x 5: These can be obtained by taking down Hightail Lizards in the Great Plateau and Necluda regions.
Having said that, this tier has a resale value of 610 Rupees.
3- Star
This tier will have an Armor value of 12. You will need the following materials to enhance your gear to 3-star:
- Ice Keese Wing x 5: Generally located in the Hebra Mountains and Gerudo Highlands. You can also obtain them from the local peaks near Mount Hylia and Mount Lanayru.
- Hot-Footed Frog x 10: Found in shallow bodies of water. Head to the Lanayru Great Spring and Hyrule Ridge in order to collect them.
With that said, you can sell Climbing Gear of this rank for 620 Rupees.
4- Star
This tier will have an Armor value of 20. You will need the following materials to enhance your gear to 4-star:
- Fire Keese Wing x 10: The Fire Keese Wing can be found in extremely hot areas such as Death Mountain. Alternatively, you can also get them at Kilton’s shop.
- Swift Violet x 15: Attached to the edge of the massive mushroom-like growths, the Swift Violet is generally found in Ludfo’s Bog and Thundra Plateau.
The resale value for this final tier equates to around 645 Rupees.
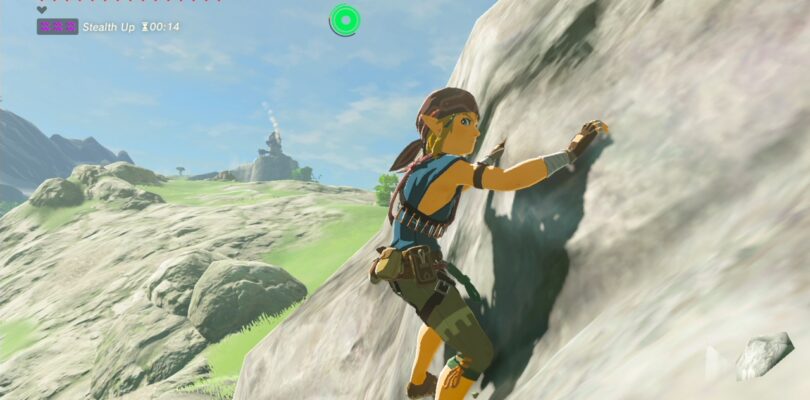
How To Obtain Climbing Gear?
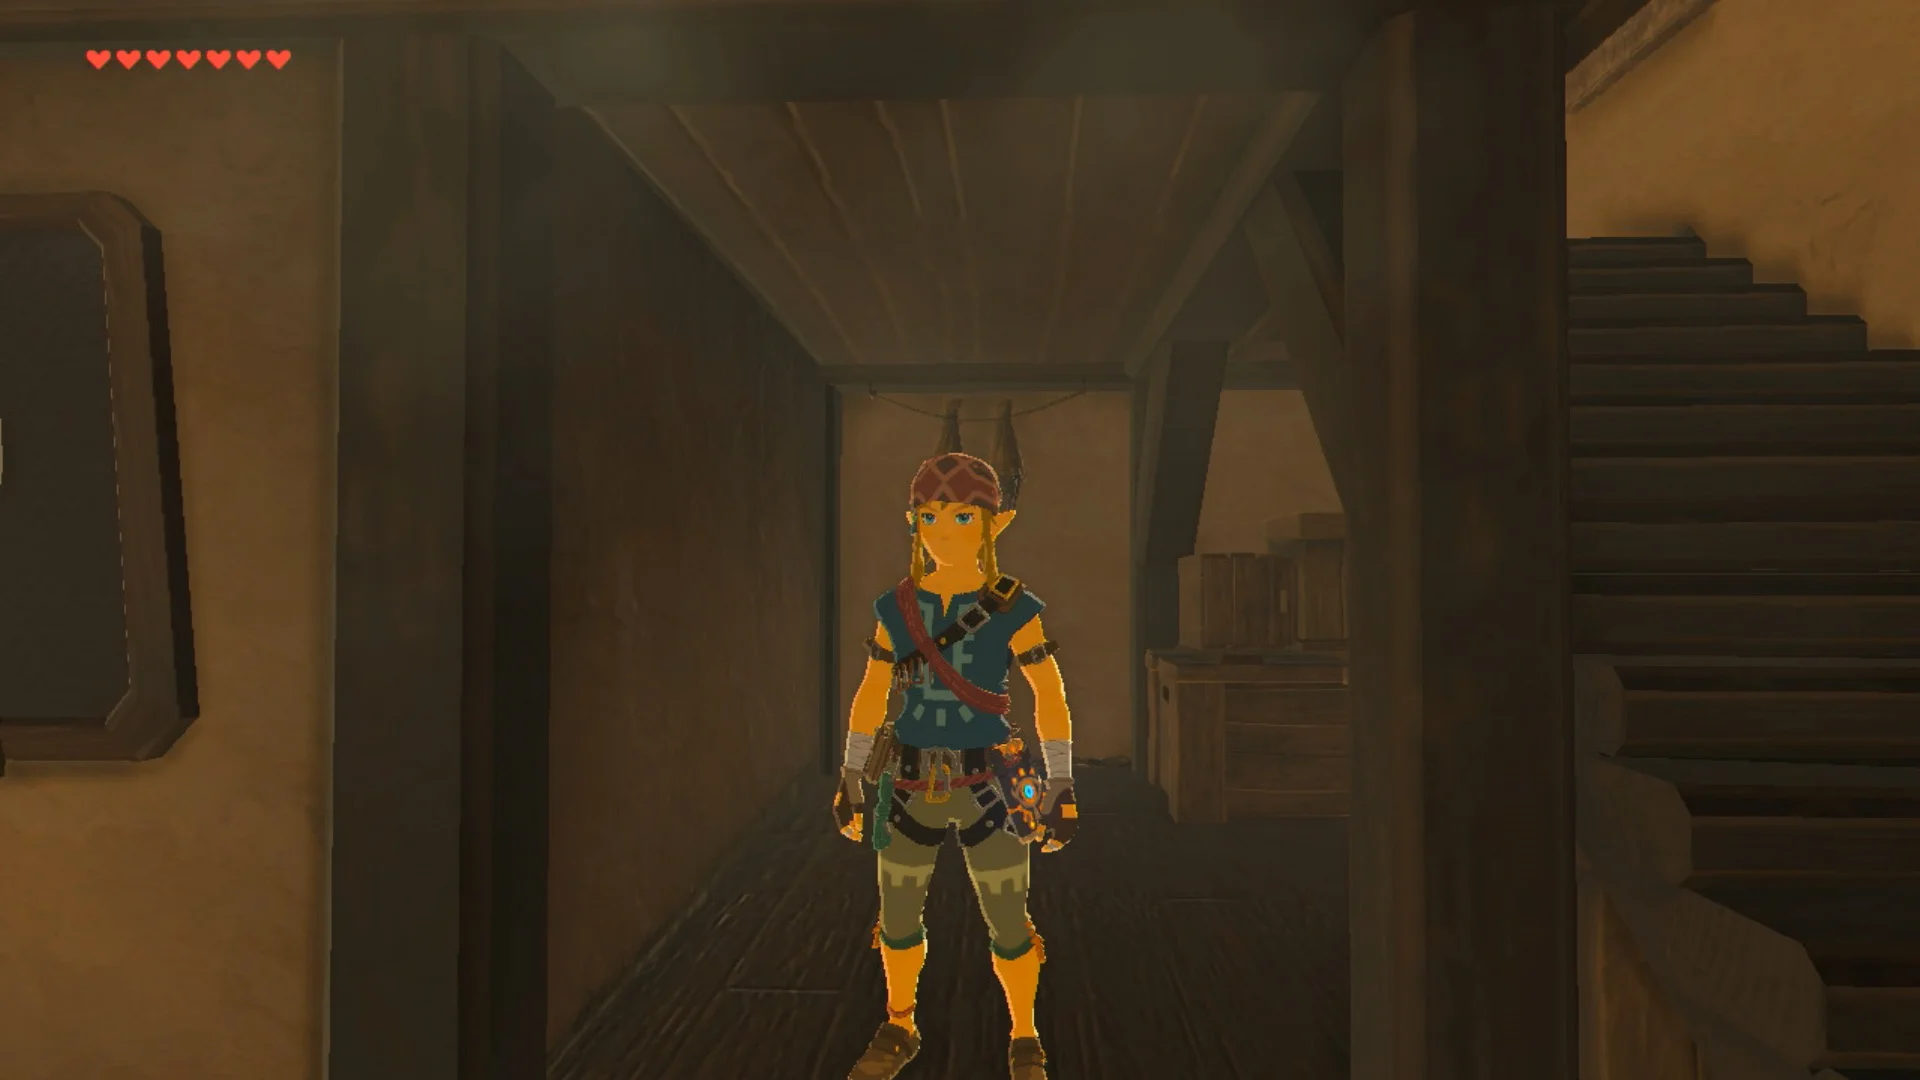
The Legend of Zelda: Breath of the Wild | Climbing Gear | Source: IGN
The Climbing Gear can be obtained from the Chaas Qeta Shrine, located deep within Tenoko Island. Once you’ve obtained it for the first time, the gear can then be found at Granté’s shop, who will then sell it for 4,000 Rupees.
Having said that, obtaining this gear is no easy feat, especially when it’s your first time venturing within the Chaas Qeta Shine. Here’s what you need to do in order to survive and end up victorious:
Entering The Shrine
As previously mentioned, the Shrine is located within Tenoko Island on the Necluda Sea. Once you take the platform to descend into the actual Shrine, a cutscene will follow where monk Chas Qeta will explain the trial’s purpose to you.
Battling Phase
Head deep inside the large chamber to find a Guardian Scout IV ready to entertain you in battle. Keep your guard up during the fight, and make sure to take full advantage of dodge opportunities to deliver a flurry of attacks.
The Guardian Scout packs spin-based attacks in its kit, so maintain your distance and lung forward only when you’re certain of landing hits with no consequences.
There will be moments where the Guardian Scout will spin into a pillar while damaging itself.
Use that to your advantage, and attack it in its downtime. Once its health reaches the 75% mark, you will start seeing certain raged laser-based attacks mixed into the onslaught. Use a shield to dodge that.
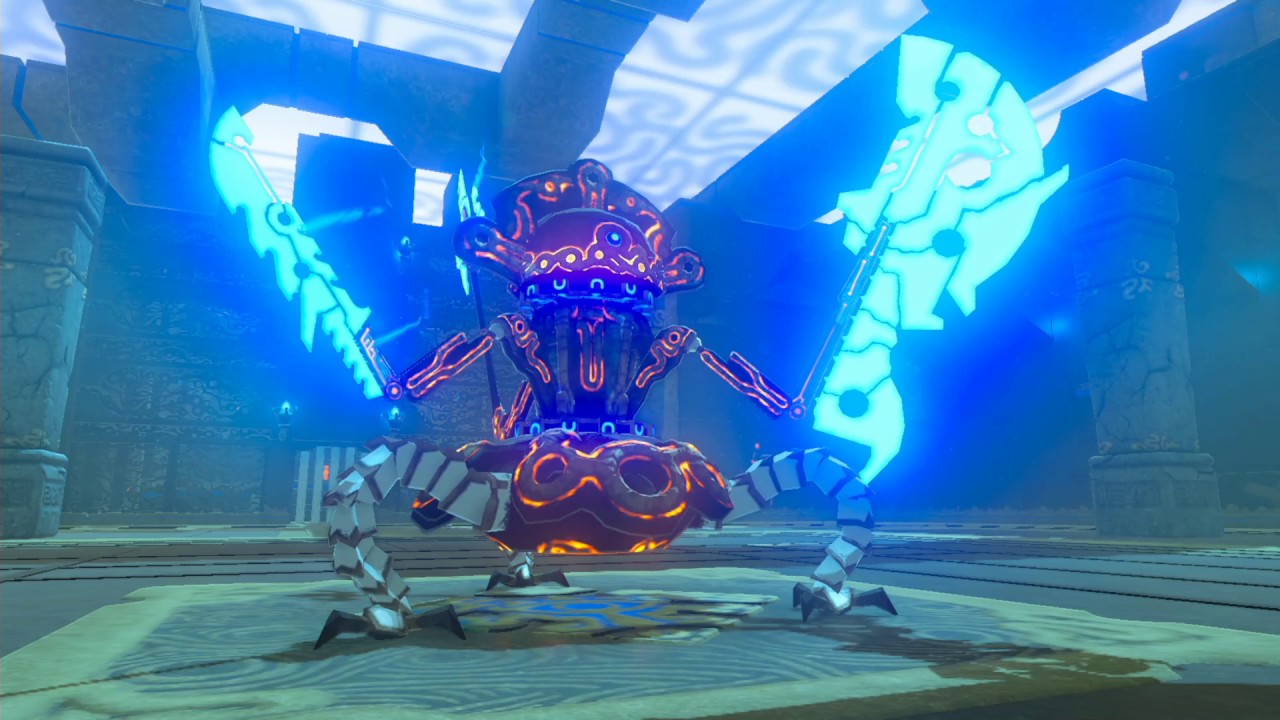
The Legend of Zelda: Breath of the Wild | Guardian Scout | Source: Animevania
Once the Guardian Scout’s Health has reached the halfway mark, it will switch into a sentry form while spitting laser beams in a circle. This is the prime time to hammer any number of arrows in its body.
Another flurry of laser shots will be unleashed at the 25% HP mark. Sidestep to dodge it, and get back to hitting arrows until it switches back to melee. Keep damaging it until it starts tracking your location.
That’s your cue to keep running in a circular direction until it’s done, unleashing all the high-speed lasers. Once you’ve got the timing down, keep attacking in its charging phase while dodging at the very last second.
Post Battle Rewards
After defeating the Guardian Scout, run towards the next chamber to find a golden chest lying in the middle. You will obtain the Climbing Gear upon opening it. After that, interact, unlock the seal, and wait for Monk Chaas Qeta to bestow a Spirit Orb upon you.
Conclusion
In essence, the Climber Gear might not seem to do much. However, the stacking effects can be a major game changer the more you utilize it – especially in the mid to late game. It can be a bit hard to obtain at first.
However, the venture is more than worth it, especially when the re-purchasing costs are this reasonable!