With the looming threat of the Calamity Goron under your nose, it’s only natural to gather whatever is possible in order to take him down.
However, the Divine Beasts are a different breed that is needed to be tamed – specifically after the century-old events.
The Divine Beast Vah Ruta is one of the four weapons of destruction created to battle the Calamity Goron. After the defeat 100 years ago, it seems to have lost its way.
Therefore, it’s up to you to restore this elephant-like machine back to the Sheikah people, so it can once again be used for the upcoming final battle.
Princess Zelda needs that weapon, you need the weapon – everyone needs the weapon, but who is going to liberate it? The answer lies within Master Sword.
However, venturing any further without knowing the entire story can bite you in the back.
Divine Beast Vah Ruta: A Relic Of The Past
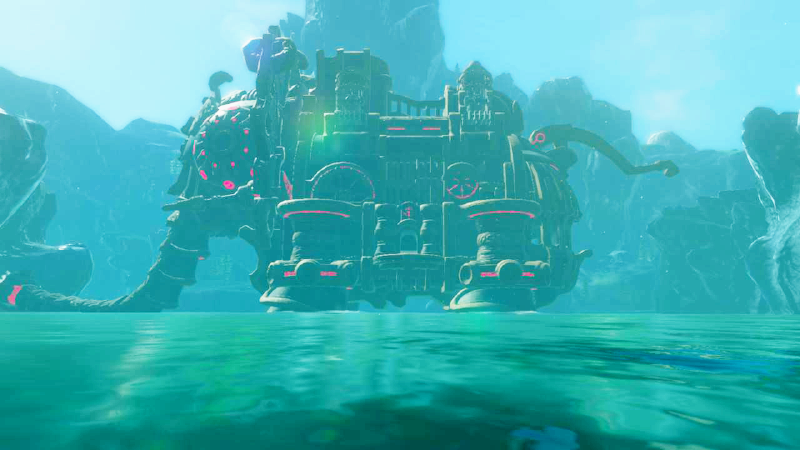
The Legend Of Zelda: Breath of the Wild | Divine Beast Vah Rutah | Source: Gamepleton
Piloted by the Princess of Zora herself, the Divine Beast Vah Ruta was supposed to be one of the four major sources of damage against the Calamity Goron. Unfortunately, the battle at the time was anything but victorious.
Therefore, Vah Ruta, along with other Divine Beasts, fell into the grasp of the Calamity Goron – who took control of them and placed them in secluded areas.
Since then, the Divine Beast Vah Ruta has created a torrential downpour in the area of the Lanayru Great Spring.
Unfortunately, the only way to approach Vah Ruta is by defeating the Waterblight Ganon. And while it isn’t the main boss of the story, it’s still strong enough to ensure enough chaos on its own.
Vah Ruta Liberation – The Shock Arrows Quest
The Legend Of Zelda: Breath of the Wild | Shock Arrows | Source: Pkflash
You need to gather Shock Arrows in order to neutralize the beast. For that, you will need to convince Muzu to lend his aid to you since he’s the one that was tasked with finding the arrows.
You’d need to head to the square located underneath the throne room. Since Link’s general armor is not really suited for swimming, it’s recommended that you wear the Zora Armor given to you previously.
Muzu has a childish side to him. Therefore, you’d have to speak with him and Sidon to make them argue with each other. You might unlock a new memory with Princess Mipha at this time; however, that’s a problem for the Link of the future.
Heading To The Landmark
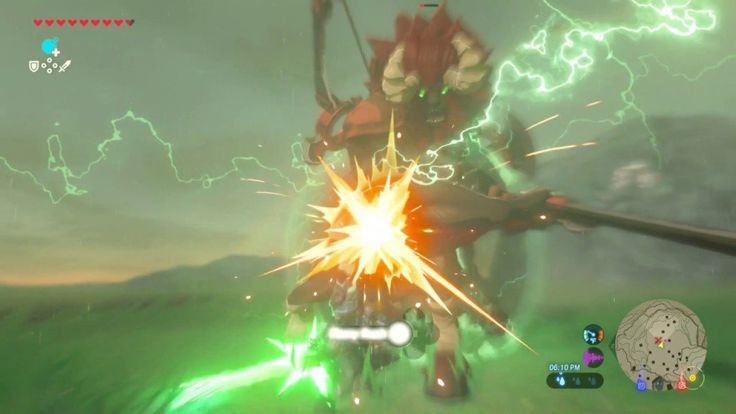
Giving up to the unrelenting pressure of Prince Sidon, Muzu will finally give up and divulge his ‘foolproof’ plan of obtaining shock arrows. You’d have to venture into the domain of a fearsome Lynel located near Polymus Mountain.
At this stage, Sidon will give you some useful tips about the best route to the mentioned area. Head there to collect your set of Shock Arrows.

The Legend Of Zelda: Breath of the Wild | Lynel Location | Source: Eurogamer
Along the way, you need to use your Zora armor to head to Toto lake. In there, use your Magnesis Rune to find a submerged treasure chest that contains the Lost Zora Helm.
This will allow you to unlock underwater battle combos and a marginal increase in your swimming speed. Along the way, you will meet Laflat – who will assign you a quest to take a picture of the said Lynel.
Collecting Arrows
Once you reach Polymus Mountain, you’d have to walk in the left direction of the waterfall to find two arrows stuck to a tree. Pick them up and continue onwards until you find another arrow in a nearby tree.
After picking your fourth arrow near a signpost, the silhouette of Lynel will start to become prominent. Unfortunately, you’re not strong enough to take him down, so it’s better to remain out of sight.
The Legend Of Zelda: Breath of the Wild | Source: Polygon
Sneak around until you’ve lost sight of him. If you do manage to provoke the Lynel, then the escape will be quite difficult – thereby making the journey needlessly cumbersome. Therefore, we recommend you move from one rock to another till you’re out of the area.
Collect some arrows along the way until you reach the Shatterback Point. Hike your way up in order to find the remaining arrows – unless you’re already full. Now, present the picture to Laflat and complete the final piece of the Zora armor set.
Rendevous to Sidon and start preparing for a grueling battle against the Divine Beast Vah Ruta and the Waterblight Ganon. We’d recommend you prepare up as much as possible since the upcoming battle requires you to have some sort of sustain.
Approaching The Divine Beast Vah Ruta
You’d need to pair up with Sidon in order to disable the Divine Beast Vah Ruta. This can be done by hitting all the switches located in different areas of the beast’s body.
Just hop onto his back and will try to circle around the waterfalls – waiting for an opportunity to bring you closer to the beast.
The Legend Of Zelda: Breath of the Wild | Divine Beast Vah Rutah | Source: IGN
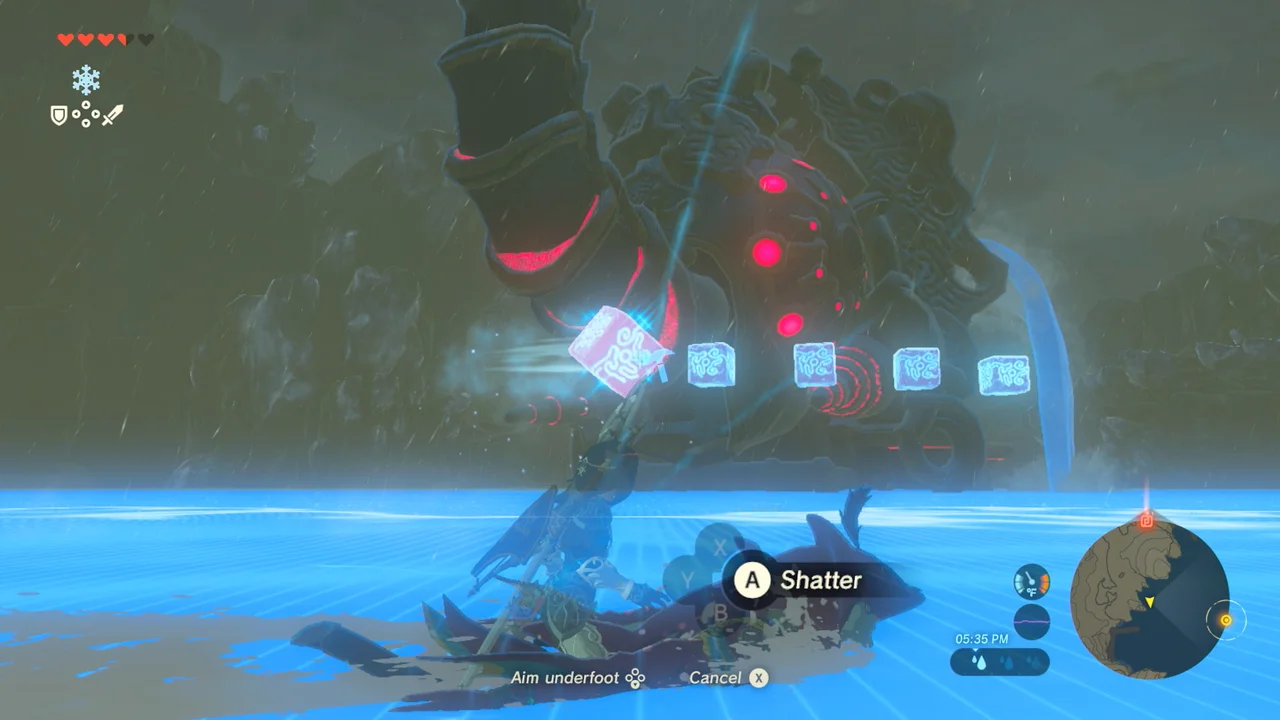
He’ll bring you close to Vah Rutah’s Defenses (gigantic ice blocks). You’d need to launch shock arrows from the high ground to destroy those blocks. Rutah is not very tame – especially when its foes are trying to disable it.
Therefore, you can expect resistance – quite a lot of it. Plus, the ice block will regenerate if it’s not destroyed in a set time.
Neutralizing The Divine Beast
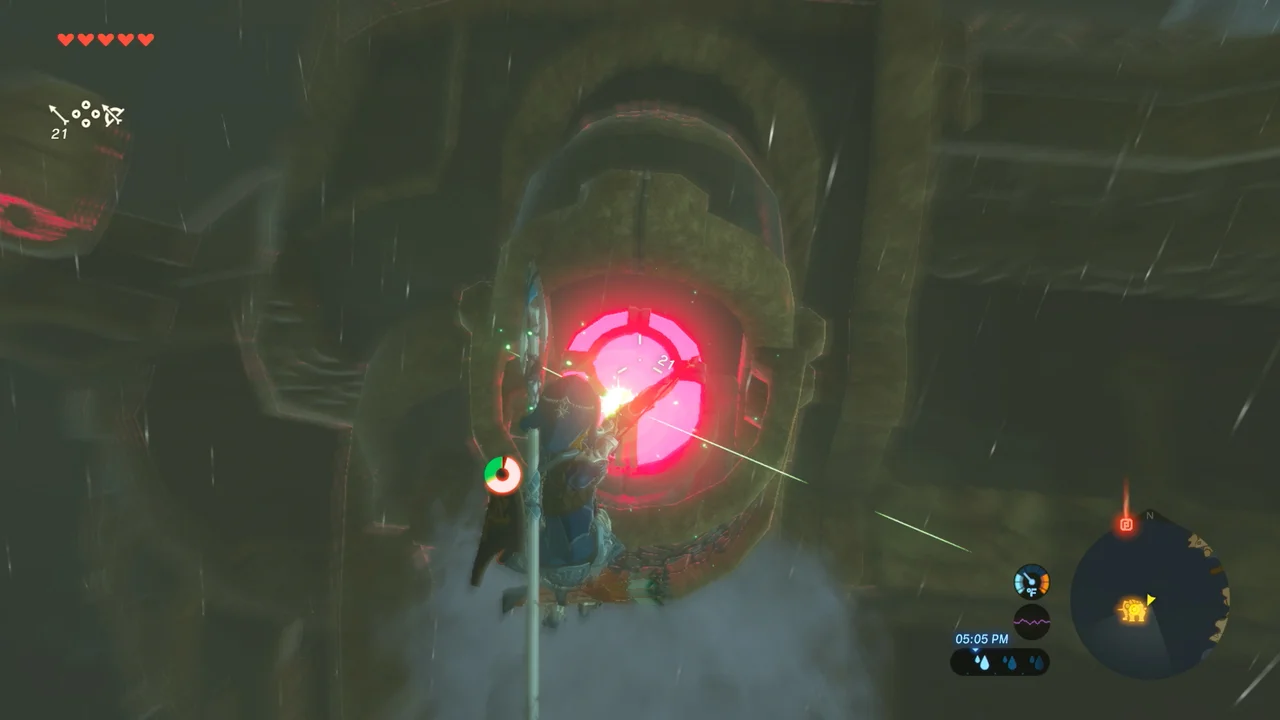
After the first switch has been disabled, the Divine Beast Vah Ruta will launch a volley of ice blocks in your direction. The number of blocks and their intensity will continue to increase with each switch disabled until the beast is completely neutralized.
In order to do that, you’d need to wait for Sidon to launch you up into the air – where you can aim towards the pink glowing orbs on the Beast’s body. After the first two have been destroyed, Vah Rutah will launch spiked ice balls toward you.
The Legend Of Zelda: Breath of the Wild | Divine Beast Vah Rutah | Source: IGN
Since most of them will be coming from the back, you’d be good to go as long as you maintain proper composure.
Take them down purely based on your reaction time. Once all the four glowing points have been destroyed, the Divine Beast will cease the downpour towards Zora, and a Dungeon will open up.
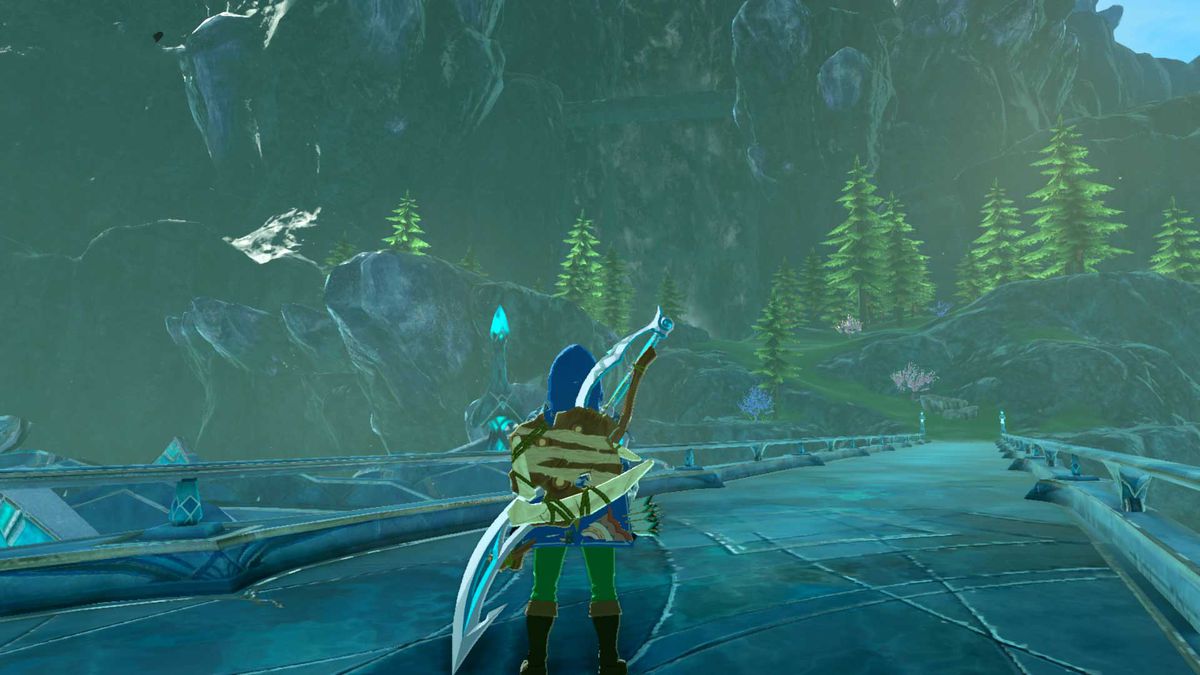
Exploring The Dungeon
This is where you will part ways with prince Sidon. Head inside the labyrinth-like innards of the Divine Beast and gauge your surroundings.
This is extremely important since fast travel will be unlocked, so you can essentially use the mechanic as a checkpoint and stock up before you start battling for real.
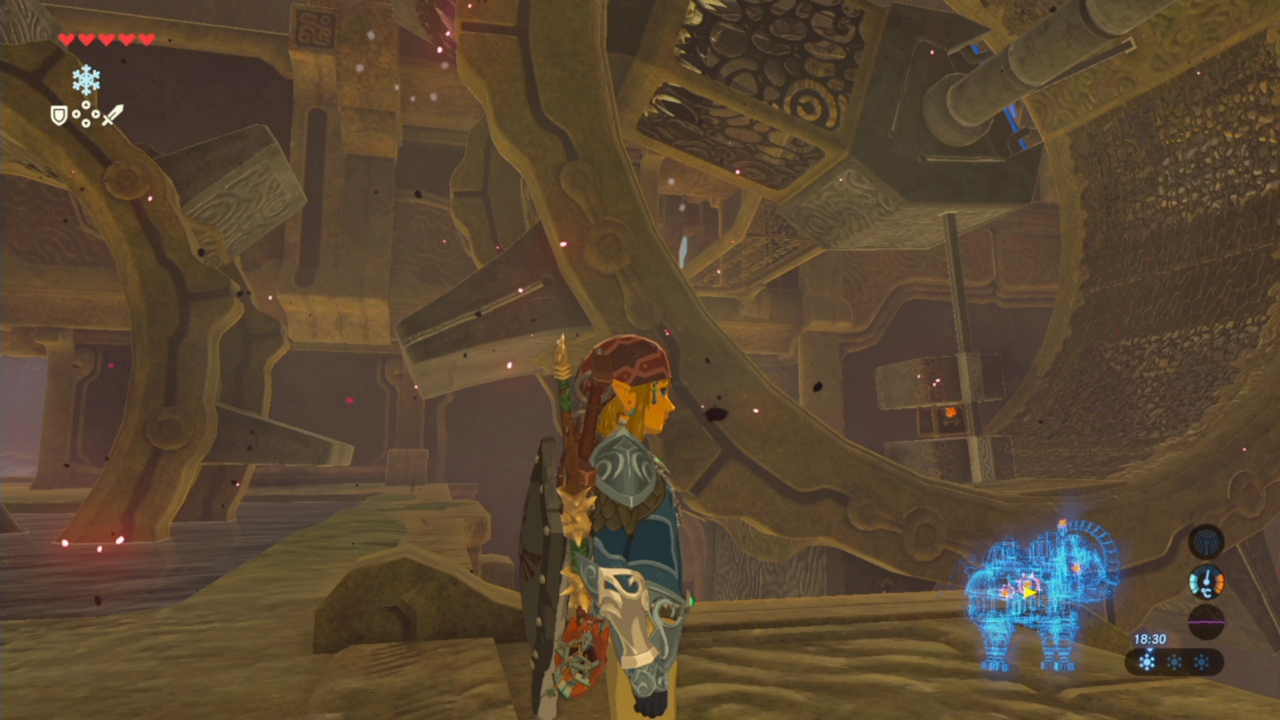
The Legend Of Zelda: Breath of the Wild | Vah Rutah Dungeon | Source: SE7EN.ws
Once again, it’s extremely important that you get Master Sword from here onward since there are a lot of Calamity Ganon’s goons wandering inside.
You will also have to face Ganon’s corruption in the dungeon. While some of it can be cleared by taking down an eye-like creature nearby, most of it is rather permanent.
Project Activation – Terminal 1
Mipha’s soul should start giving you tips and directions from here onwards. Therefore, just keep following them until you find the Guardian Scout in order to obtain the Guidance Stone. The battle will be rather annoying – to say the least.
Luckily, Shock Arrows are quite effective against it, so make sure to dump your remaining stack of arrows on its face. After the battle is over, simply shoot the eye wandering near the water body.
From here, just take your Sheikah Slate out in order to get it upgraded. Your Map will start showing a 3D version of your surroundings inside and near the vicinity of the beast. By using the Sheikah Slate, you will be able to control certain parts of the Divine Beast Vah Rutah.
Remember the nearby water body? Use Magnesis on it to pull out the first terminal. This can be done by moving the nearby crank through the mentioned skill.
Once you have the terminal in your possession, simply activate it and start heading to the next terminal room.
Project Activation – Terminal 2
The second Terminal is located in the opposing direction of your entry path. Simply run until you find the balconies and move upwards – where another Guardian Scout is waiting for you.
Unfortunately, this one has a sword in hand, so you will need to be quite on-point with your dodges and parries.
Needless to say, the battle isn’t unwinnable, and besides – the last checkpoint is pretty close, so it’s only a matter of tenacity. Once the guardian has been defeated, you’d be able to find the second terminal inside a rotating gear.
Unfortunately, this won’t stop from prayers alone. You’d need to find a nearby paddle and use it to push yourself up the paddle. In the air, open your glider and land on the platform containing a chest.
Grab the 100 rupees inside and glide down towards the fountain.
Use your Cryonis to freeze up the water source in order to stop the gear from turning. Grab the terminal inside and activate it.
Project Activation – Terminal 3
Make your way to the next balcony to grab the third terminal. Clear the patch of blight while moving up the slope. You will be facing a plethora of enemies here.
Therefore, we recommend you engage them in a drawn-out ranged battle instead of going in without a plan. The eye will be located on the will, simply shoot it and clear the area to proceed.
Once you reach the next level, a gigantic wheel will be waiting for you to move it. Unfortunately, there’s no water source here, so you’ll have to artificially make one.
Remember the part about controlling certain areas of the Divine Beast? It’s time to put that into action. Since the trunk is still spraying water out, you’d have to aim it at the wheel to make the magic happen.
There will be a treasure chest located inside; simply use Stasis to open it and grab the Ancient Core inside. After that, make the sphere hit the opposing block of the terminal gate and make a run for it.
You need to use stasis to buy enough time for yourself to slide into the terminal and activate it.
Project Activation – Terminal 4
For the fourth terminal, you’d need to head upstairs until you reach the eye portion of the beast. In order to do this, leverage the throw of the water wheel to paraglide yourself to one of the levitating platforms.
Upon reaching the top, another Guardian Scout will await you while holding a spear at hand.
After defeating him, try to locate a button in the vicinity and press it to open a waterfall. You can use this waterfall with your gear to head back to the floor whenever needed.
Now, head down until you find a chest containing the Knight’s Halberd. From there, keep on descending until you find another chest guarded by a killable blight.
Shoot the eye at the end of the trunk and open the chest to find the Ancient Shaft.
Once your treasure collection has been completed, climb up the trunk and use the Sheikah tablet to move it as high as possible.
The main aim here is to paraglide down towards the head. This is generally considered a shortcut and is only used by players aiming to speedrun through the quest. However, it works out pretty nicely for causals as well.
From the head, move the trunk down to the desired spot and paraglide towards it in order to find and activate the terminal.
Project Activation – Terminal 5
Head back up again and look for a small hole in Divine Beast Vah Rutah’s head. Dive inside it to descend into a room containing a Blight Maw. Clear everything and try to move that crank in the wall with the help of your Magnesis.
This will open the head’s roof – thereby allowing you to activate the final terminal. Simply move the trunk back from the top (approximately four slots) and let the flames activate the final piece of the puzzle.
Descend to the main control room and activate the giant console. Unfortunately, the Waterblight Ganon is here to stop you from doing so.1
Freeing Vah Ruta: Battle With Waterblight Ganon
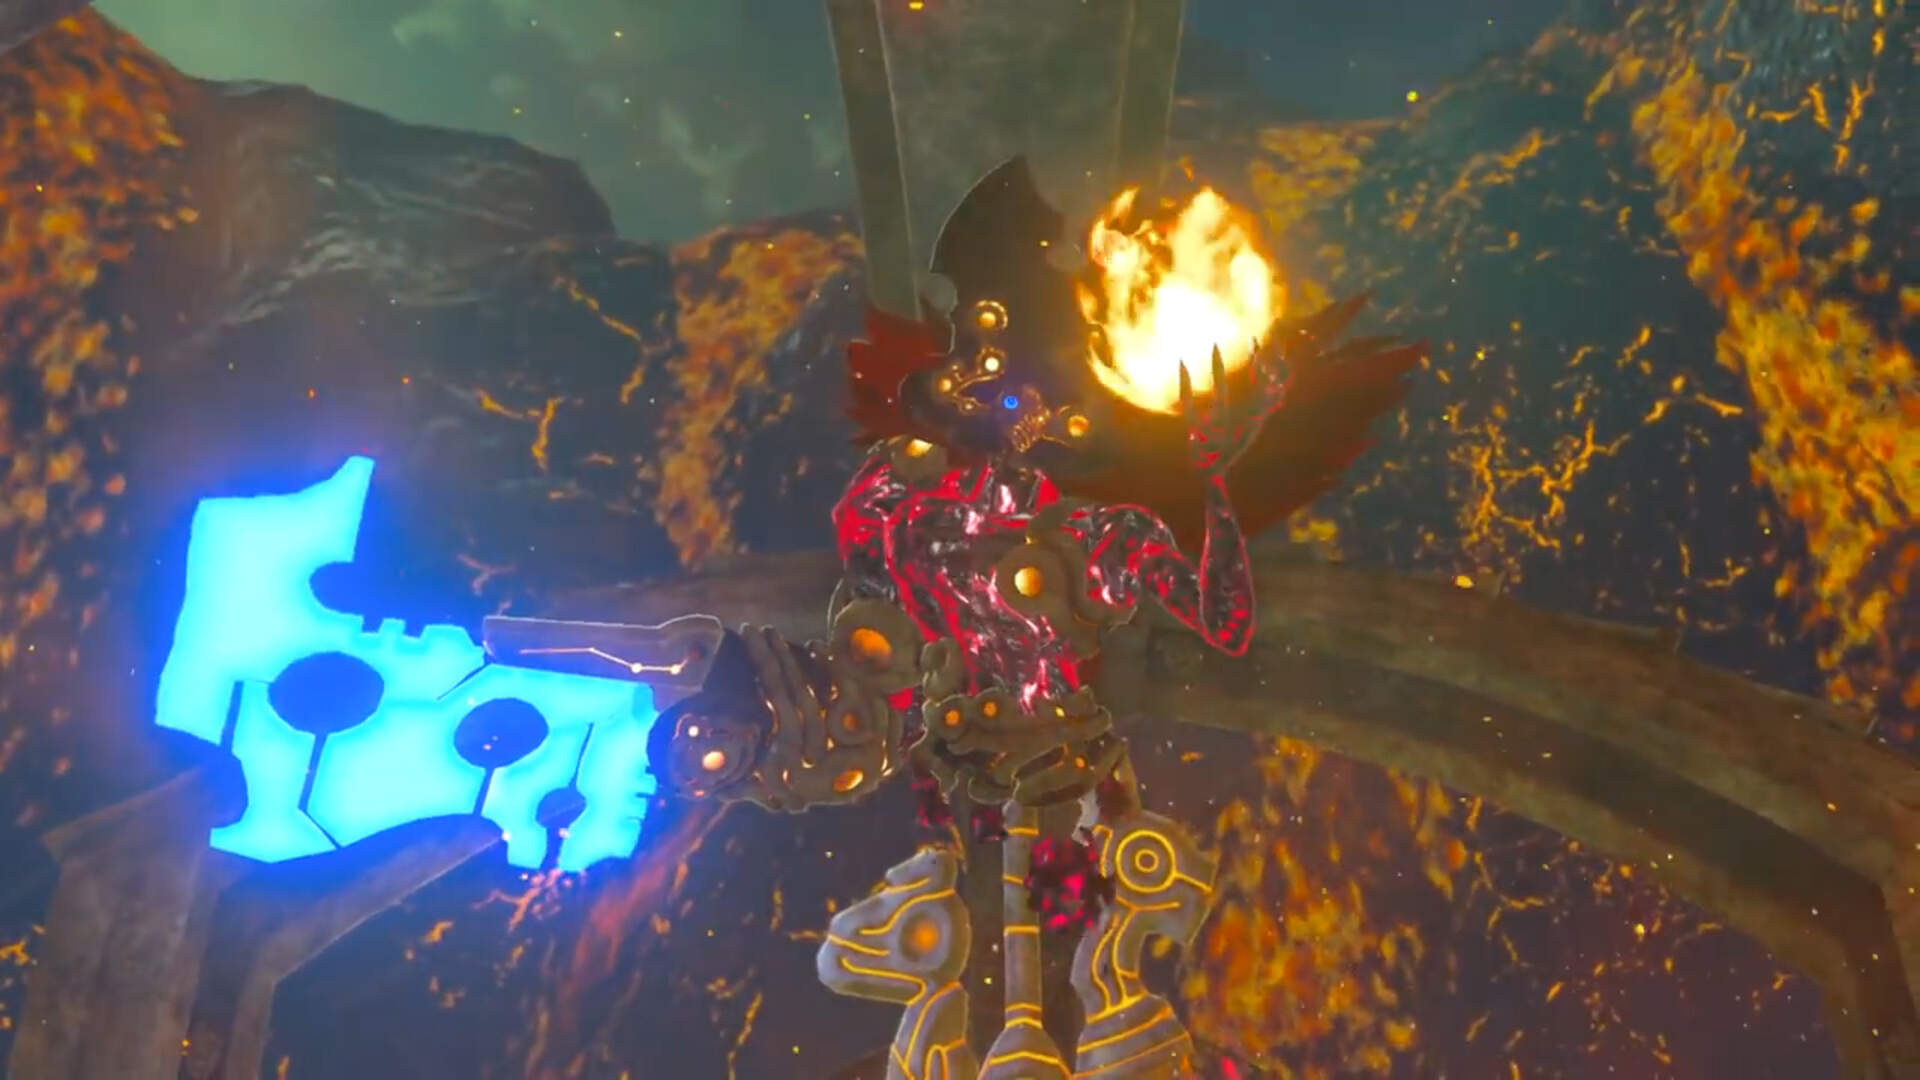
The Waterblight Ganon is one of the four phantoms of the Calamity Ganon. He was responsible for the death of the Zora champion Mipha and was the reason for the Divine Beast Vah Ruta’s chaotic antics.
The battle will be deadly – as mentioned – but it is the only way to free Mipha’s spirit. Therefore, you’d need to be as prepared as possible.
The Legend Of Zelda: Breath of the Wild | Waterblight Ganon | Nintendobserver
Once Mipha has been freed, the Divine Beast Vah Ruta (piloted by Mipha’s spirit) will head to the top of a cliff in order to fire and stop the calamity in its wake, along with its fellow Divine Beasts.
You’d have to focus on his eyes and horns in order to take him down. While the game’s battle system offers helpful tips during the fights, you’d need to do some research on your part as well.
Preparation
Make sure to pack some Ancient or Shock Arrows since they deal bonus damage against the phantom.
It’s also recommended that you unlock Master Sword before challenging the Ganon. However, not having it does not make the battle unwinnable.
The attack power of Master Sword will double up for the duration you spend in Ruta. Therefore, having the power of this buff is rather integral for taking the Ganon down.
Battle: Phase 1
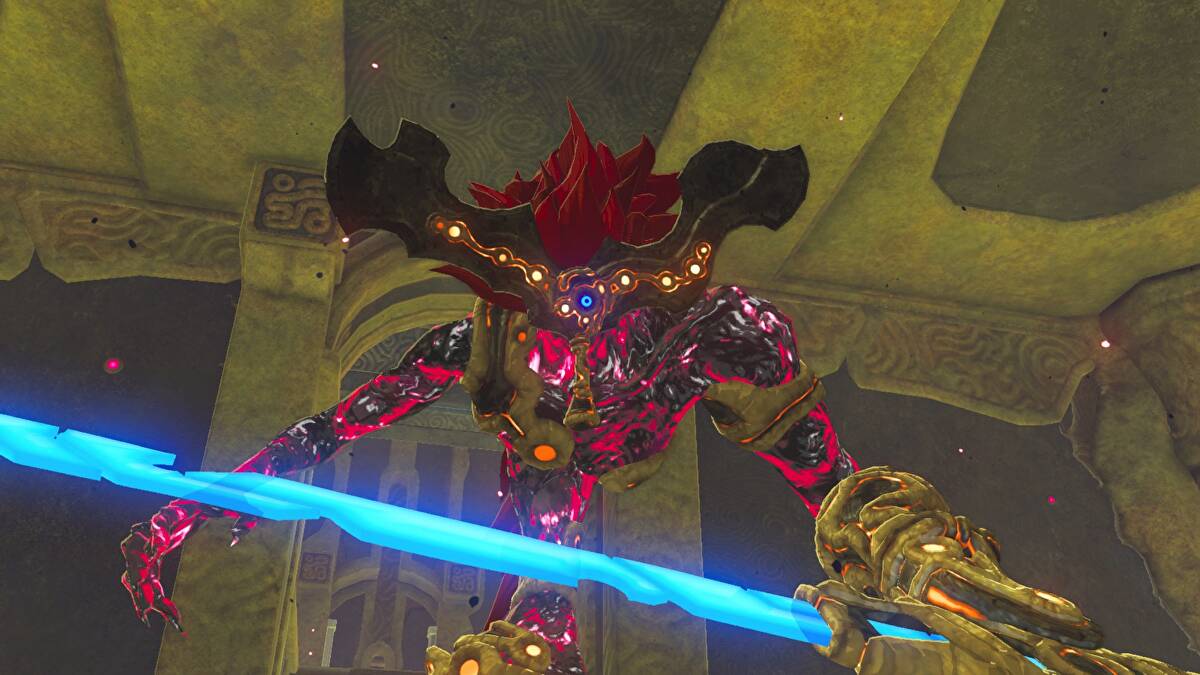
The Legend Of Zelda: Breath of the Wild | Wayerblight Ganon | Source: Eurogamer
The first phase of the battle includes Waterblight Ganon engaging link with a spear. His attacks include:
- Stabbing
- Javelin Throws
- Circular Swings
We recommend you use Cryonis to maintain your distance against the Waterblight Ganon. If he dares to throw his spear at the blocks, it will break – thereby giving Link time to dish out damage.
Combat Tips
Parrying is quite possible during this phase. Therefore, we’d recommend you aim for as many Perfect Dodges and Parries as possible.
If you get close, then he will be using his stabbing and circular swings, whereas the long-range will incur him to aim his spear throws at your head. While the melee is considered a bit dangerous, it’s considerably harder to dodge spears coming after you.
Therefore, try to stay in-between instead of skewing too much towards one battle style. If he stabs his spear into the ground, a shockwave will occur.
Depending on the magnitude of the stab, it’s pretty easy to get locked in by him while having practically nothing to fend for yourself.
Hence, you will need to dodge as much as possible till the opportunity presents itself on a silver platter.
Meanwhile, you could answer back with arrows and other thrown weapons. Waterblight Ganon’s eye is his major weak spot, so landing successful hits there will cause critical damage.
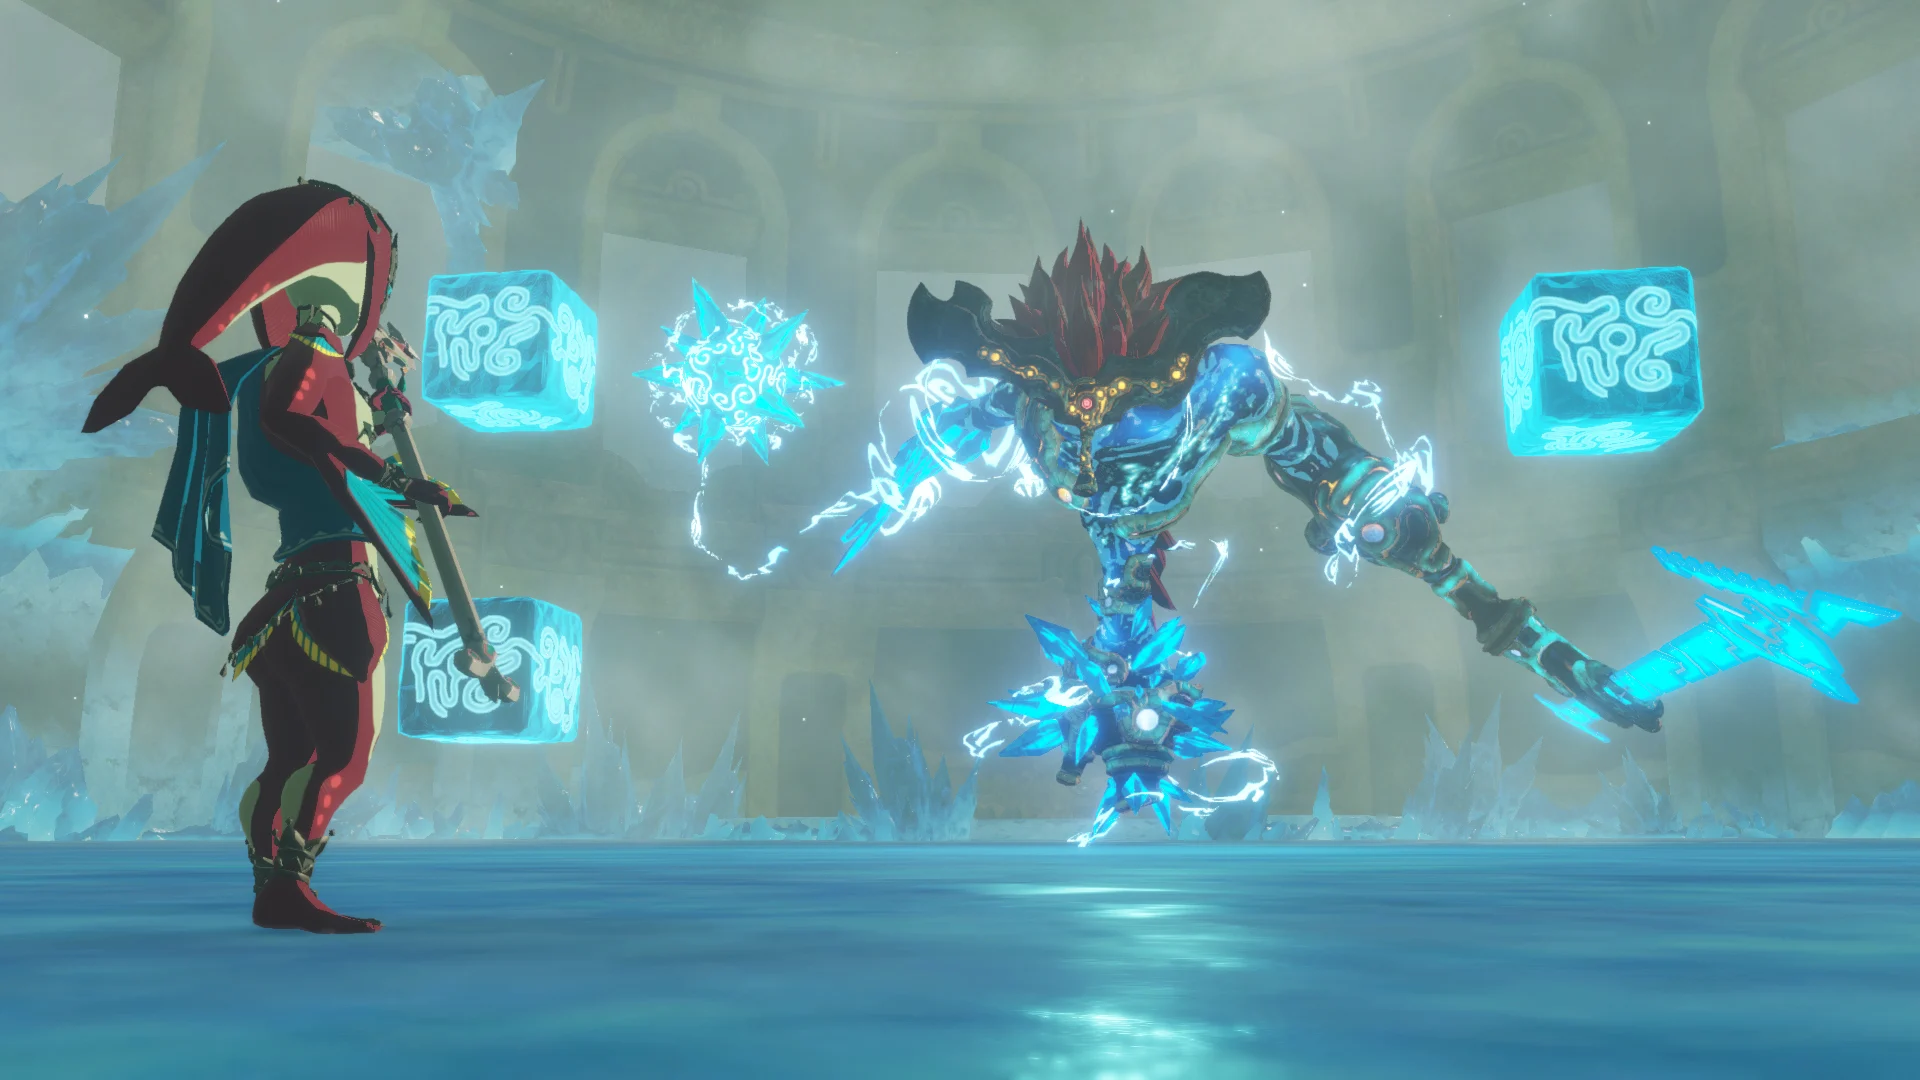
Battle: Phase 2
The Legend Of Zelda: Breath of the Wild | Waterblight Ganon | Source: USgamer
The Waterblight Ganon will transition to his second phase after his health bar is reduced to half. In this mode, he can summon ice blocks and teleport around the area. You need to utilize the power of Cryonia in order to dodge the ice block projectiles.
Otherwise, Waterblight Ganon’s follow-up would be quite deadly. Once the Waterblight Ganon is dead, Mipha’s spirit will be freed, and you’d be able to gain her blessing for the upcoming battles.
Combat Tips
Dodging is the key to defeating the Waterblight Ganon in its second stage. However, some attacks can be too quick to dodge. Therefore, it’s generally recommended that you form pillars using the Cryonis Rune to take the brunt for you.
Additionally, you will have less ground to battle on since Waterblight Ganon will essentially submerge the entire area – leaving four newly erected platforms as your new battleground.
His floating altitude will also shift drastically to cater to a more flight-and-might-oriented style.
You will also have to face the same ice blocks you encountered on your way to the beast. There’s only so much you can do at this point. Therefore, focus on depleting his health bar as quickly as possible since he almost always wins in a war of attrition.
It’s possible to counter Waterblight Ganon’s attacks – even in this state. Use this opportunity to stun him and return all the favors he has given to the Zora people.
Post Battle Antics
Once the Divine Beast has been disabled, peace will return to Zora, and the ever-lasting rain will cease. Consequently, you can mount and access the ancient Sheikah machine. The land of Zora will become considerably bright.
However, you will be introduced to a cutscene with Mipha first – where she grants you Mipha’s Grace.
This ability essentially enables you to obtain a full heal upon death. However, the cooldown time is ridiculous. Additionally, you will also be gaining a bunch of hearts due to this parting gift.
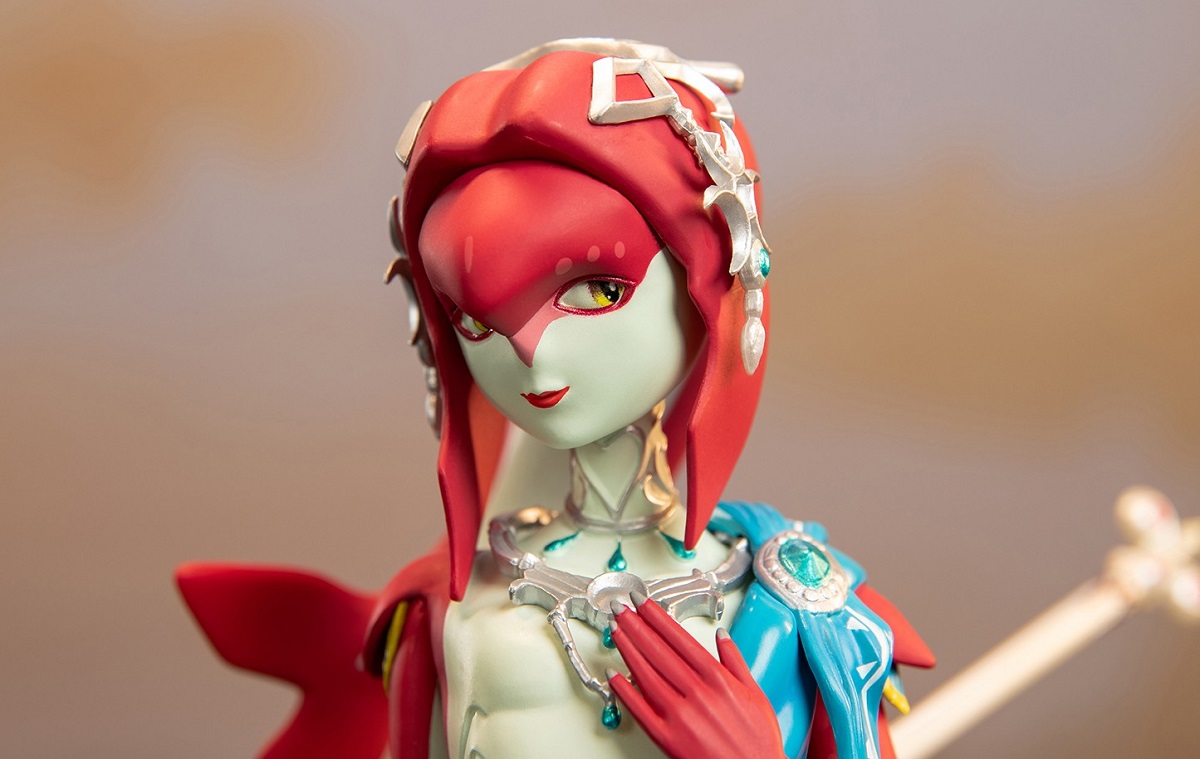
The Legend Of Zelda: Breath of the Wild | Mipha | Source: Destructoid
Make a revisit to King Zora in order to be praised and congratulated by him. You will also be rewarded with Mipha’s Lightscale Trident.
While it’s strong enough to hold its ground in the fights to come, you can always send it for repairs to Dento – even if it breaks somehow.
Defeating the Waterblight Ganon and stopping Divine Beast Vah Ruta will increase your trust amongst the local folks by a marginal amount.
Therefore, many newer quests would’ve surfaced, so make sure to check those out – unless you’re aiming to speedrun through the remaining story.
Takeaway
In essence, the Divine Beast Vah Rutah is themed as a water god that protects the lands of Zora. Unfortunately, the Calamity Ganon took hold of it – killing a lot of villagers in the process. Your task in its story was to liberate it.
Now that the peace in the area has been restored, it’s time for you to prepare for similar upcoming battles until your eventual faceoff against the Calamity Ganon.