
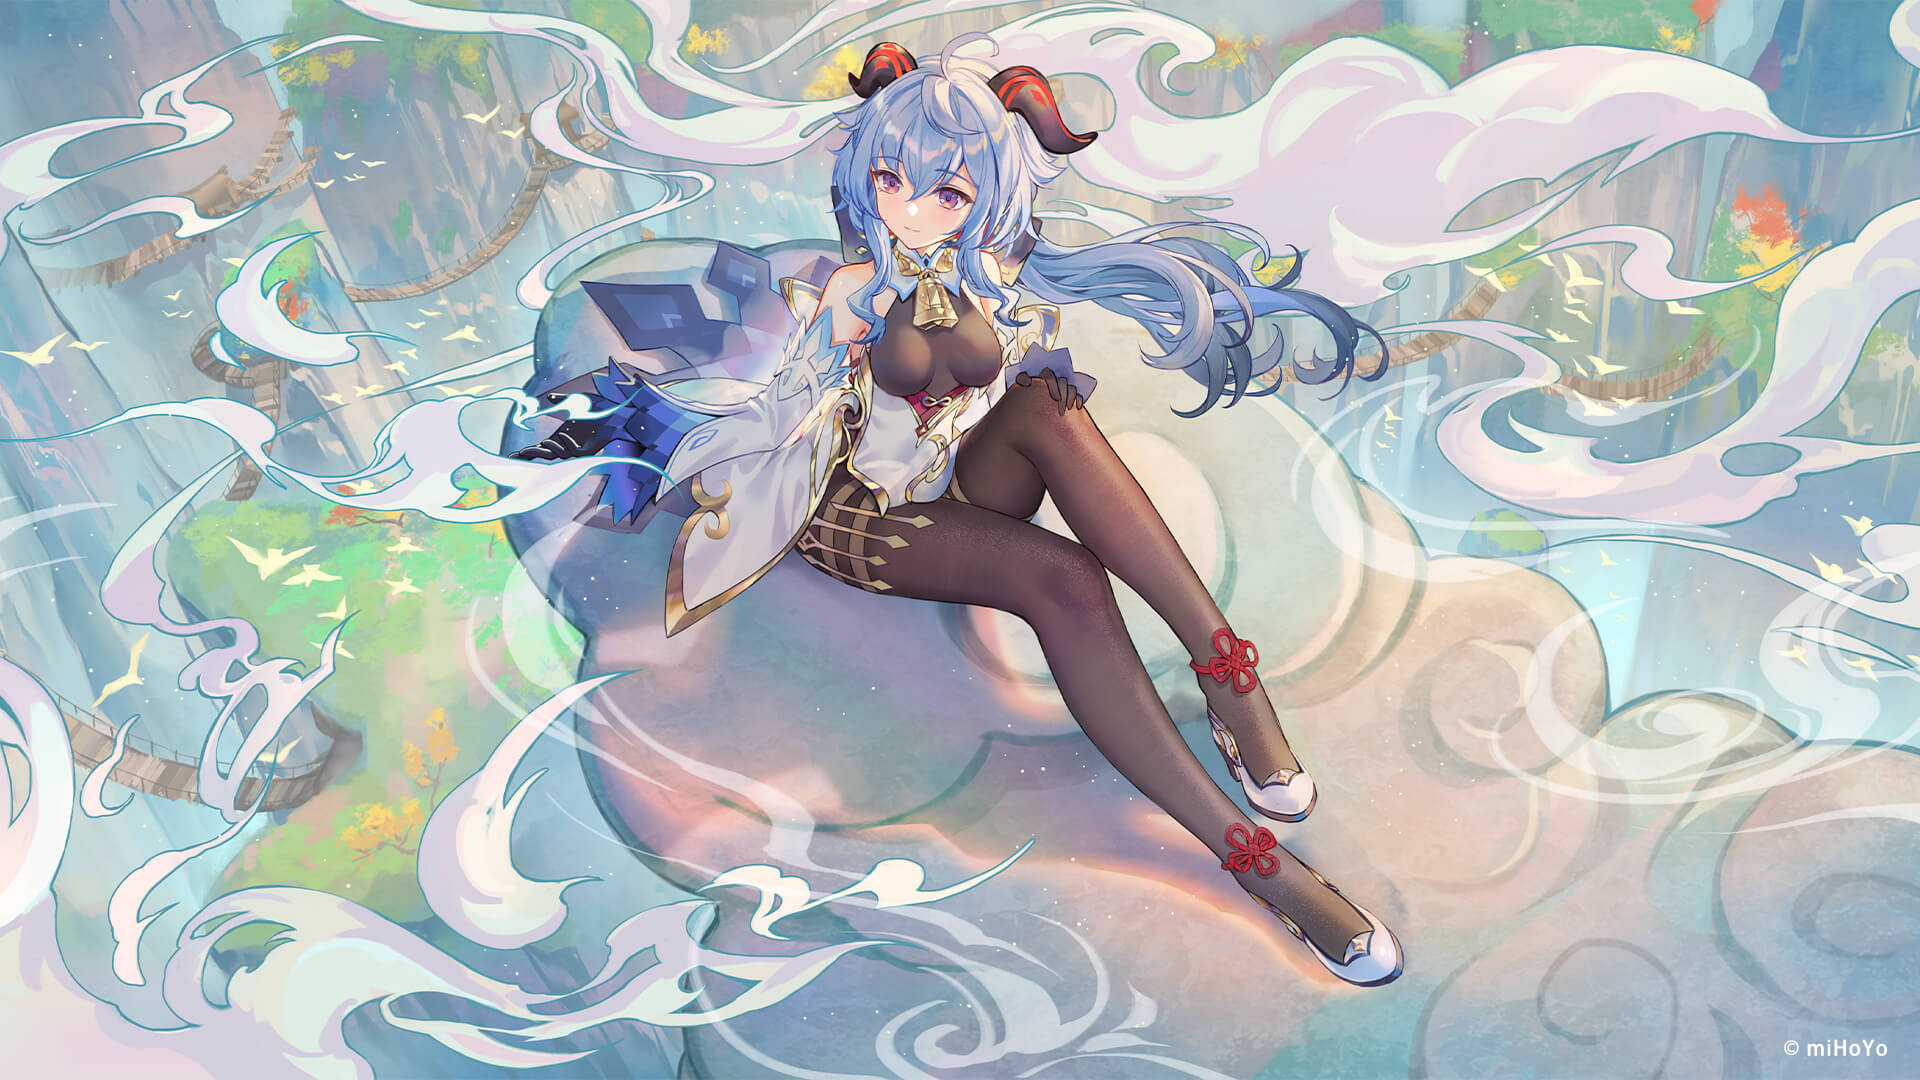
Who doesn’t love a geeky mage that can destroy almost everything and anything, given her calculations are on-point? Meet Sucrose, the prime 4-star Anemo genius. P.S: She’s a hard believer in the power of friendship.
Having said that, it can be hard to find success on her if you’re trying to blind force builds on her. She tends to excel as a support and it’s how her kit is meant to be.
Therefore, this article will show you the best builds you can go on on Sucrose. While we’re at it, let’s also explore the best team comps and vice versa!
Who Is Sucrose In Genshin Impact?
Sucrose is a 4-star Catalyst character belonging to the Anemo vision. In terms of pure damage, she isn’t that high up in the charts.
However, change the subject to support, and she’s roaring to go! She’s an alchemist specializing in bio-alchemy – which is pretty amazing for those unaware.

via AltChar
Her genius has given her a spot next to Albedo, who is the head Alchemist in the Knights of Favonius.
All in all, Sucrose is identified by the Ampulla Constellation and is a resident of Mondstad. She’s generally a pretty good option to main if you’re going the F2P route.
Best Sucrose Builds In Genshin Impact
Building Sucrose can be a bit tricky since she has a very distinct and punishing playstyle. She’s generally pretty good as a sub-DPS, regardless of the meta.
Having said that, she generally wants to play at a distance while giving her support to her teammates. Therefore, her building path needs to focus on single elements instead of multiple ones.
Best Weapons On Sucrose – Swirl Sub-DPS Build
Sucrose generally tends to go Sacrificial Fragments alongside Hakushin Ring in the offhand. However, Thrilling Tales of Dragon Slayers is not a bad choice either.
Having said that, the general idea is to maximize Sucrose’s Elemental Burst damage and utility. Here’s how you can achieve that:
Note: You can use Mappa Mare or Hakushin Ring as your replacement weapon to steer the build into the support category. Sucrose can be a good Anemo support. However, you’ll find more value in using her as a Swirl Sub DPS.
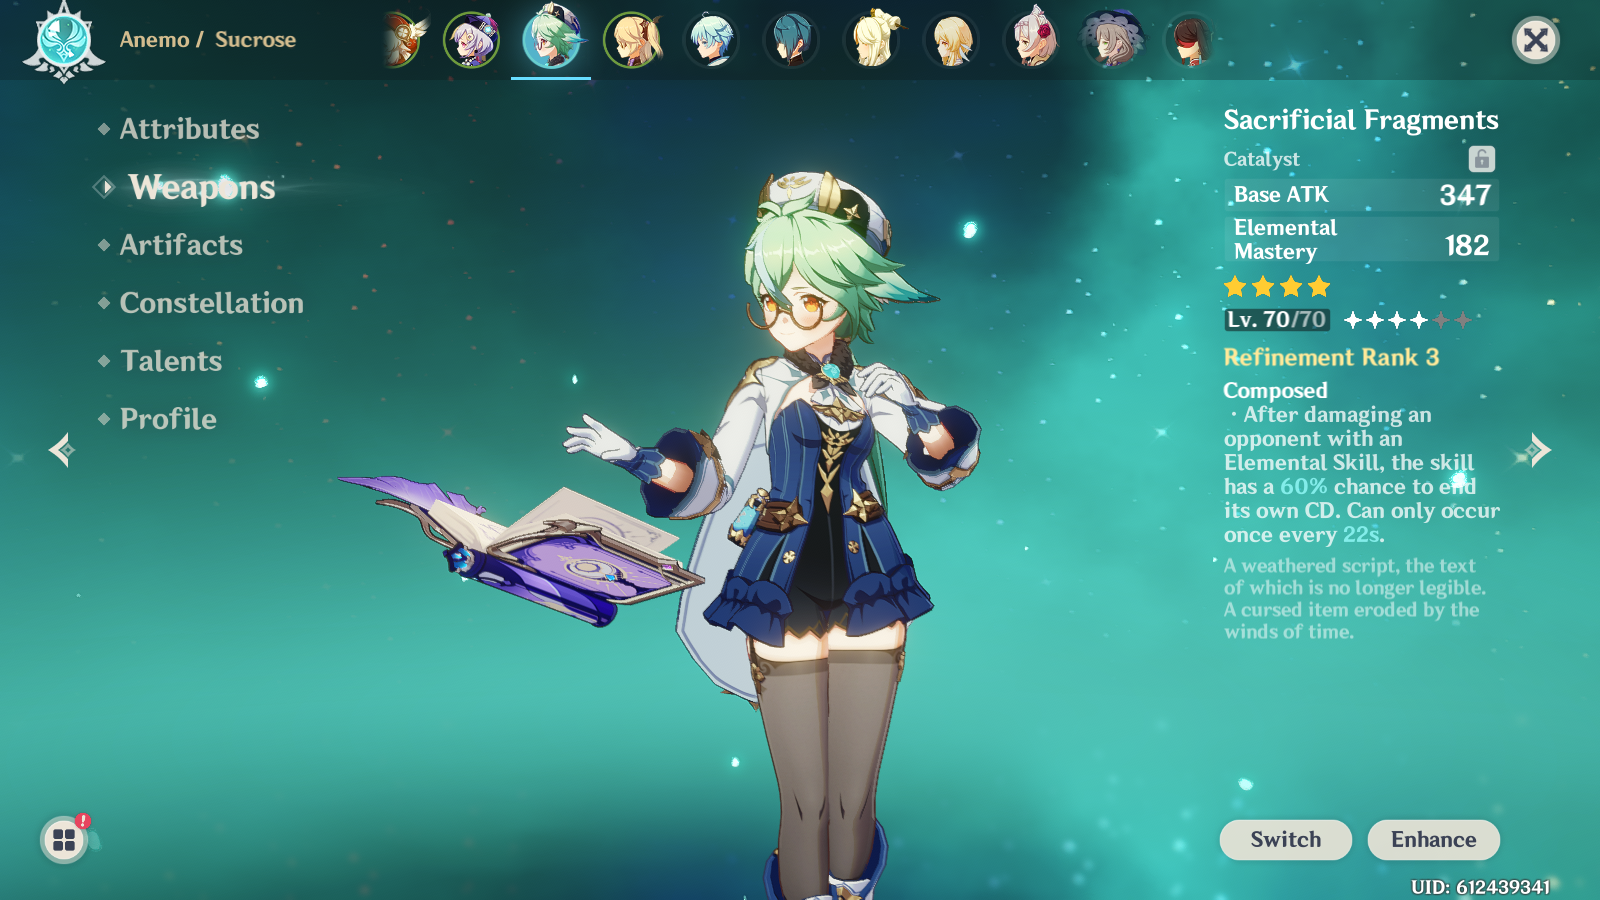
Sacrificial Fragments
Belonging to the Sacrificial series, the Sacrificial Fragments is a 4-star catalyst capable of vanishing its own cooldown timers.
via Reddit
According to the official description, the Sacrificial Fragments possesses a 40% – 80% chance of ending its own cooldown after dealing damage.
This effect can occur once per 30 – 16 seconds and is extremely strong for a mage like Sucrose.
Stats
Here is the stat distribution for Sacrificial Fragments:
| Base ATK (LVL 1 – 90) | 2nd Stat Type | 2nd Stat (LVL 1-90) |
| 41 – 454 | Elemental Mastery |
48 – 221 |
Weapon Refinement
You will be experiencing the following stat changes according to your weapon refinement level:
|
Stat |
Level 1 | Level 2 | Level 3 | Level 4 | Level 5 |
| Upgrade Cost | 1000 Mora | 2000 Mora | 4000 Mora | 8000 Mora |
– |
| Chance Percentage | 40% | 50% | 60% | 70% | 80% |
| Cooldown Time | 30% | 26% | 22% | 18% |
16% |
Ascension Costs
Here are all the Ascension costs related to upgrading Sacrificial Fragments:
|
Item |
Quantity |
| Mora | 150,000 |
| Fetters of the Dandelion Gladiator | 3 |
| Chains of the Dandelion Gladiator | 9 |
| Shackles of the Dandelion Gladiator | 9 |
| Dream of the Dandelion Gladiator | 4 |
| Chaos Device | 15 |
| Chaos Circuit | 18 |
| Chaos Core | 27 |
| Treasure Hoarder Insignia | 10 |
| Silver Raven Insignia | 15 |
| Golden Raven Insignia | 18 |
Thrilling Tales of Dragon Slayers
This is a 3-star weapon capable of topping many 4-star variants in terms of practicality. Its main skill is called Heritage, and according to the official description, it’s capable of doing the following:
Whenever you switch characters, the new one experiences a 24% – 48% ATK boost for the next 10 seconds.

via FandomSpot
You can only experience this boost once every 20 seconds, making it impossible to get any benefits from switching characters in rapid succession.
Stats
Here is the stat distribution for Thrilling Tales of Dragon Slayers:
| Base ATK (LVL 1 – 90) | 2nd Stat Type | 2nd Stat (LVL 1-90) |
| 39 – 401 | HP |
7.7% – 35.2% |
Weapon Refinement
You will be experiencing the following stat changes according to your weapon refinement level:
| Stat | Level 1 | Level 2 | Level 3 | Level 4 |
Level 5 |
|
Upgrade Cost |
1000 Mora | 2000 Mora | 4000 Mora | 8000 Mora | – |
| ATK Increase | 24% | 30% | 36% | 42% |
48% |
Ascension Costs
Here are all the Ascension costs related to upgrading Favonius Warbow:
|
Item |
Quantity |
| Mora | 105,000 |
| Boreal Wolf’s Milk Tooth | 2 |
| Boreal Wolf’s Cracked Tooth | 6 |
| Boreal Wolf’s Broken Fand | 6 |
| Boreal Wolf’s Nostalgia | 3 |
| Dead Ley Line Branch | 10 |
| Dead Ley Line Leaves | 12 |
| Ley Line Sprout | 18 |
| Divining Scroll | 6 |
| Sealed Scroll | 10 |
| Forbidden Curse Scroll | 12 |
Hakushin Ring
This is a 4-star catalyst belonging to the Amethyst Series. It serves to increase your overall Elemental Damage under specific conditions.
Here’s how its passive skill, a.k.a Sakura Saiguu fares: Whenever a character equipping the Hakushin Ring triggers an Electro Elemental Reaction, the nearby party members receive 10% Elemental DMG bonus. 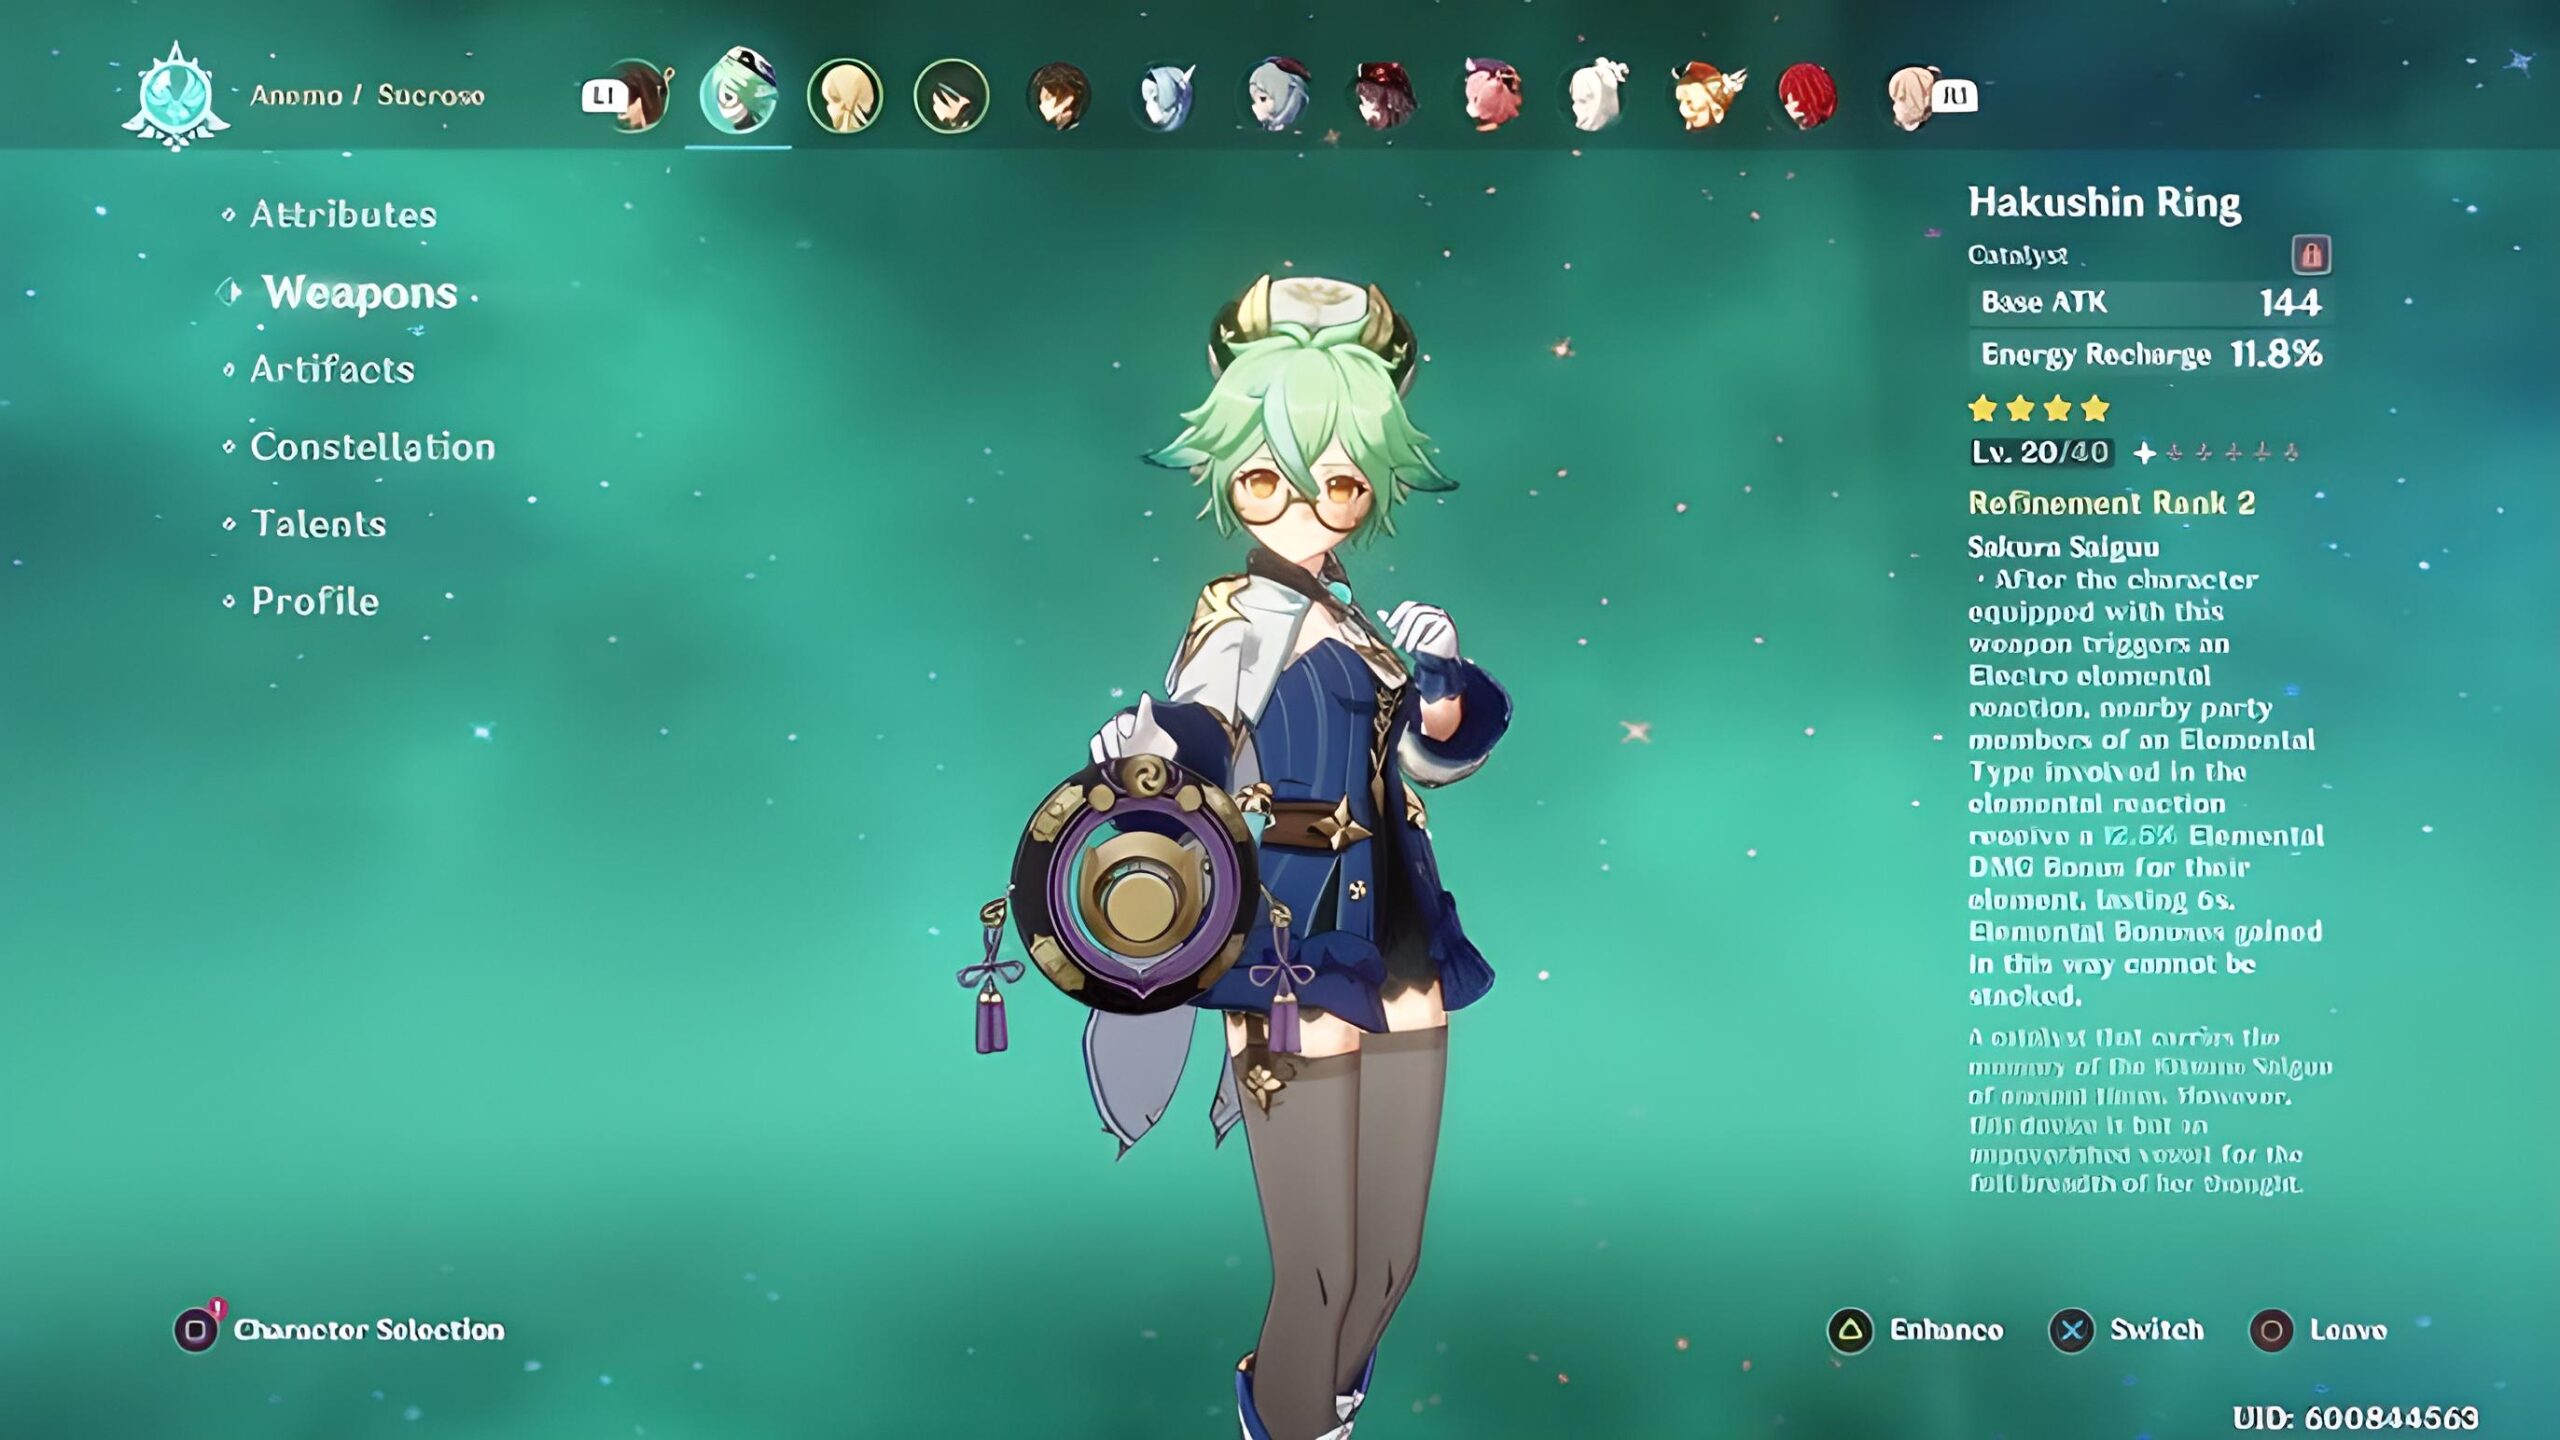
This bonus is for their specific element only, and cannot be stacked. Since it works under extremely specific conditions, you’d need to construct an Electro Comp with Sucrose as the center in order to make it work.
Stats
Here is the stat distribution for Hakushin Ring:
| Base ATK (LVL 1 – 90) | 2nd Stat Type | 2nd Stat (LVL 1-90) |
| 42 – 510 | Energy Recharge |
6.7% – 30.6% |
Weapon Refinement
You will be experiencing the following stat changes according to your weapon refinement level:
|
Stat |
Level 1 | Level 2 | Level 3 | Level 4 |
Level 5 |
|
Upgrade Cost |
1000 Mora | 2000 Mora | 4000 Mora | 8000 Mora | – |
| Elemental DMG Increase | 10% | 12.5% | 15% | 17.5% |
20% |
Ascension Costs
Here are all the Ascension costs related to upgrading the Hakushin Ring:
|
Item |
Quantity |
| Mora | 150,000 |
| Coral Branch of a Distant Sea | 3 |
| Jeweled Branch of a Distant Sea | 9 |
| Jade Branch of a Distant Sea | 9 |
| Golden Branch of a Distant Sea | 4 |
| Dismal Prism | 15 |
| Crystal Prism | 18 |
| Polarizing Prism | 27 |
| Divining Scroll | 10 |
| Sealed Scroll | 15 |
| Forbidden Curse Scroll | 18 |
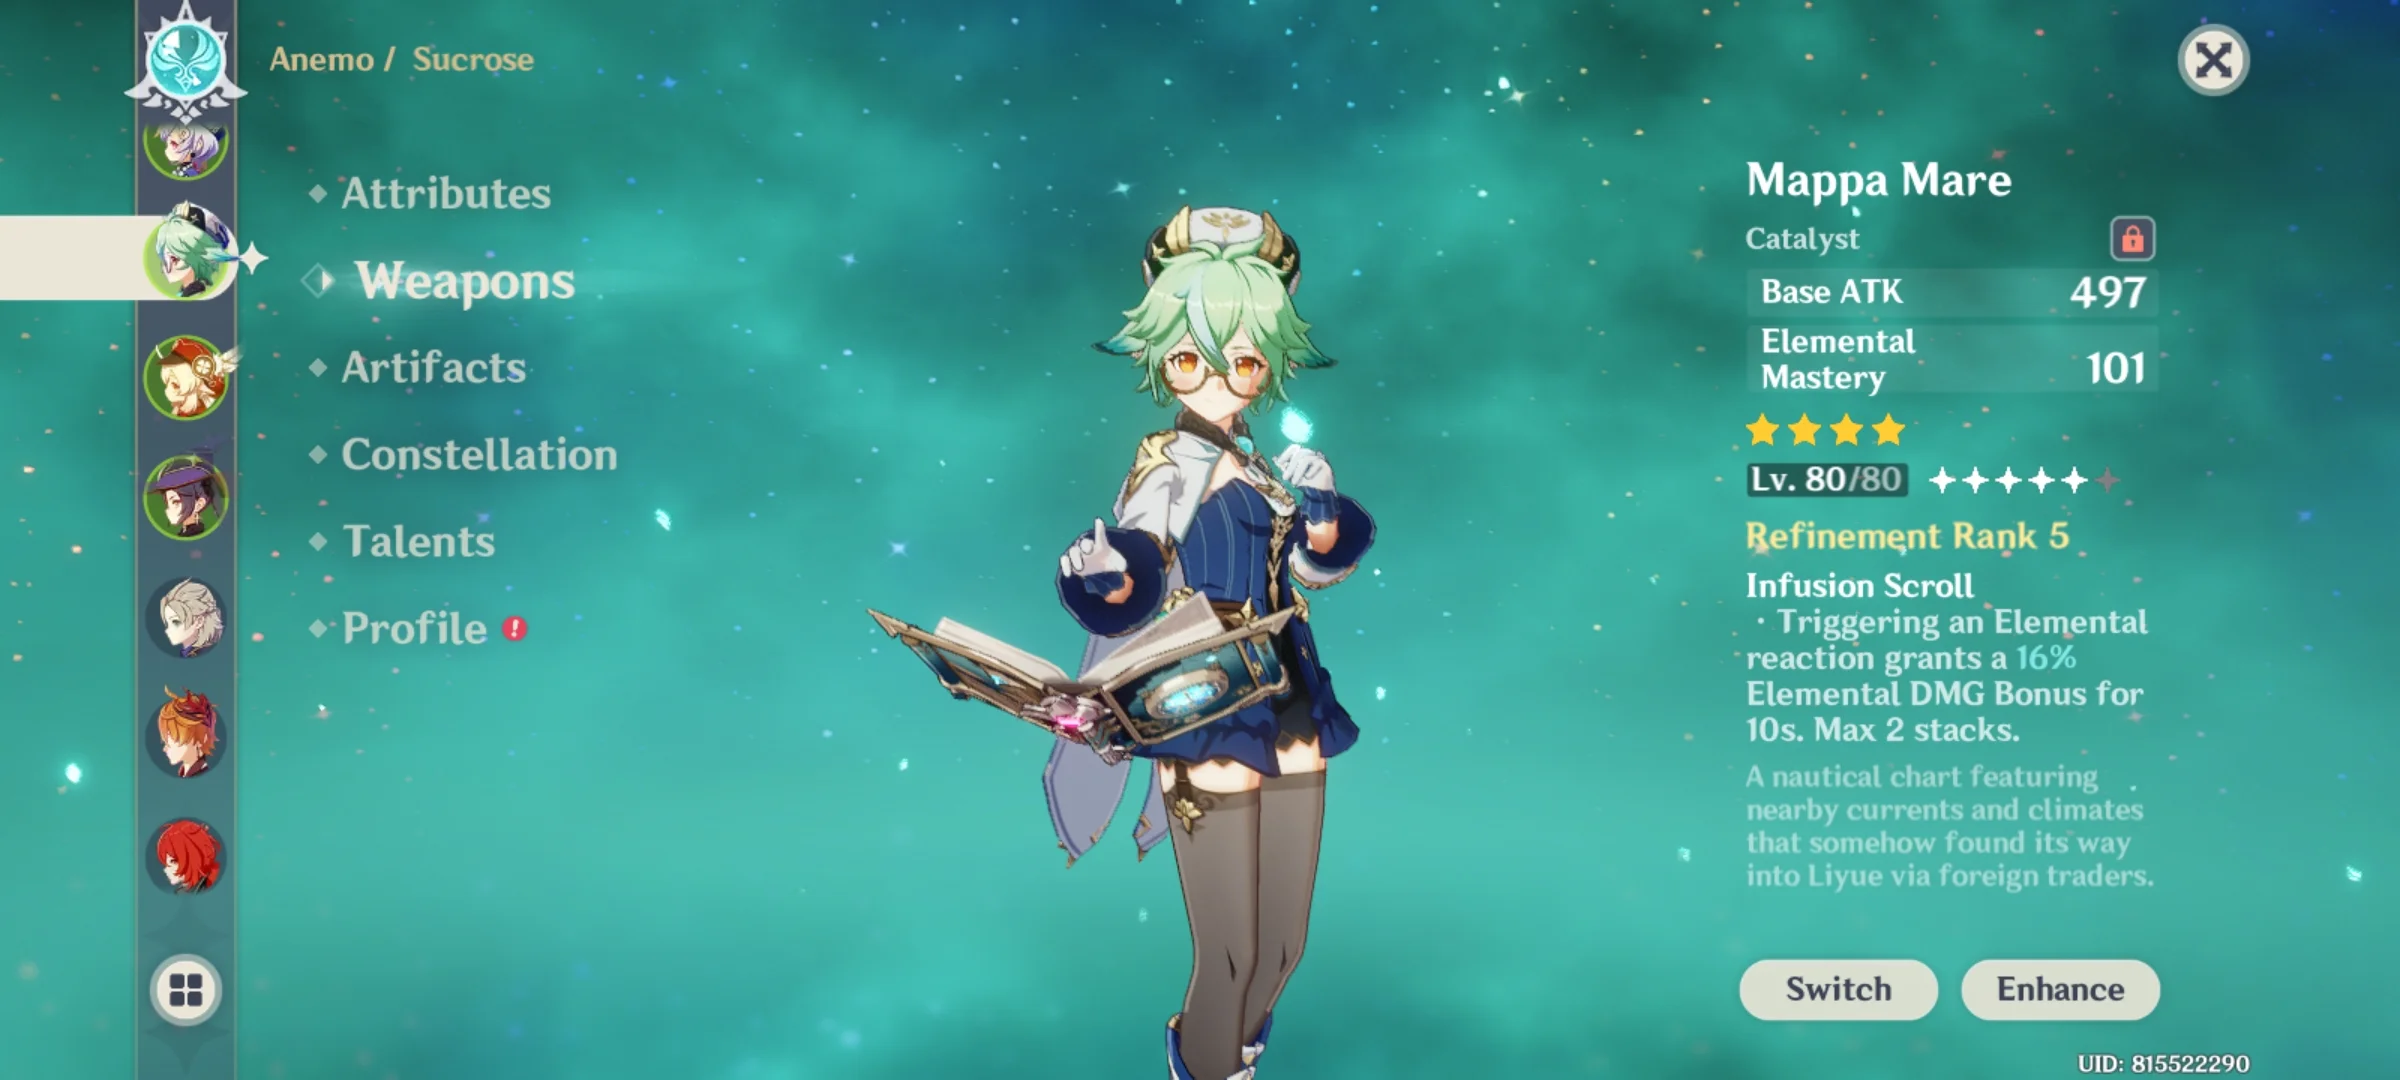
Mappa Mare
This is a 4 Star catalyst belonging to the Infusion Series. It essentially increases your Elemental DMG under certain conditions.
via Reddit
Mappa Mare’s ability is called Infusion Scroll. It amps up your elemental DMG Bonus by 8% – 16% whenever you trigger an Elemental Reaction.
This effect lasts for a total of 10 seconds and can be stacked up to two times. Naturally, it’s quite potent, given you have a multi-elemental team.
Stats
Here is the stat distribution for Mappa Mare:
| Base ATK (LVL 1 – 90) | 2nd Stat Type | 2nd Stat (LVL 1-90) |
| 44 – 565 | Elemental Mastery |
24 – 110 |
Weapon Refinement
You will be experiencing the following stat changes according to your weapon refinement level:
|
Stat |
Level 1 | Level 2 | Level 3 | Level 4 |
Level 5 |
|
Upgrade Cost |
1000 Mora | 2000 Mora | 4000 Mora | 8000 Mora | – |
| Elemental DMG Increase | 8% | 10% | 12% | 14% |
16% |
Ascension Costs
Here are all the Ascension costs related to upgrading Fading Twilight:
|
Item |
Quantity |
| Mora | 150,000 |
| Grain of Aerosiderite | 3 |
| Piece of Aerosiderite | 9 |
| Bit of Aerosiderite | 9 |
| Chunk of Aerosiderite | 4 |
| Fragile Bone Shard | 15 |
| Sturdy Bone Shard | 18 |
| Fossilized Bone Shard | 27 |
| Slime Condensate | 10 |
| Slime Secretions | 15 |
| Slime Concentrate | 18 |
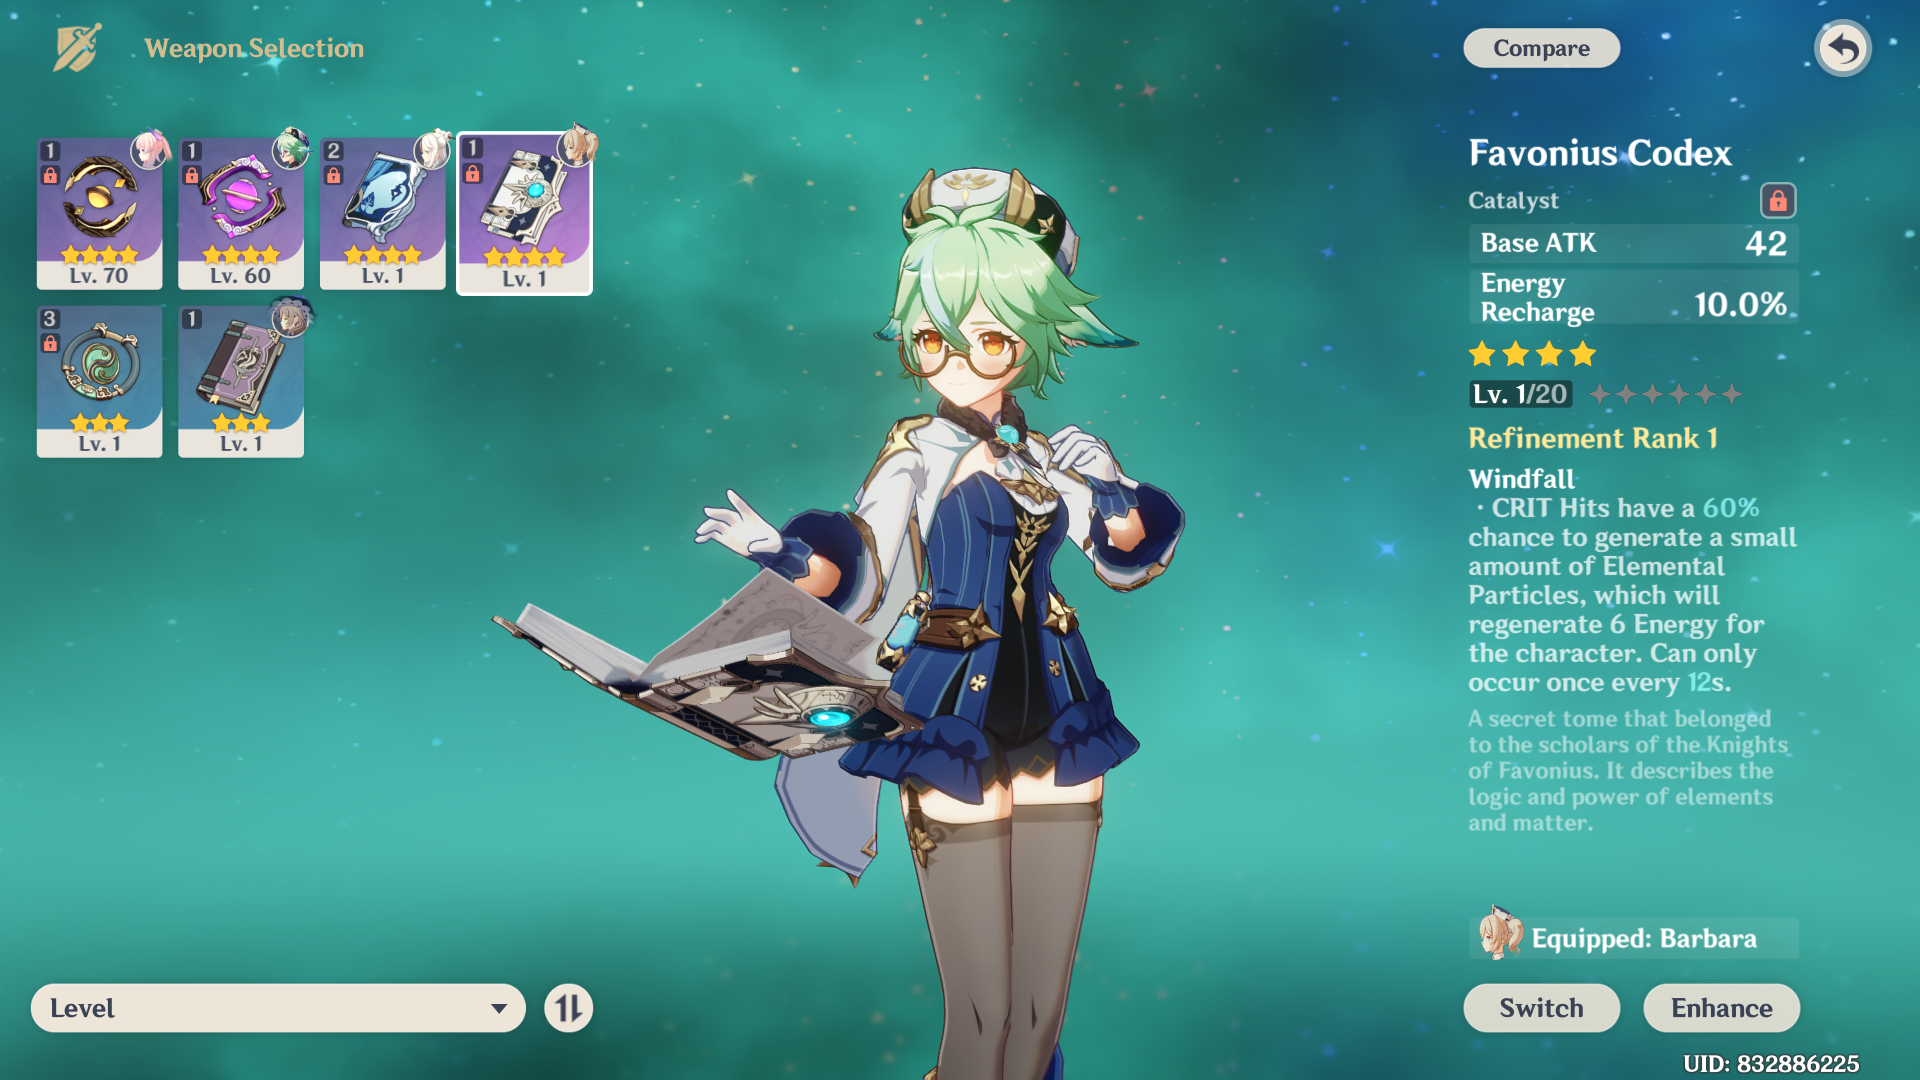
Favonius Codex
This is a 4-Star Catalyst belonging to the Favonius Series. The main premise here is to amp up your Energy Regeneration under specific conditions.
Its main ability is called Windfall. It essentially allows your CRITS to have a 60% – 100% chance of generating elemental particles upon hit.
via Reddit
These particles will regenerate 6 Energy points – with the effect being able to occur once every 12 – 6 seconds.
The Favonius Codex is generally used in support builds as it allows you to cast your elemental attacks continuously.
Stats
Here is the stat distribution for Favonius Codex:
| Base ATK (LVL 1 – 90) | 2nd Stat Type | 2nd Stat (LVL 1-90) |
| 42 – 510 | Energy Recharge |
10.0% – 45.9% |
Weapon Refinement
You will be experiencing the following stat changes according to your weapon refinement level:
|
Stat |
Level 1 | Level 2 | Level 3 | Level 4 | Level 5 |
| Upgrade Cost | 1000 Mora | 2000 Mora | 4000 Mora | 8000 Mora |
– |
|
CRIT Chance |
60% | 70% | 80% | 90% | 100% |
| Cooldown Times | 12s | 10.5s | 9s | 7.5s |
6s |
Ascension Costs
Here are all the Ascension costs related to upgrading Fading Twilight:
|
Item |
Quantity |
| Mora | 150,000 |
| Tile of Decarabian’s Tower | 3 |
| Debris of Decarabian’s City | 9 |
| Fragment of Decarabian’s Epic | 9 |
| Scattered Piece of Decarabian’s Drea, | 4 |
| Heavy Horn | 15 |
| Black Bronze Horn | 18 |
| Black Crystal Horn | 27 |
| Divining Scroll | 10 |
| Sealed Scroll | 15 |
| Forbidden Curse Scroll | 18 |
Best Artifacts On Sucrose
Sucrose can choose between both Viridescent Venerer and Nobless Oblige. However, going Emblem of Severed Fate isn’t bad either!
The idea is pretty simple; you want to stack as much swirl Damage in a kit as possible. She doesn’t have that much base dmg, to begin with, so we need to make up for that using supplementary DMG.
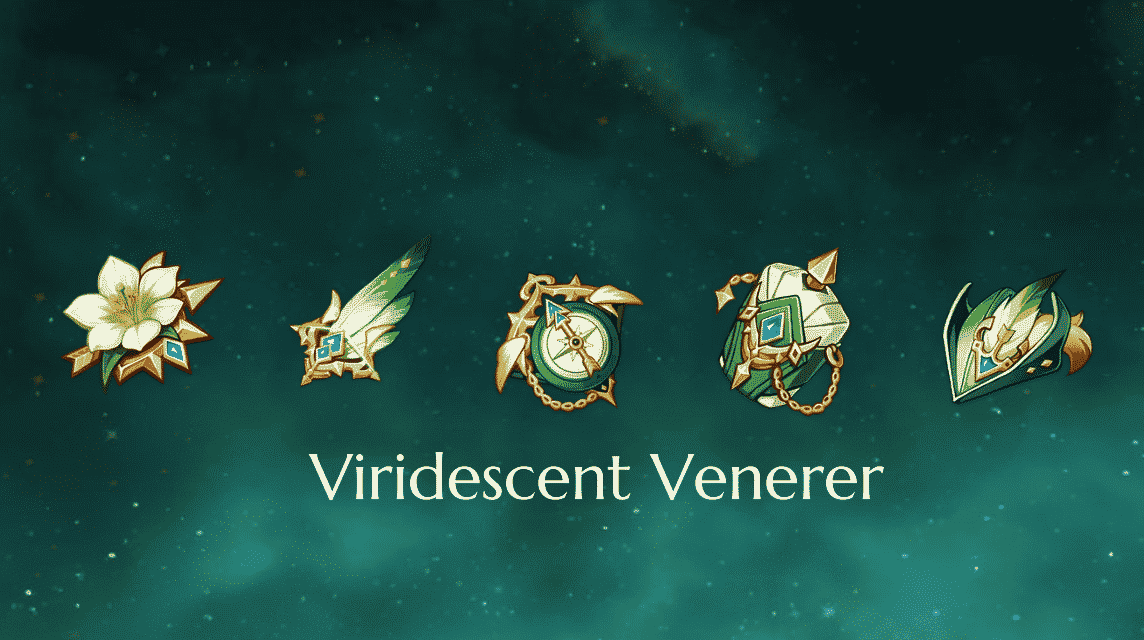
Viridescent Venerer
This artifact set increased the Anemo DMg and Swirl DMG while decreasing the resistance of your opponents. Adding lethality to the mix is always good since it boosts your overall DMG.
via VCgamers
The Viridescent Venerer set consists of the following:
- Flower of Life: In Remembrance of Viridescent Fields
- Plume of Death: Viridescent Arrow Feather
- Sands of Eon: Viridescent Venerer’s Determination
- Goblet of Eonothem: Viridescent Venerer’s Vessel
- Circlet of Logos: Viridescent Venerer’s Diadem
The set bonuses for these artifacts activate at the following marks:
2 – Piece Bonus
Equipping any two of the above-mentioned items will increase your Anemo DMG Bonus by 15%.
4 – Piece Bonus
Equipping 4 of the above-mentioned artifacts increases your Swirl DMG numbers by 60% while simultaneously decreasing your opponent’s elemental RES by 40% for the next 10 seconds.
However, the Element RES decrease is only limited to the Element in the Swirl.
How To Obtain
Both 4* and 5* variants of this item can be obtained by challenging the Valley of Remembrance.
This Domain of Blessing is located between Dawn Winery and Dragonspine within Mondstadt. The higher the level you challenge and clear, the better the reward will be.
You can also obtain the 5* rarity from the Artifact Strongbox.
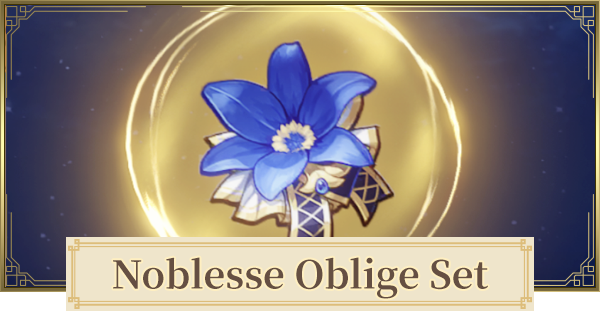
Noblesse Oblige
This artifact set grants an overall buff to your party members, with your Elemental Burst acting as a trigger.
Noblesse Oblige via Gamewith
The Noblesse Oblige set consists of the following:
- Flower of Life: Royal Flora
- Plume of Death: Royal Plume
- Sands of Eon: Royal Pocket Watch
- Goblet of Eonothem: Royal Silver Urn
- Circlet of Logos: Royal Masque
The set bonuses of these artifacts activate at the following marks:
2 – Piece Bonus
This bonus increases your Elemental Burst DMG by 20%. Considering you’re pretty much going all in on Elemental Mastery, this is not a bad buff at all.
4 – Piece Bonus
Whenever you use your Elemental Burst, your party members experience a 20% increase in attack damage for the next 12 seconds.
This artifact set is pretty good if you’re opting for a Pyro burst support build since it not only ramps the attacks of your DPS carries but also allows you to unleash your Elemental Mastery in between.
How To Obtain
The Noblesse Oblige set can be obtained from the Clear Pool and Mountain Cavern – a Domain of Blessing located north of Mt. Aocang in Liyue.
The higher your challenge levels, the better your chances of obtaining the 4* and 5* rarities.
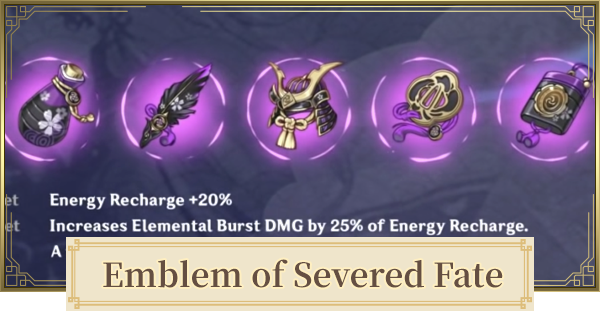
Emblem of Severed Fate
This artifact set focuses on your Energy Recharge and elemental burst damage – making it possible for Amber to unleash those huge damage combos continuously.
Emblem of Severed Fate via Gamewith
The Emblem of Severed Fate set consists of the following:
- Flower of Life: Magnificent Tsuba
- Plume of Death: Sundered Feather
- Sands of Eon: Storm Cage
- Goblet of Eonothem: Scarlet Vessel
- Circlet of Logos: Ornate Kabuto
The set bonuses for these artifacts activate at the following marks:
2 – Piece Bonus
Equipping any two of the items, as mentioned earlier, will increase your Energy Recharge by 20%.
4 – Piece Bonus
As mentioned earlier, equipping 4 of the artifacts increases your Elemental Burst DMG by 25% of your current Energy recharge.
However, this number is capped at 75% of your bonus DMG. However, even that is borderline absurd for an artifact set.
How To Obtain
Both 4* and 5* variants of this item can be obtained by challenging the Momiji-Dyed Court.
This Domain of Blessing is located in Inazuma. The higher the level you challenge and clear, the better the reward will be.
What’s The Best Team For Sucrose?
Sucrose is best placed as a support in a team comp. However, certain characters tend to synergize a bit too well with her.
Therefore, we recommend you build your team comp with the following entries in mind:
Fischi
Fischi is an Electro Bow character capable of applying Electro with the help of Oz through Sucrose.

Fischi via UHD-W
Pair that up with Sucrose’s damage boosting Elemental Burst, and Fishin becomes a really good carry for your team.
Xiangling
Xiangling is a Polearm Pyro character that can work pretty well as a Pyro trigger for Swirl damage.
via WA
Utilizing Xiangling’s kit, Sucrose can spread Pyro affects on group of enemies with seemingly no difficulty whatsoever.
Mona
Mona is a Hydro Catalyst character that’s generally played as a sub-DPS in team comps. Similar to Xiangling, Sucrose can spread Mona’s Hydro damage across patches of enemies.

via W Flare
Mona has an already-high Elemental Mastery and Elemental Burst damage, so pairing them with Sucrose’s boosts can do much more than just make a difference!
Ganyu
Ganyu is a Cryo Bow character that’s generally picked due to her insane damage numbers. She possesses a plethora of damage options – even at C0, and can amp up to be a menace to deal with.

via ONE Esports
Sucrose can leech off her damage and provide value by spreading Ganyu’s Cryo across multiple enemies while buffing her Elemental Mastery and Elemental Burst damage numbers.
Sucrose: Ability Rundown
As mentioned previously, Sucrose’s entire kit relies on her ability to spread and amp damage. However, you need to know the exact compositions in order to find success with her.
On that note, here’s everything you need to know regarding Sucrose’s abilities:
Basic Attack: Wind Spirit Creation
Sucrose unleashes up to 5 consecutive shots with her Wind Spirits that deal Anemo damage upon impact.

via Wiki
There’s not a lot associated with her basic blows since they’re meant to apply the weapon passives.
With that said, here’s how the damage scaling works for Wind Spirit Creation:
|
1 |
2 | 3 | 4 | 5 | 6 | 7 | 8 | 9 | 10 |
11 |
|
|
1-Hit DMG (%) |
33.46 | 35.97 | 38.48 | 41.83 | 44.34 | 46.85 | 50.2 | 53.54 | 56.89 | 60.24 | 63.58 |
| 2-Hit DMG (%) | 30.62 | 32.91 | 35.21 | 38.27 | 40.57 | 42.86 | 45.92 | 48.99 | 52.05 | 55.11 |
58.17 |
|
3-Hit DMG (%) |
38.45 | 41.33 | 44.22 | 48.06 | 50.94 | 53.83 | 57.67 | 61.52 | 65.36 | 69.21 | 73.05 |
| 4-Hit DMG (%) | 47.92 | 51.51 | 55.11 | 59.9 | 63.49 | 67.08 | 71.88 | 76.67 | 81.46 | 86.25 |
91.04 |
Charged Attack
Sucrose consumes a bunch of stamina to unleash a shot that deals AoE Anemo Damage upon impact.

via Wiki
The charge has a short casting time, and releases almost-insteantly after the duration is over.
Here’s the damage composition for her charged attack:
|
Charged Attack |
|||||||||||
| Charged Attack DMG (%) | 120.16 | 129.17 | 138.18 | 150.2 | 159.21 | 168.22 | 180.24 | 192.26 | 204.27 | 216.29 |
228.3 |
|
Charged Attack Stamina Cost |
50 |
||||||||||
Plunging Attack
Sucrose calls upon the power of Wind Spirits and launches herself toward the ground from mid-air while dealing damage enemies in the path of her ground strike.
via Wiki
The attack hits the ground in an AoE radius and deals AoE Anemo damage to any enemy caught in its range.
Having said that, here’s the damage breakdown for Sucrose’s Plunging attack:
|
Plunging Attack |
|||||||||||
| Plunge DMG (%) | 56.83 | 61.45 | 66.08 | 72.69 | 77.31 | 82.6 | 89.87 | 97.14 | 104.41 | 112.34 |
120.27 |
|
Low Plunge DMG (%) |
113.63 | 122.88 | 132.13 | 145.35 | 154.59 | 165.17 | 179.7 | 194.23 | 208.77 | 224.62 |
240.48 |
|
High Plunge DMG (%) |
141.93 | 153.49 | 165.04 | 181.54 | 193.1 | 206.3 | 224.45 | 242.61 | 260.76 | 280.57 |
300.37 |
Astable Anemohypostasis Creation – 6308: Elemental Skill
Sucrose creates a wind spirit that attracts everything (iuncluding enemies) towards its locations.
Once everyone has been gathered, it launches them within an AoE area that deals Anemo DMG.

via Wiki
On that note, here’s how its attribute scaling works:
| 1 | 2 | 3 | 4 | 5 | 6 | 7 | 8 | 9 | 10 | 11 |
12 |
13 | |
|
Skill DMG (%) |
211.2 | 227.04 | 242.88 | 264 | 279.84 | 295.68 | 316.8 | 337.92 | 359.04 | 380.16 | 401.28 | 422.4 | 448.8 |
| CD |
15s |
||||||||||||
Forbidden Creation – Isomer 75 / Type II: Elemental Burst
Throwing caution to the wing, Sucrose launches an unstable concoction into the air. This creates a large Wind Spirit that continuously pulls the surrounding opponents in while dealing Anemo DMG.
The Wind Spirit will deal additional damage whenever it comes into contact with the following elements:
- Hydro
- Pyro
- Electro
- Cryo

via Wiki
The bonus damage will be of the same element it came in contact with. However, this effect is limited to one per cast.
Here’s the attribute scaling for Sucrose’s Elemental Burst:
| 1 | 2 | 3 | 4 | 5 | 6 | 7 | 8 | 9 | 10 | 11 | 12 | 13 |
14 |
|
|
DoT (%) |
148 | 159.1 | 170.2 | 185 | 196.1 | 207.2 | 222 | 236.8 | 251.6 | 266.4 | 281.2 | 296 | 314.5 | 333 |
| Additional Elemental DMG (%) | 44 | 47.3 | 50.6 | 55 | 58.3 | 61.6 | 66 | 70.4 | 74.8 | 79.2 | 83.6 | 88 | 93.5 |
99.0 |
|
Duration |
6s | |||||||||||||
|
CD |
20s |
|||||||||||||
| Energy Cost |
80 |
|||||||||||||
Sucrose – Passive Talents
While her abilities formulate the majority of her kit, Sucrose truly shines when her Ascension talents come into play. However, understanding them isn’t easy, but that’s what we’re here for!

via Player Assist
Here’s how they essentially work:
Catalyst Conversion – Ascension 1 Talent
Whenever the swirl effect is triggered, all the characters in your party with the matching element will have their Elemental Mastery increase by 50 for the next 8 seconds of the battle.
It’s a pretty stock standard talent that’s focused on giving small buffs to your party members.
Mollis Favonius – Ascension 4 Talent
All of your party member’s and your Elemental mastery is increased based in 20% of your (Sucrose’s) Elemental Master whenever she launches Astable Anemohypostasis Creation – 6308 or Forbidden Creation – Isomer 75 / Type II.
The duration of this effect is set at 8 secpnds.
Astable Invention – Automatic Unlock
Sucrose has a 10% chance of obtaining double product whenevr she crafts Character and Weapon Enhancement Materials.
It’s a very nice utility passive that helps you power level your way through the ranks.
Sucrose – Constellations
Like any other character in Genshin Impact, Sucrose’s kit comprises six unique constellations meant to provide a roundup to her as a support alchemist.
via Player Assist
Here’s how they work:
Level 1 Constellation – Clustered Vacuum Field
Your Astable Anemohypostasis Creation – 6308 gets an additional charge.
Level 2 Constellation – Beth: Unbound Form
Your Forbidden Creation – Isomer 75 / Type I’s duration increases by 2 seconds.
Level 3 Constellation – Flawless Alchemistress
Astable Anemohypostasis Creation – 6308’s level is increased by 3, with the upgrade level cap being 15.
Level 4 Constellation – Alchemania
Your cooldown times of Astable Anemohypostasis Creation – 6308 will be reduced by 1-7 seconds (ranomd) after every 7 of Sucrose’s normal and charged attacks.
Level 5 Constellation – Caution: Standard Flask
Forbidden Creation – Isomer 75 / Type II’s level is increased by 3, with the upgrade level cap being 15.
Level 6 Constellation – Chaotic Entropy
Whenever Forbidden Creation – Isomer 75 / Type II triggers an Elemental Absorbtion, your party members ghain 20% Elemental DMG Bonus that lasts during the duration of the Absorbtion.
This bonus is limited to the Element that triggered the Elemental Absorbtion.
Sucrose’s Ascension: Stats And Material Costs
Here are all the ascension bonuses and material costs associated with leveling up u to reach maximum output:
|
Ascension Phase |
Level | Base
HP |
Base
ATK |
Base
DEF |
Special Stat |
|
0✦ |
1/20 | 775 | 14 | 58 | — |
| 20/20 | 1,991 | 36 |
151 |
||
Ascension Cost (0 → 1)
 Mora | via Wiki 20,000  Vayuda Turquoise Sliver | via Wiki 1  Windwheel Aster | via Wiki 3  Whopperflower Nectar | via Wiki 3 |
|||||
|
1✦ |
20/40 | 2,570 | 47 | 195 | — |
| 40/40 | 3,849 | 70 |
292 |
||
| Ascension Cost (1 → 2)
Mora | via Wiki 40,000  Vayuda Turquoise Fragment | via Wiki 3 Windwheel Aster | via Wiki 10 Whopperflower Nectar | via Wiki 15  Hurricane Seed | via Wiki 2 |
|||||
|
2✦ |
40/50 | 4,260 | 78 | 324 | 6.0% |
| 50/50 | 4,901 | 90 |
372 |
||
| Ascension Cost (2 → 3)
Mora | via Wiki 60,000 Vayuda Turquoise Fragment | via Wiki 6 Windwheel Aster | via Wiki 20 Shimmering Nectar | via Wiki 12 Hurricane Seed | via Wiki 4 |
|||||
|
3✦ |
50/60 | 5,449 | 100 | 414 | 12.0% |
| 60/60 | 6,089 | 111 |
463 |
||
| Ascension Cost (3 → 4)
Mora | via Wiki 80,000  Vayuda Turquoise Chunk | via Wiki 3 Windwheel Aster | via Wiki 30
Shimmering Nectar | via Wiki 18 Hurricane Seed | via Wiki 8 |
|||||
|
4✦ |
60/70 | 6,501 | 119 | 494 | 12.0% |
| 70/70 | 7,140 | 131 |
543 |
||
| Ascension Cost (4 → 5)
Mora | via Wiki 100,000 Vayuda Turquoise Chunk | via Wiki 6 Windwheel Aster | via Wiki 45  Energy Nectar | via Wiki 12 Hurricane Seed | via Wiki 12 |
|||||
|
5✦ |
70/80 | 7,551 | 138 | 574 | 18.0% |
| 80/80 | 8,192 | 150 |
623 |
||
| Ascension Cost (5 → 6)
Mora | via Wiki 120,000  Vayuda Turquoise Gemstone | via Wiki 6 Windwheel Aster | via Wiki 60 Energy Nectar | via Wiki 24 Hurricane Seed | via Wiki 20 |
|||||
|
6✦ |
80/90 | 8,603 | 158 | 654 | 24.0% |
| 90/90 | 9,243 | 169 |
702 |
||
Sucrose: Talent Upgrade Materials
Here’s everything you need to evolve Sucrose’s Talents:
|
Talent Level |
Required
Ascension |
Mora
|
Common Materials
|
Talent Level-Up Materials
|
||
| 1 → 2 | 2✦ |
Mora | via Wiki 12,500
|
Whopperflower Nectar | via Wiki 6
|
 Teachings of Freedom | via Wiki 3
|
||
|
2 → 3 |
3✦ |
Mora | via Wiki 17,500
|
Shimmering Nectar | via Wiki 3
|
 Guide To Freedom | via Wiki 2
|
||
| 3 → 4 |
Mora | via Wiki 25,000
|
Shimmering Nectar | via Wiki 4
|
Guide To Freedom | via Wiki 4
|
|||
|
4 → 5 |
4✦ |
Mora | via Wiki 30,000
|
Shimmering Nectar | via Wiki 6
|
Guide To Freedom | via Wiki 6
|
||
| 5 → 6 |
Mora | via Wiki 37,500
|
Shimmering Nectar | via Wiki 9
|
Guide To Freedom | via Wiki 9
|
|||
|
6 → 7 |
5✦ |
Mora | via Wiki 120,000
|
Energy Nectar | via Wiki 4
|
 Philosophies of Freedom | via Wiki 4
|
 Spirit Locket of Boreas | via Wiki 1
|
|
| 7 → 8 |
Mora | via Wiki 260,000
|
Energy Nectar | via Wiki 6
|
Philosophies of Freedom | via Wiki 6
|
Spirit Locket of Boreas | via Wiki 1
|
||
|
8 → 9 |
6✦ |
Mora | via Wiki 450,000
|
Energy Nectar | via Wiki 9
|
Philosophies of Freedom | via Wiki 12
|
Spirit Locket of Boreas | via Wiki 2
|
|
| 9 → 10 |
Mora | via Wiki 700,000
|
Energy Nectar | via Wiki 12
|
Philosophies of Freedom | via Wiki 16
|
Spirit Locket of Boreas | via Wiki 2
|
 Crown of Insight | via Wiki 1
|
|
Sucrose: Harmless Sweetie: Lore & Ability Showcase
Here’s the official Sucrose’s showcase:
Conclusion
All in all, Sucrose is a character whose playstyle benifits from the character in your party. Therefore, you need to focus on character synergies in order to make her work. While you’re at it, try going the mentioned build in order to gain effective advantages in battle.
Just chuck her in a well-balanced comp and see her numbers touch the sky!
This is the build that we recommend for Sucrose in Genshin Impact. If you are interested in learning more about the game then you can check out our guide on how you can get the new skins for Jean and Barbara.


